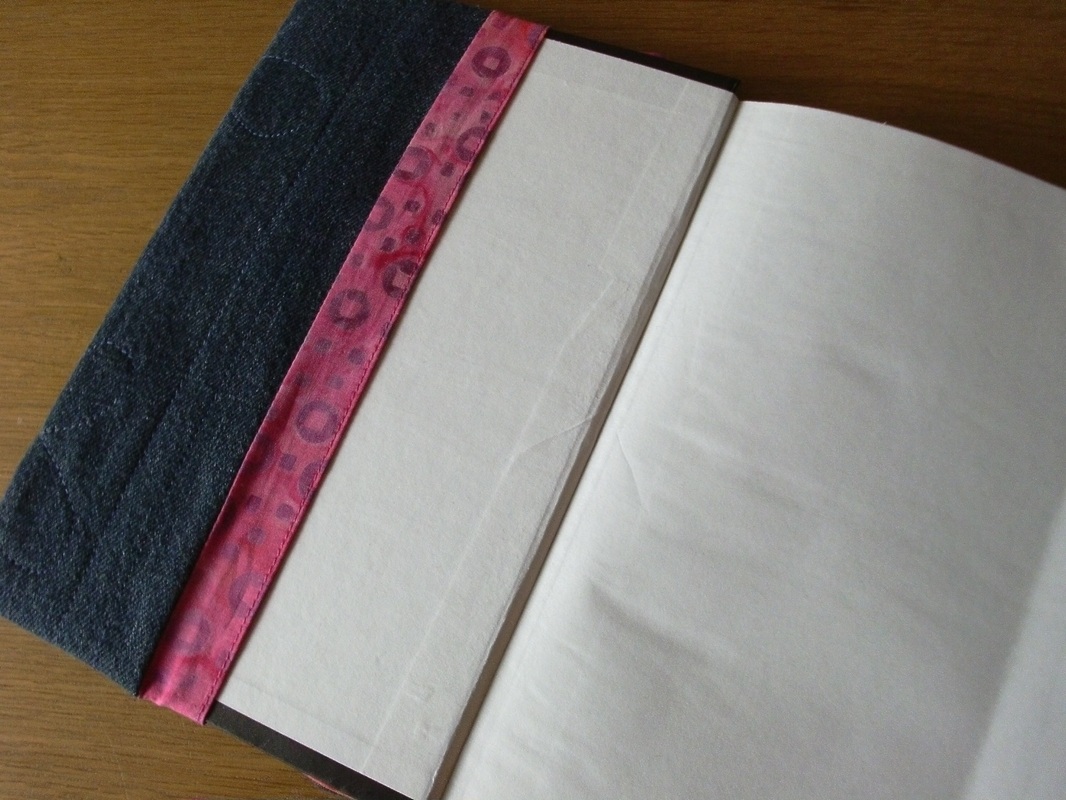
Another journal cover - this time with 3-D applique and a surprise! Embellished with applique and plastic flowers and button centers. This tutorial is a really easy project to make..... 
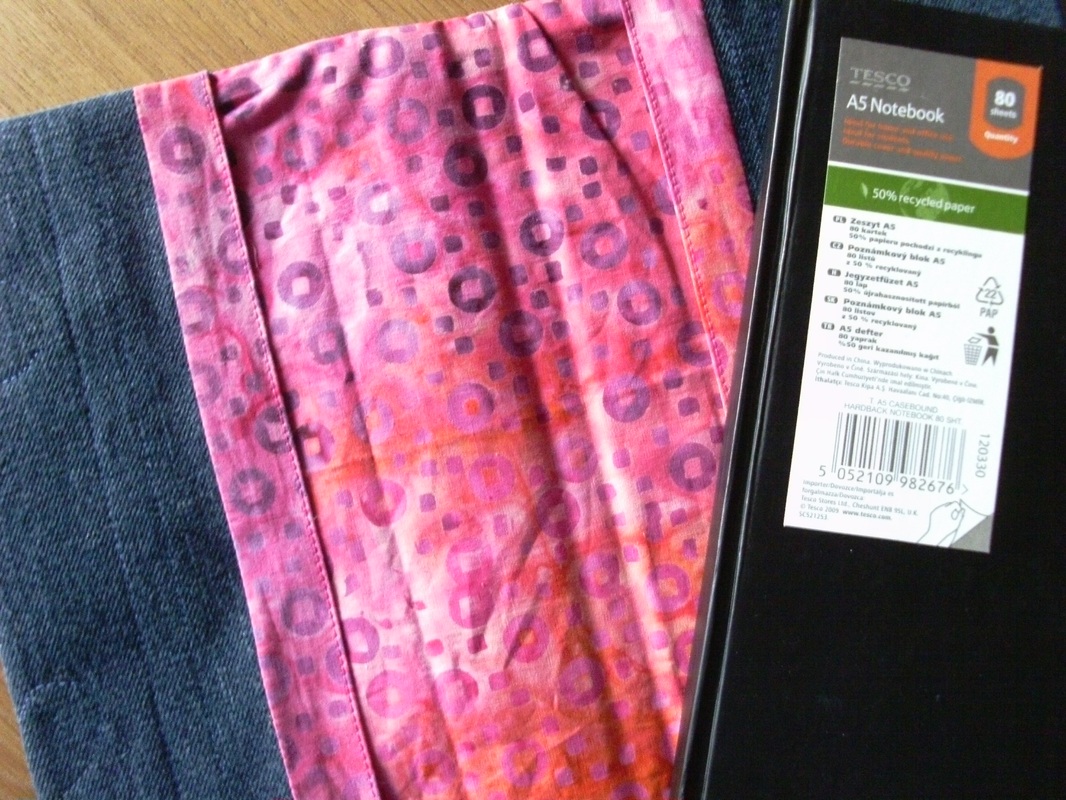
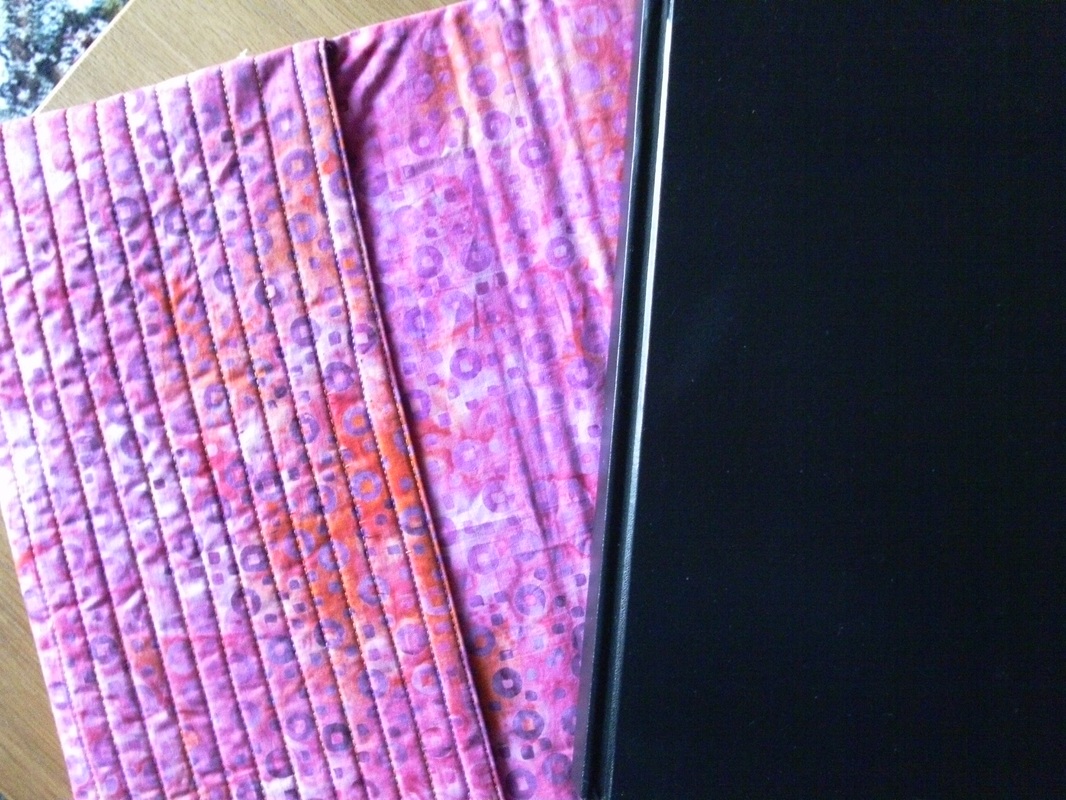
.....I used some denim from an old pair of jeans to make this, and quilted the front with the same flower shape that I had used for the applique, then quilted the back with straight rows..... 
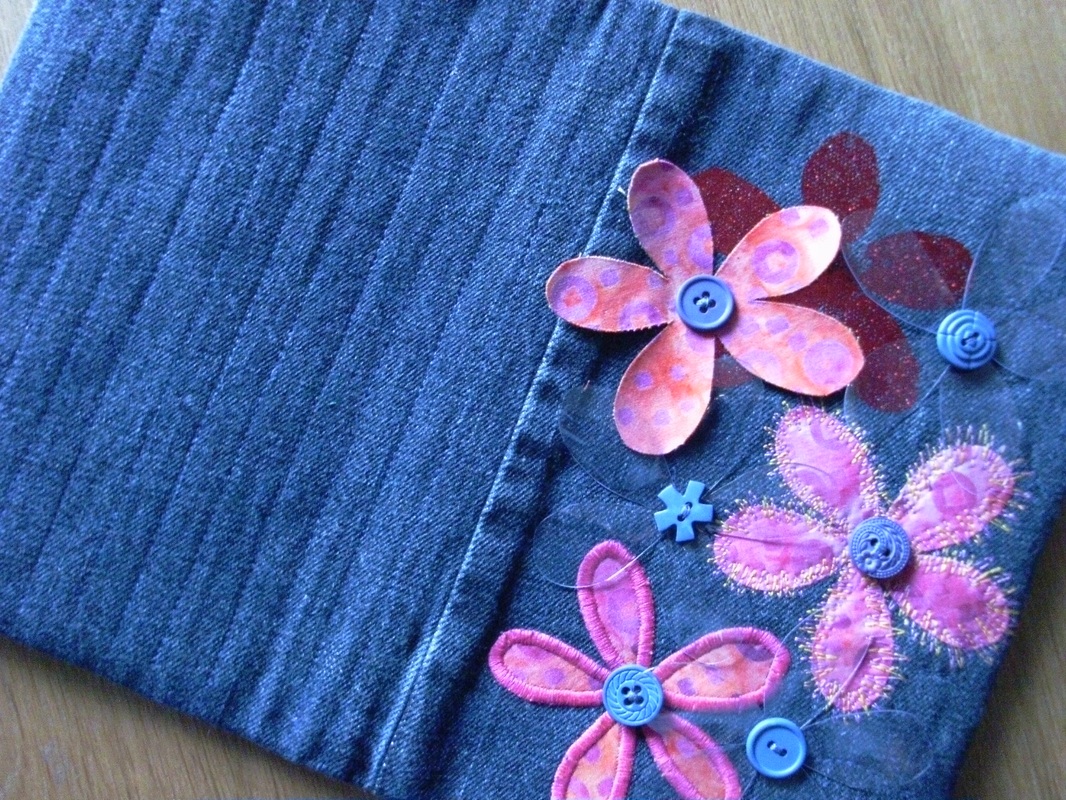
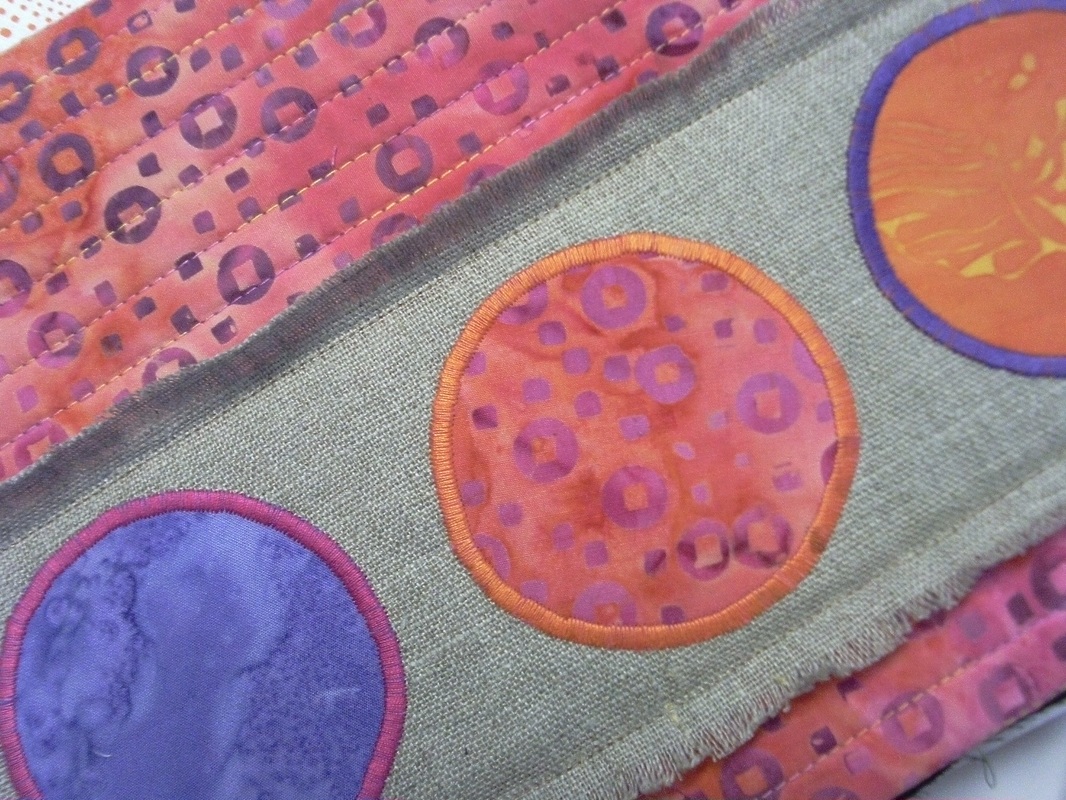
.....the batik flowers have been appliqued in different ways - satin stitch applique (this was done VERY slowly!!) with a Mettler silk finish cotton thread, and free motion applique with a variegated YLI quilting thread. I added a "foil" flower with the add of some steam-a-seam 2 and some red craft foil. The plastic flowers were great fun to do, (they were Philippa's idea - I thought she was mad!!) and I added a button centre for all the flowers..... 
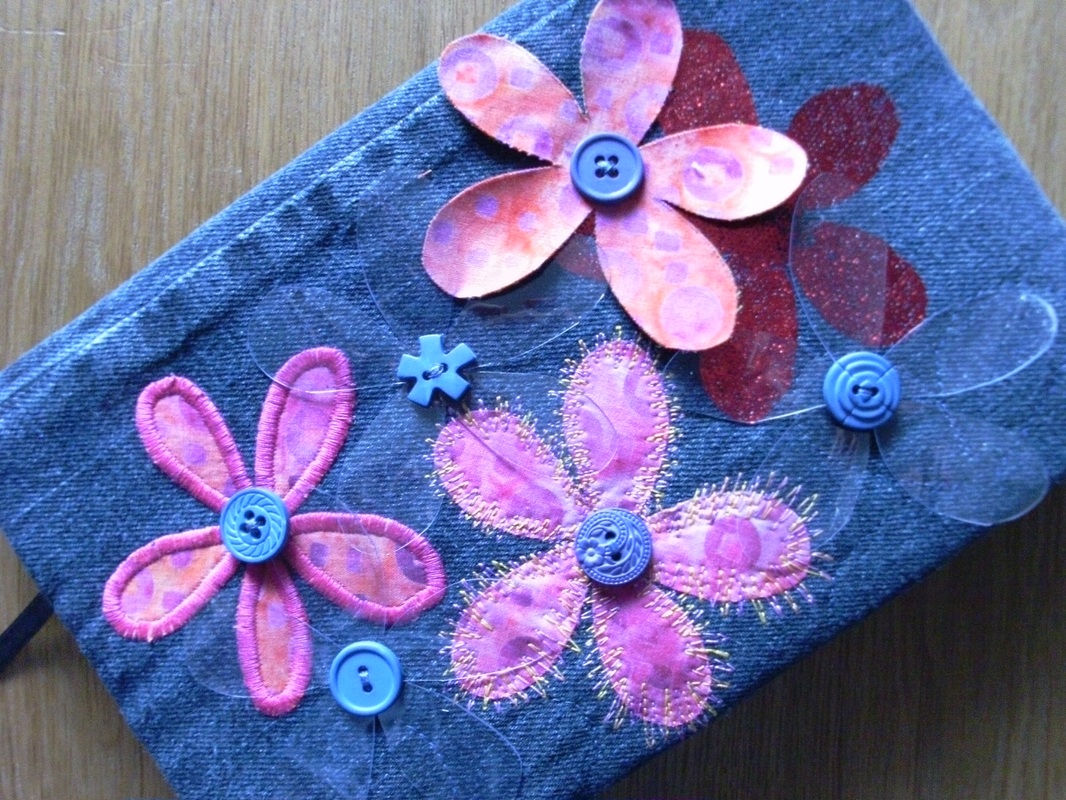
.....and the surprise? The 3-D pink flower has been backed with a bright lime green batik!
0 Comments
During my week away with Philippa Naylor, I made lots of small projects embellished with applique - I took a supply of notebooks and bag handles with me, and was inspired by the sample I made of satin stitch appliqued circles to progress further to make a decorative journal cover. I've just enlarged the layout so it will accommodate an A4 notebook - and I've made this one using pink batiks and linen. 3 circles of different batiks were attached to a piece of linen using steam-a-seam-2 and secured with machine satin stitch. I used a Mettler silk-finish thread in fuchsia pink around the purple batik circle, orange Mettler quilting thread around the pink batik circle, and finally I used purple Mettler quilting thread around the orange batik circle. Then I added the panel of linen, which I frayed along the 2 long sides, just off centre on the front of the journal cover. The linen panel was then machine stitched into place with a matching coloured thread..... .....and here is the finished journal cover. I really love using linen, and think it goes beautifully with the fine cotton batik. The joy of having a removable cover is that when the notebook is full, it can be removed and replaced with a new one! Philippa showed us lots of top tips for satin stitch applique - we used stitch and tear stabilizer underneath the background fabric (in this case the linen), and stitched very slowly!! As you can see, this was quilted very simply using lots of straight rows, using a variegated YLI quilting thread in shades of orange and pink to match the pink batik fabric.
Ever since I saw this sewing machine mat on the Bloom blog I've been meaning to make one! I've needed one of these mats for ages to put my sewing machine on so it doesn't mark my dining table. Up until this weekend, I've just used a folded up table cloth - well that's all changed as I spent the day yesterday making this - the pattern is called 'Beyond Measure' Part II and was featured in Homespun magazine in 2010, and is also available to purchase and then download as a PDF file from the Bloom shop. This fabric was from The Dressmaking Collection - Vintage Notions by Amy Barrickman for Red Rooster fabrics, and has been lurking in my stash for simply ages waiting for the perfect project! I think I bought the fabric from Fancy Moon, but it was rather a long time ago! I decided to stray from the pattern again, and quilted this with lots of straight rows 0.5" apart, and used a black Mettler quilting thread. All these pockets are so useful for storing all my quiltystuff essentials, like fabric markers and pins and thread snippers and a chocolate bar or two... ...the top edge of the pocket is piped (thanks to my residential course last year with Philippa Naylor I wasn't fazed at all by piping!!) As you can see, I adapted the pattern to suit this fabric, rather than using all those 2.5" squares. The twill "tape measure" was a purchase a couple of years ago when I went to the Festival of Quilts at Birmingham, and was from Antique Angel. My local quilt shop, Quilters Haven also stocks some similar twill tape, so I'll have to stock up from there, as it looks great as an embellishment on sewing projects! Oh and if you're wondering what those cute little sew-in button magnets are for, then scroll down to the thread catcher. See? This is such a cunning idea! The removable thread catcher clicks into place with a couple of magnets. Roslyn Mirrington is such a great designer, she really does think of everything! Mr F will be so pleased that I won't have all those loose threads on the floor making the place look untidy when I'm having a sewing-fest. I bought these sew-in button magnets from Sew and So's at Bungay, and they were MUCH cheaper than the ones I bought from the Spring Quilt Festival at Duxford last month... ...and it simply clicks into place. See? So no more loose threads and no more trimmed off bits and no more snipped thing-ummy-bobs on the floor. I wish I'd made one of these sets before - my machine looks like such a smarty pants on it's new mat!! Oh and yes, more piping around the top of the thread catcher - Philippa WILL be impressed! I also had a cunning plan for the back of the sewing mat - I used some non-slip matting that I cut to size and slip-stitched into place by hand so that when I'm sewing my Bernina stays put. Note to self - don't try stitching non-slip matting with a sewing machine - it wont move!! Oh and of course it has been embellished with one of my "Quiltystuff" labels too... ....although my sewing machine is a lot smaller than this mat (I have the Bernina Activa 230 PE), I decided not to scale the size down, as if ever I'm lucky enough to own a larger Bernina (bit of a hint to poor Mr F - I've got a very very special birthday coming up in a few months and he might want some suggestions for a very very special present!!), then I won't need to buy more fabric to make another mat! So if you see him, tell him how much money I'm saving him hehe!!
I've been making more quiltystuff!! Earlier this week I bought this AnnAKa pattern "Gaver" (translated means "Gifts") from Lapp-Elisa - an online quilt store in Sweden. I loved this scarf, and had recently seen something similar at a Christmas craft market in Woodbridge. I searched through my stash, and found this burgundy fleece, which went perfectly with this collection of Lecien fabrics (I bought those last year at the Autumn Quilt Festival at Chilford)..... .....I used a walking foot to make this, as sewing with fleece can be more than a little bit tricky! I even managed to add one of my labels - I stitched it in the seam where I joined two pieces of fleece..... .....and here it is completed - a perfect fit! I may be missing in action over the next few days as I'll be busy baking mince pies and sausage rolls, wrapping and delivering presents and even maybe doing a little bit of hand-stitchery. I don't just like making quilts - my regular blog readers will already know that I like making other sorts of quiltystuff too - tablerunners and tote bags and cosmetic bags and peg-bags. Well now I'm making a guitar strap!! I found this tutorial over on One Shabby Chick's blog (there are some super pictures on the Shabby Chick tutorials flickr account too) and thought I'd have a go at making one too. I used an assortment of fabrics from my stash, including this fabric with guitars on - ohh how very appropriate!..... .....anyway, I bought an Ernie Ball nylon strap from Amazon, just to use the fixings, and set to work. I had some black wadding that was leftover from a previous project, and used that instead of interfacing. This was quilted with black Mettler thread - with a few rows of straight-row quilting..... .....although it was a bit fiddly threading the strap through the right way, the tutorial to make this was really good. I used a Schmetz jeans needle for attaching the leather tab on the end..... .....well I finally managed to thread everything through the buckle the right way - AND added one of my labels to the reverse side of the strap too..... .....and here we are - one guitar strap!! One of my work colleagues plays the guitar, so I'm going to ask him to to give it a "test-drive"!! Although this looks very smart in this colourway of black and dark grey, think how fabulous these straps would look made with vibrant batiks! Or made with fun Christmas fabrics! As you can see I have been very busy sewing several of these cute peg bags - Klädnyps-strut. These are made with a pattern from a Swedish quilting magazine, FatQuarter, issue 02/2009, and no, they are not all for me!! Although they do look very smart on my washing line! (if you would like this pattern, try this Swedish online store Lapp-Elisa to see if Elisabeth has a copy of the magazine left). The brown one was made with some black and brown batiks, and I think it looks fabulous. I used cotton and polyester 80/20 wadding for the cone, quilted with a black Mettler quilting thread "in-the-ditch" and used fast-to-fuse for the base plate, to keep it firm. This one was for a friend Emma's dad - she wanted one that would look "manly" for him!..... .....and then my daughter Beth also wanted one. At the time, she has just moved to reading to live with her boyfriend fro a few months, and had been keeping her pegs in an empty plastic ice-cream tub - well, I couldn't let her keep doing that, could I?? So I quickly whipped up a Klädnyps-strut for her too, made with some beautiful Lecien fabric, and used fast-to-fuse for both the body and base. |
About me...Hi - welcome to my quilting blog! My passions are my family, my dog, my friends and sewing, not necessarily in that order! Archives
July 2023
Blogs I followUK shopsThese are the UK shops that I use to purchase my quilting supplies - fabrics and threads etc.
Australian linksScandinavian links |