*There is a great video tutorial on Lynette's blog demonstrating how to use the apliquick tools.
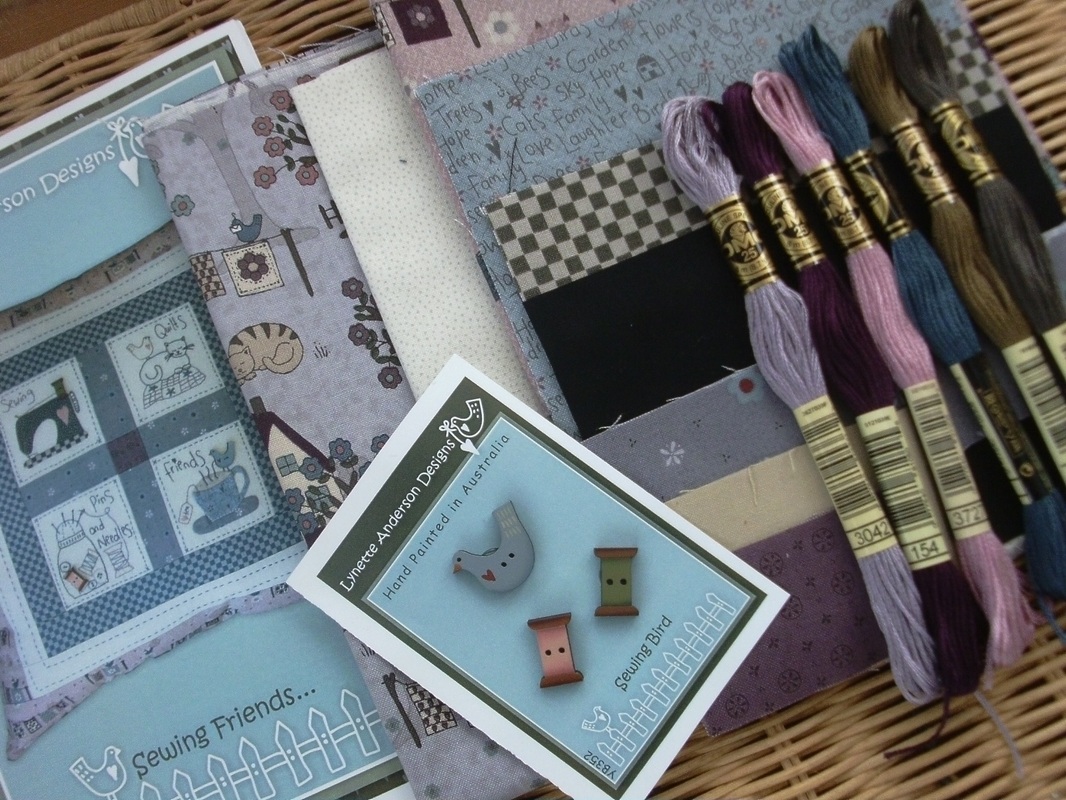
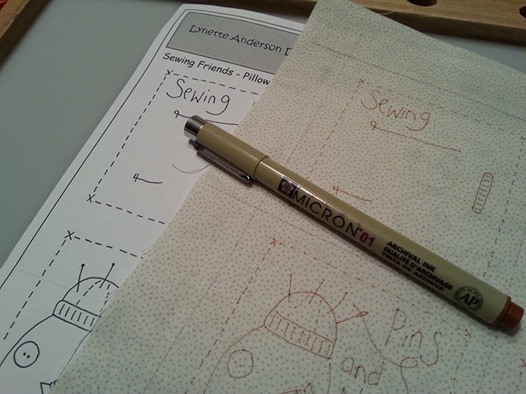
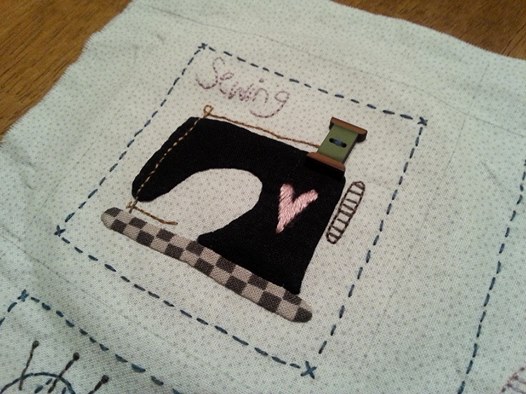
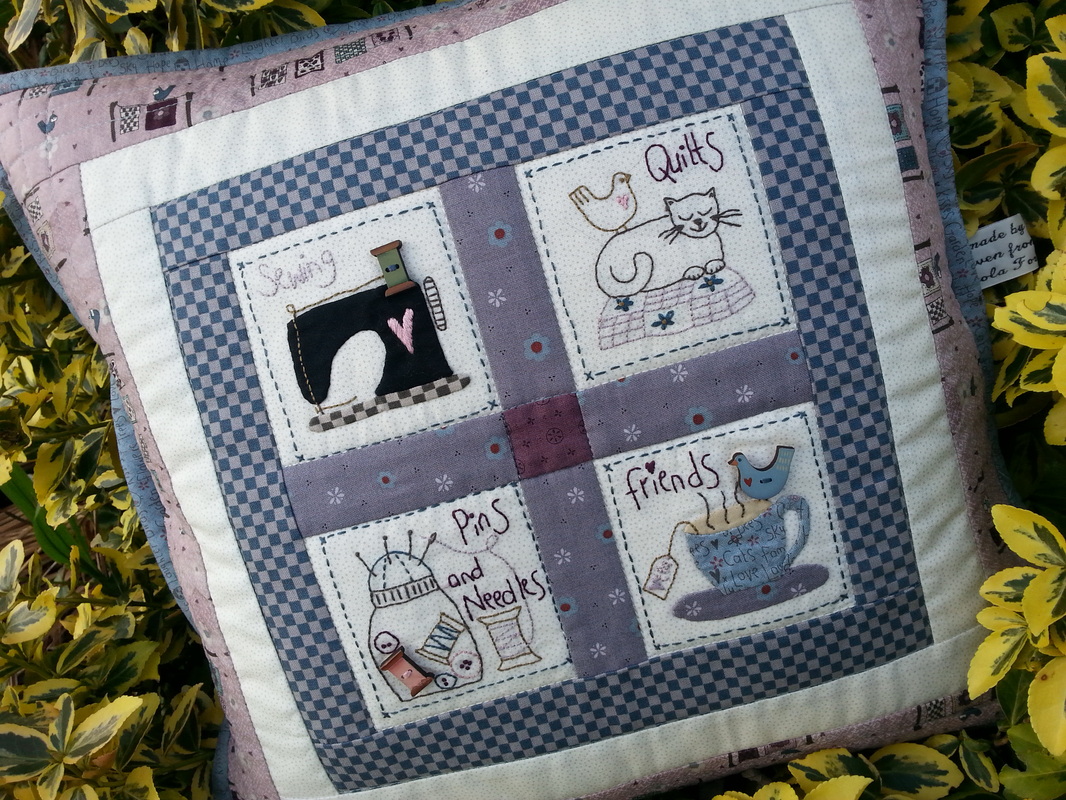
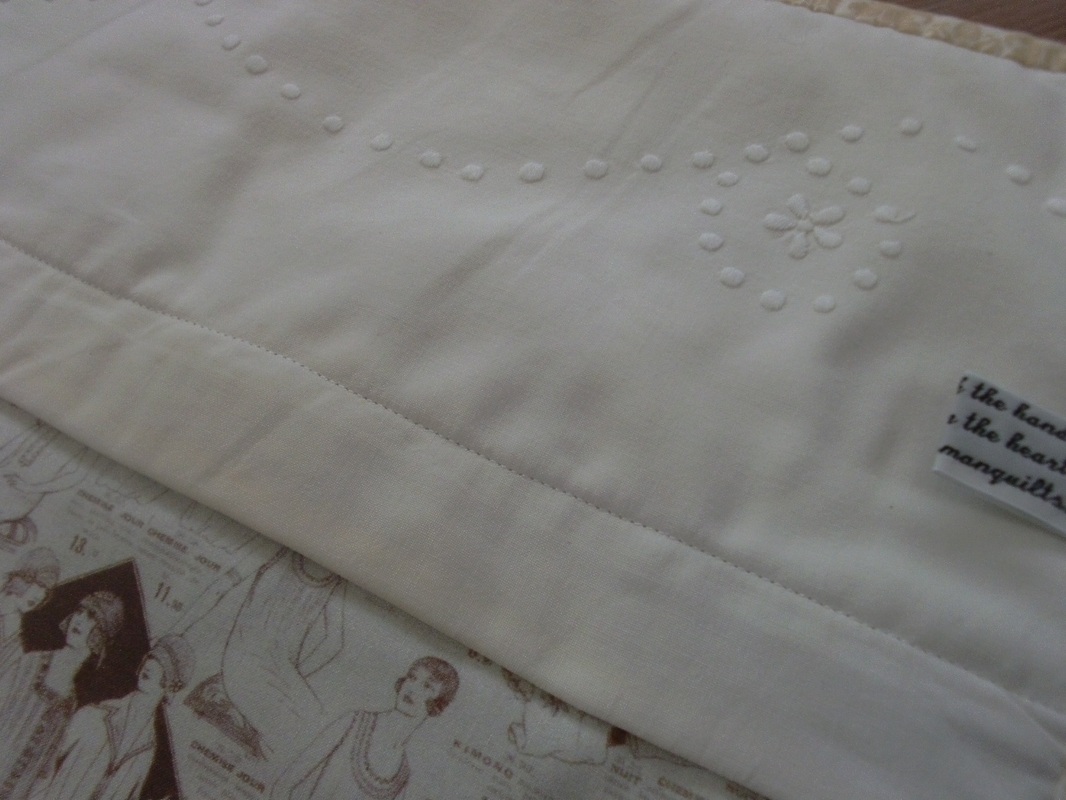
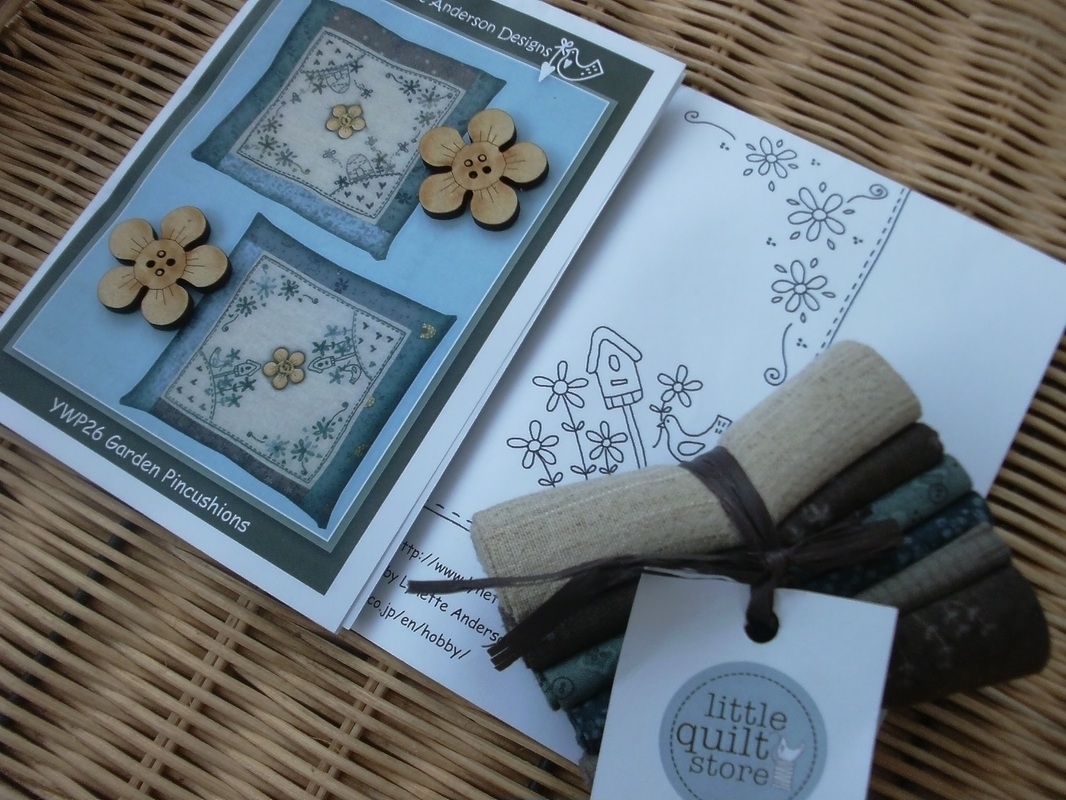
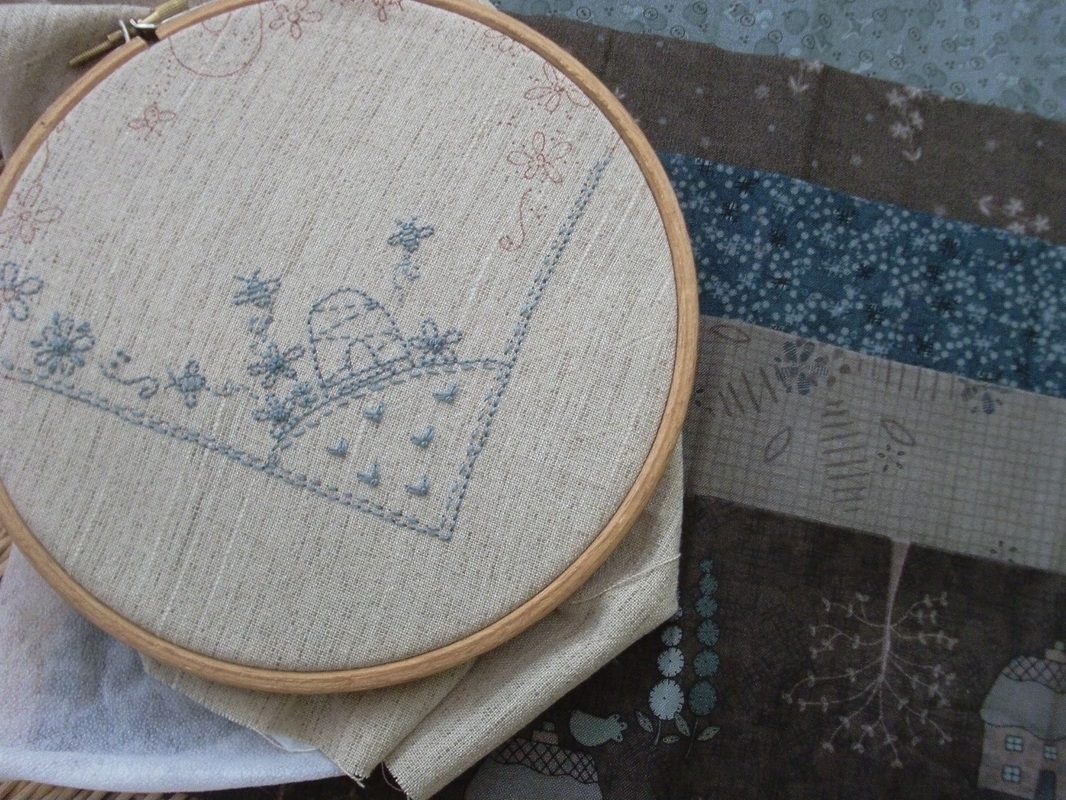
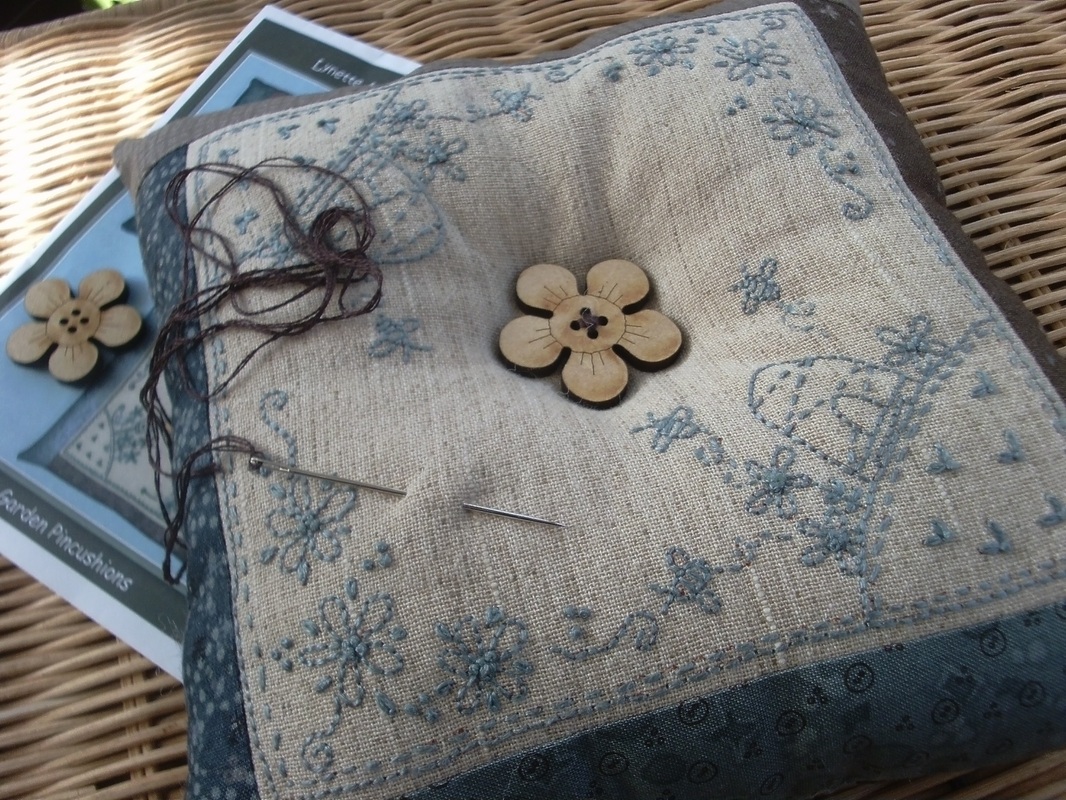
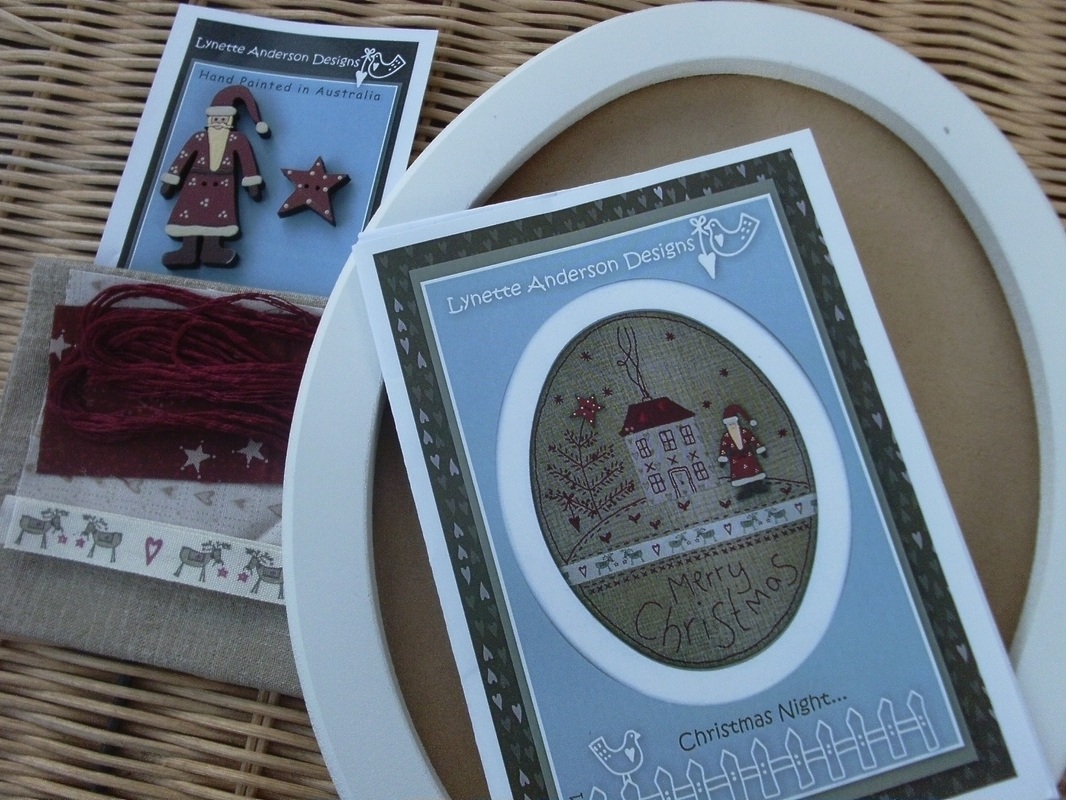
Sewing Friends is a pattern designed by Lynette Anderson, and combines her usual mix of applique and stitchery. I bought this kit from Coast and Country Crafts and Quilts, here in the UK and the kit contains the pattern, all the fabrics for piecing and applique (also designed by Lynette and are from her "Quilters Garden" collection), the beautiful painted buttons to embellish it with AND the embroidery threads too. I used a Micron Pigma pen to trace the pattern onto the stitchery background, fused a small piece of weaveline on the back, and I was ready to start stitching... 
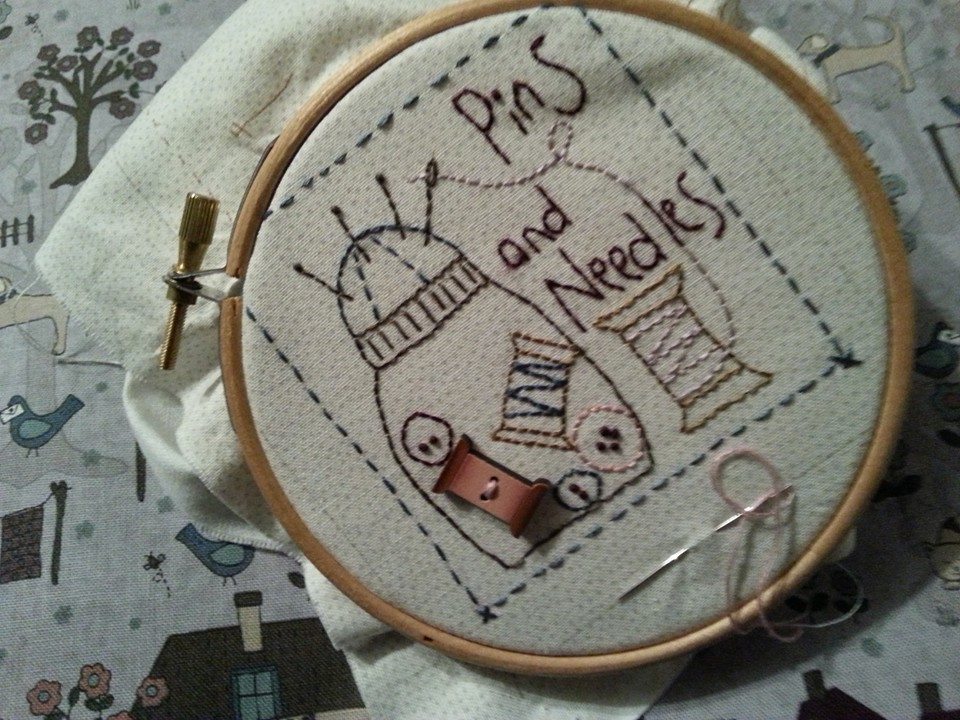
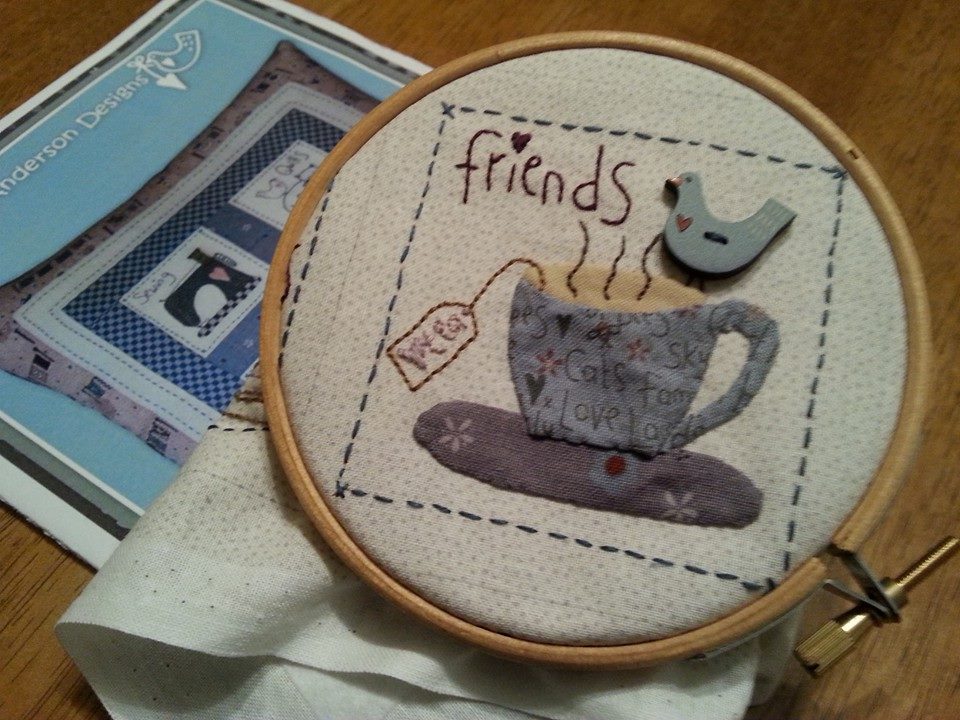
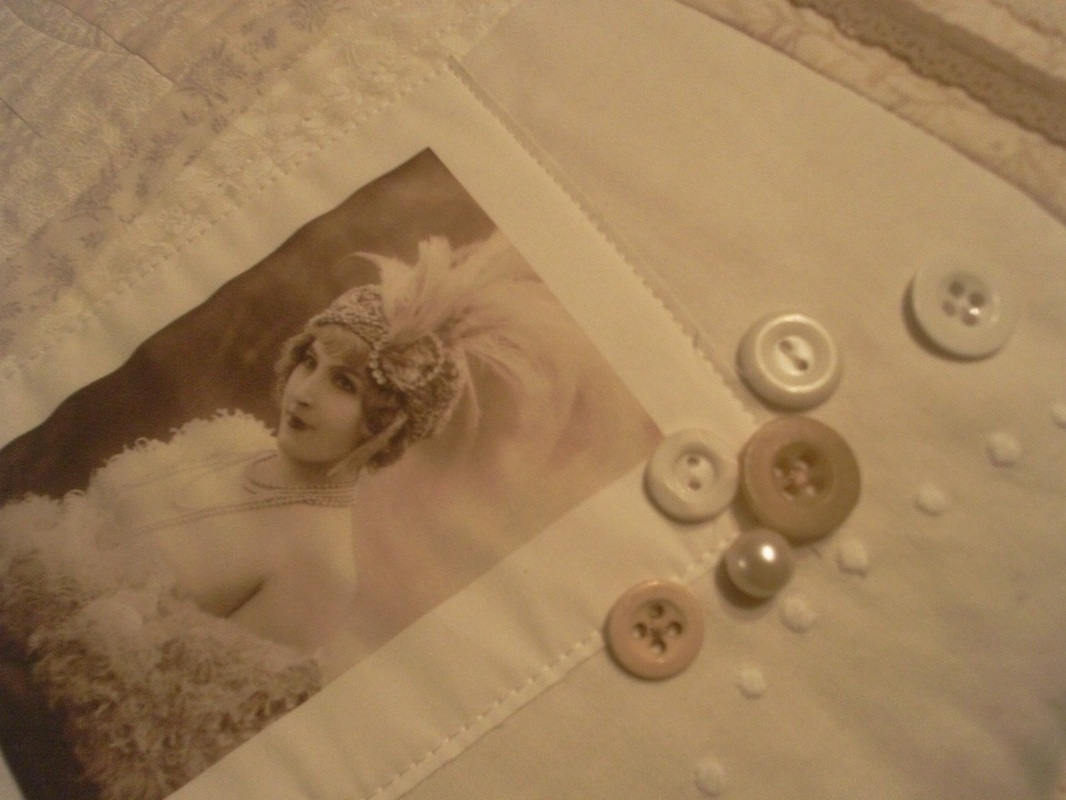
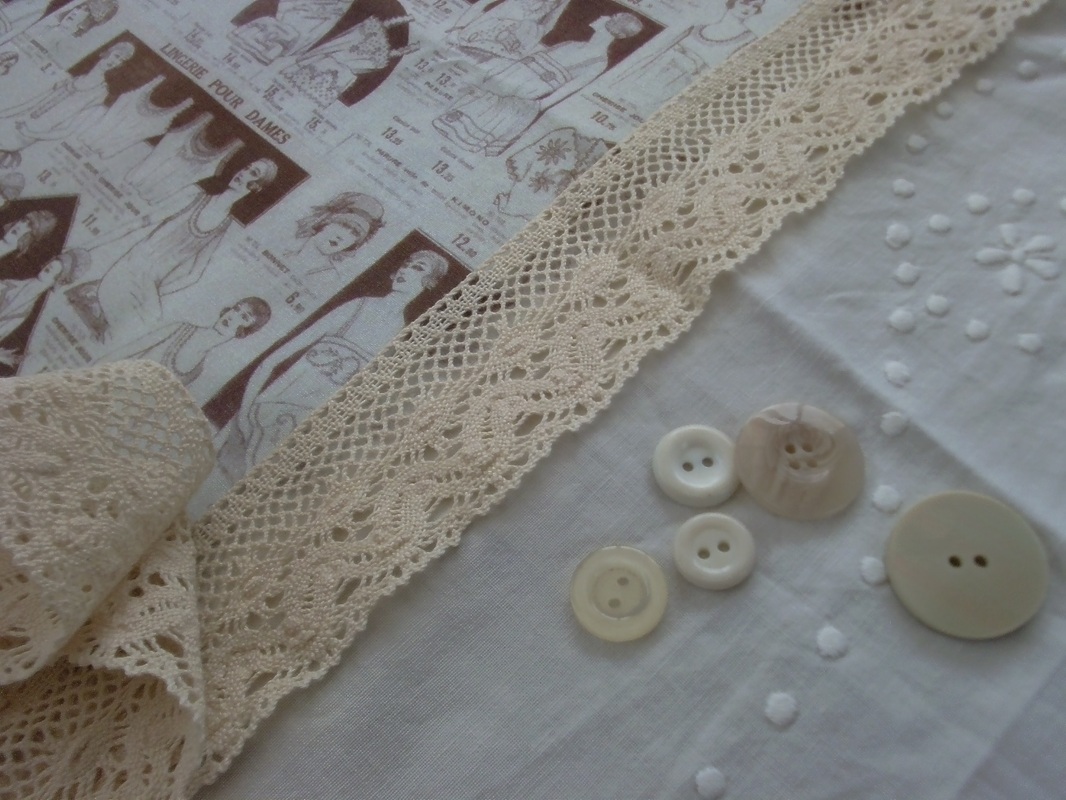
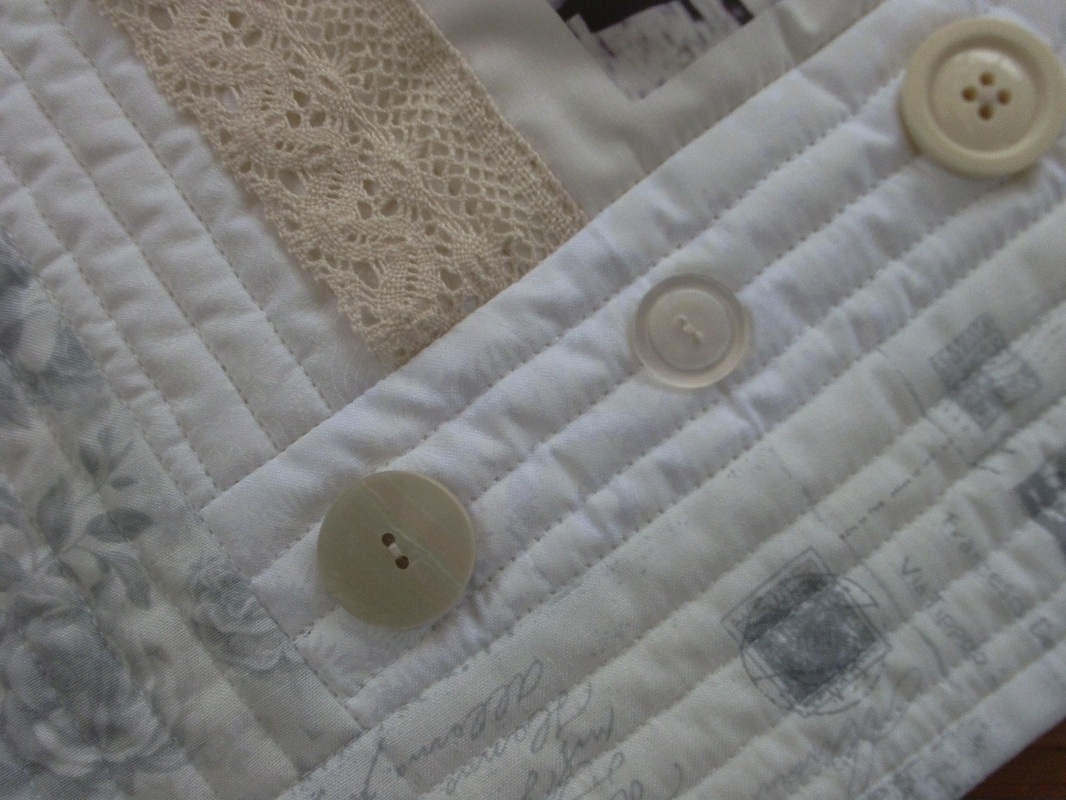
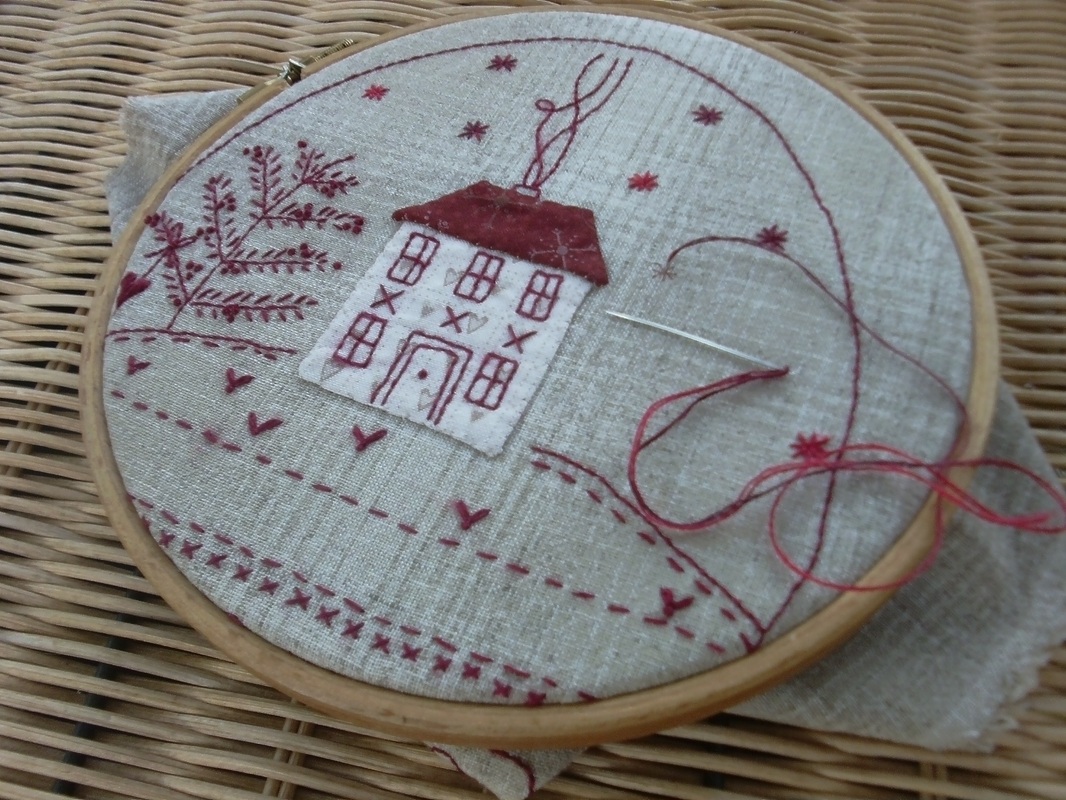
...I used a small wooden embroidery hoop to keep the background fabric taught. These hand painted buttons are the perfect embellishments... 
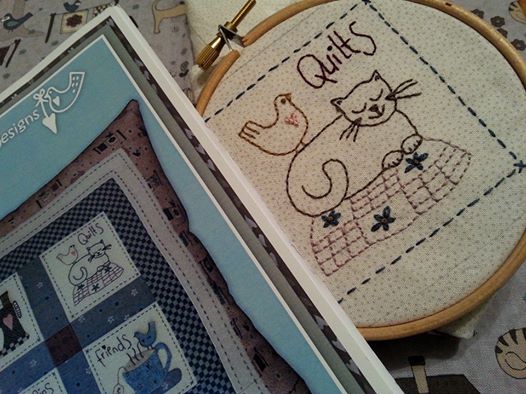
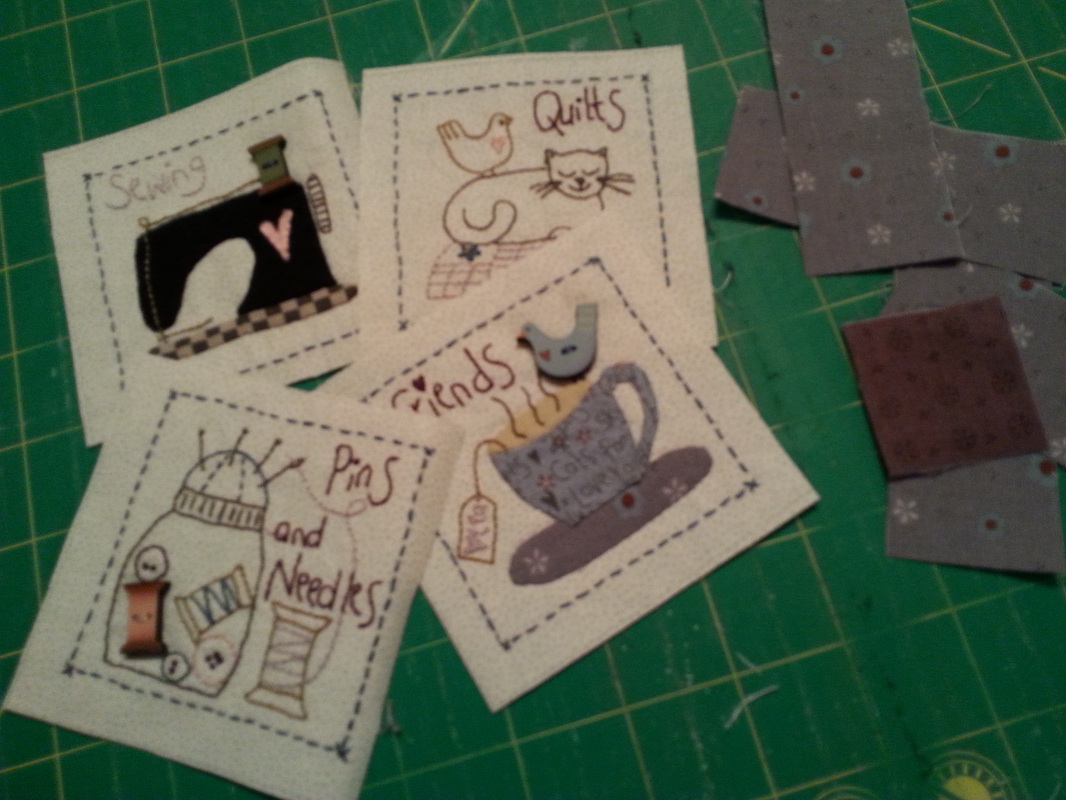
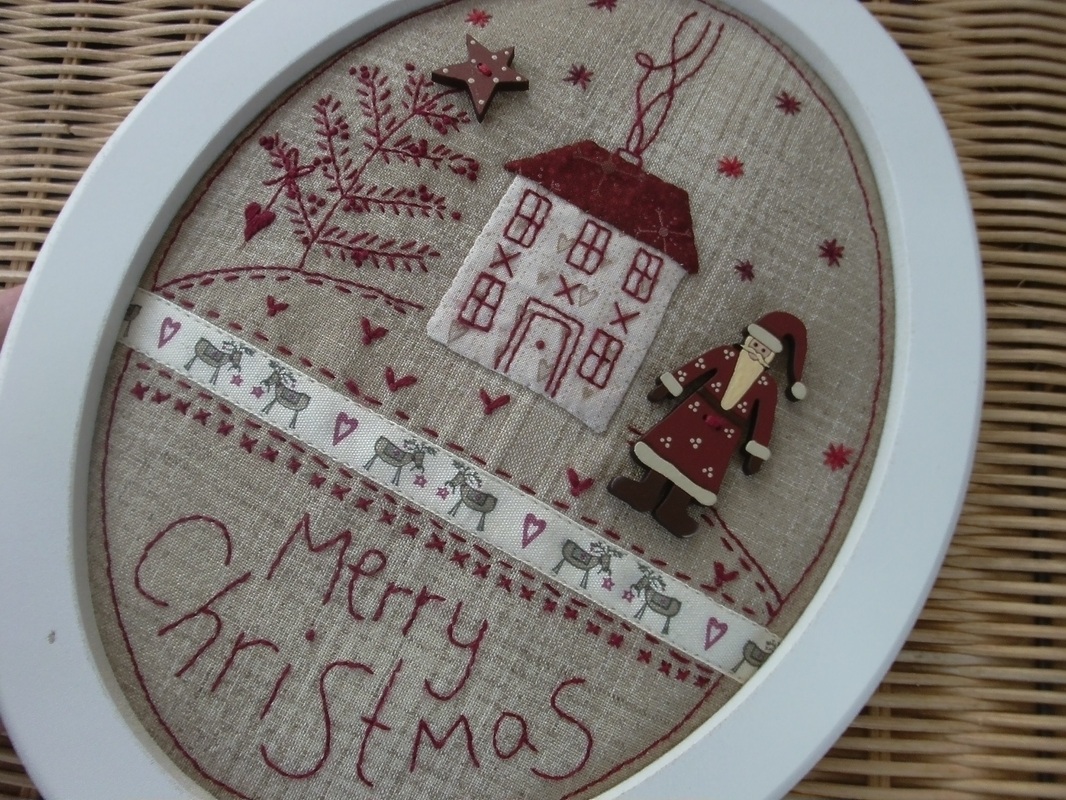
...two of these mini-blocks also have applique, and my friend Teresa very kindly loaned me her apliquick rods to have a play with. I really haven't got to grips with needle-turn applique, and recently discovered the applique apaper and glue stick method with I found much easier. So I had a go with these rods, and quickly became addicted - so much so that I ordered my set from The Fat Quarters... 
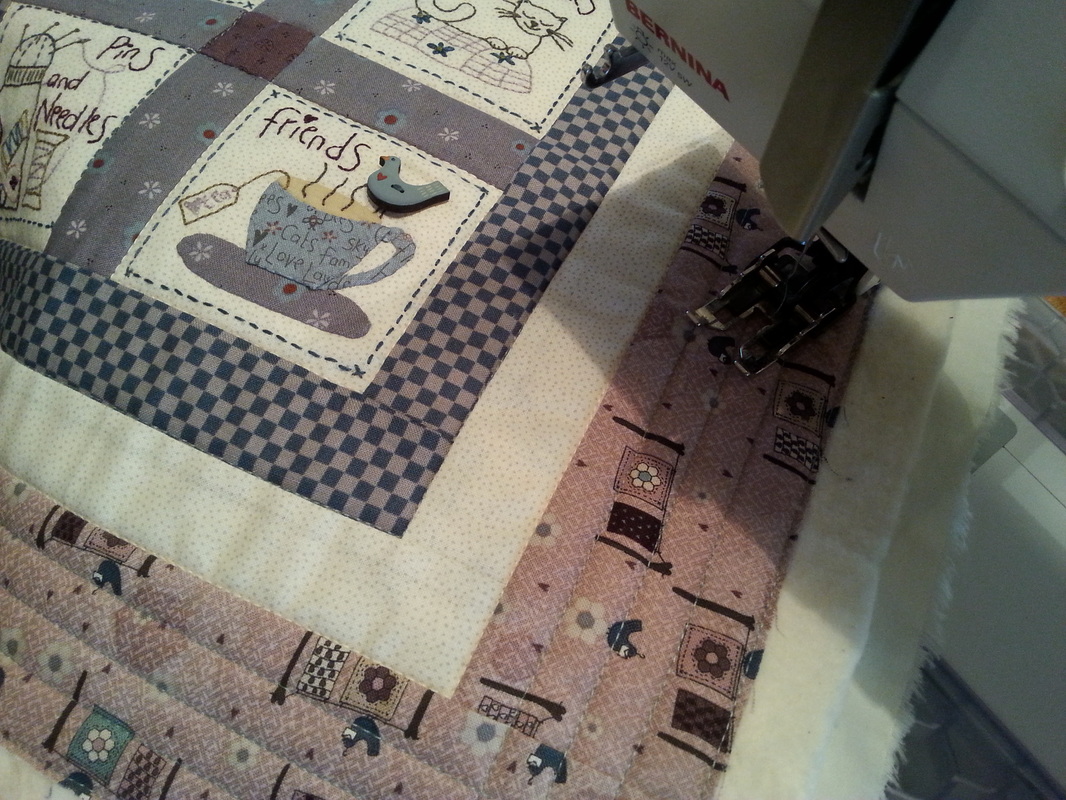
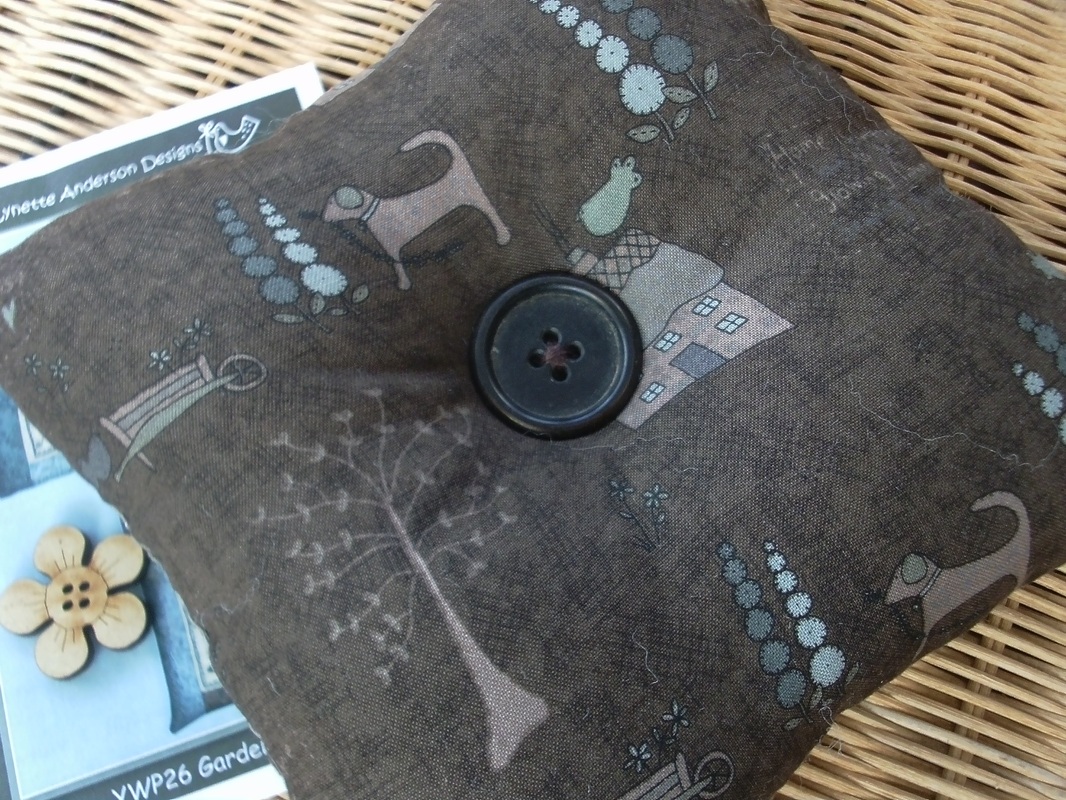
...once these mini-blocks were completed, I was able to get the main block pieced together. This kit uses this beautiful fabric range "Quilters garden" (also designed by Lynette Anderson). I used a fine embroidery thread in pale grey by Mettler for the piecing, along with a Schmetz Microtex size 60 needle for the piecing... 
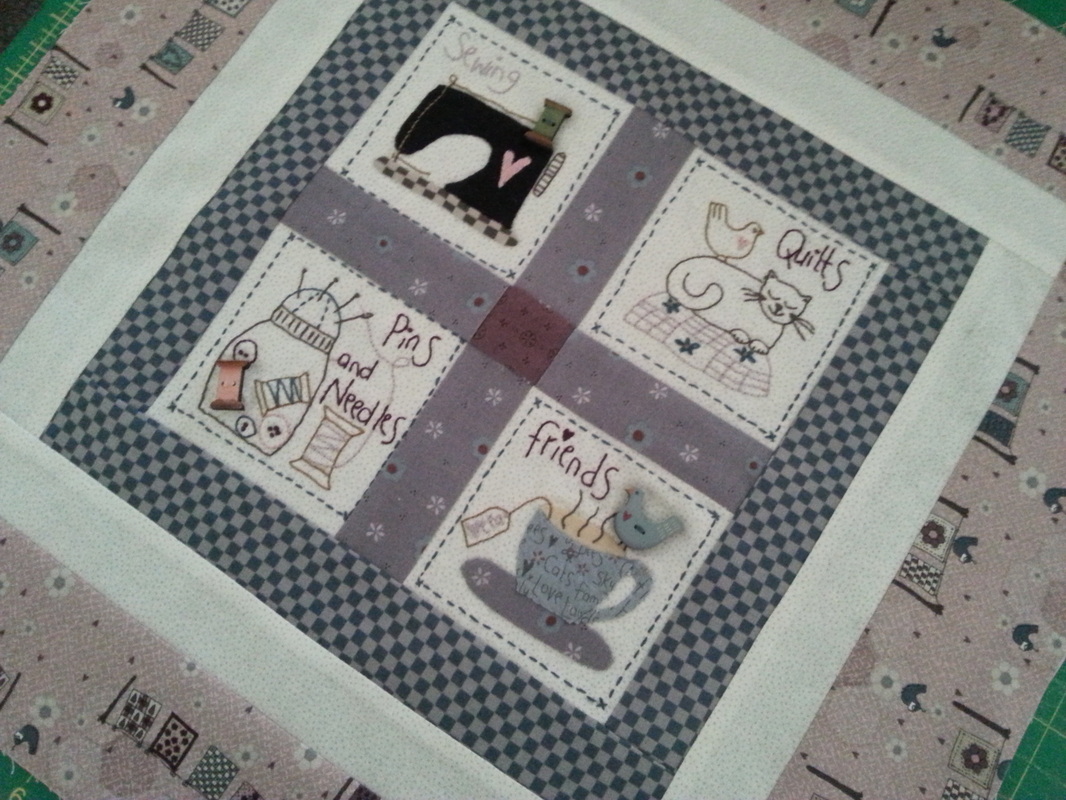
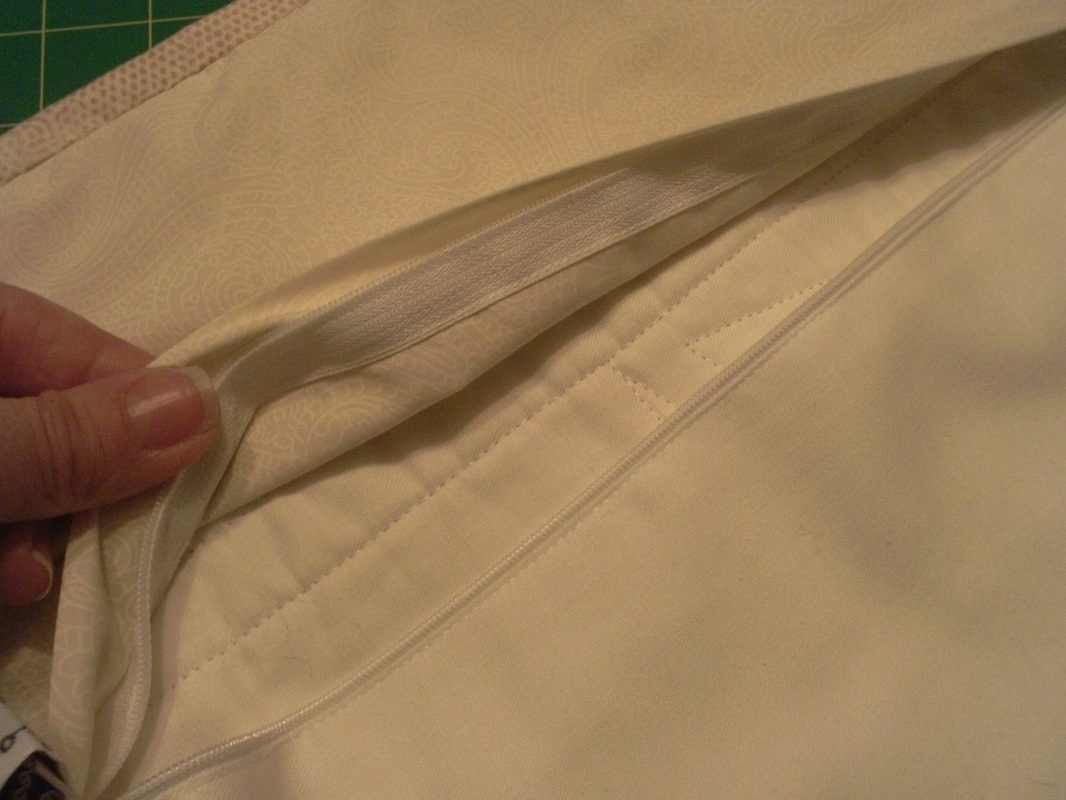
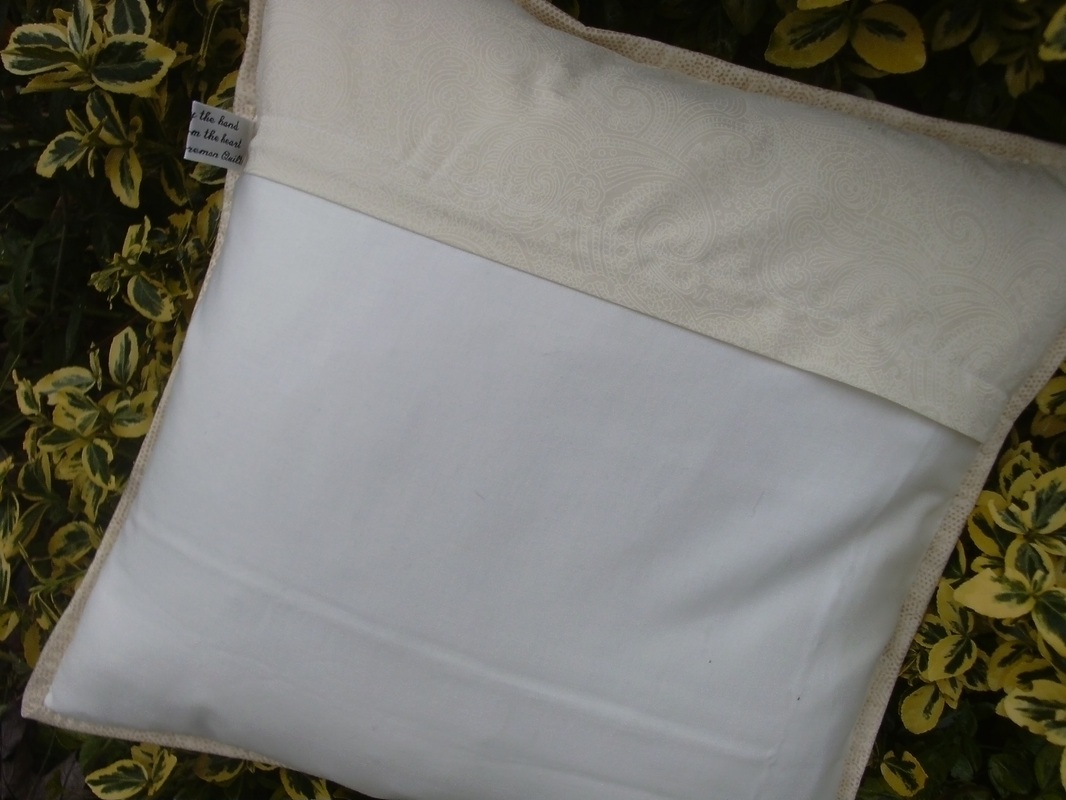
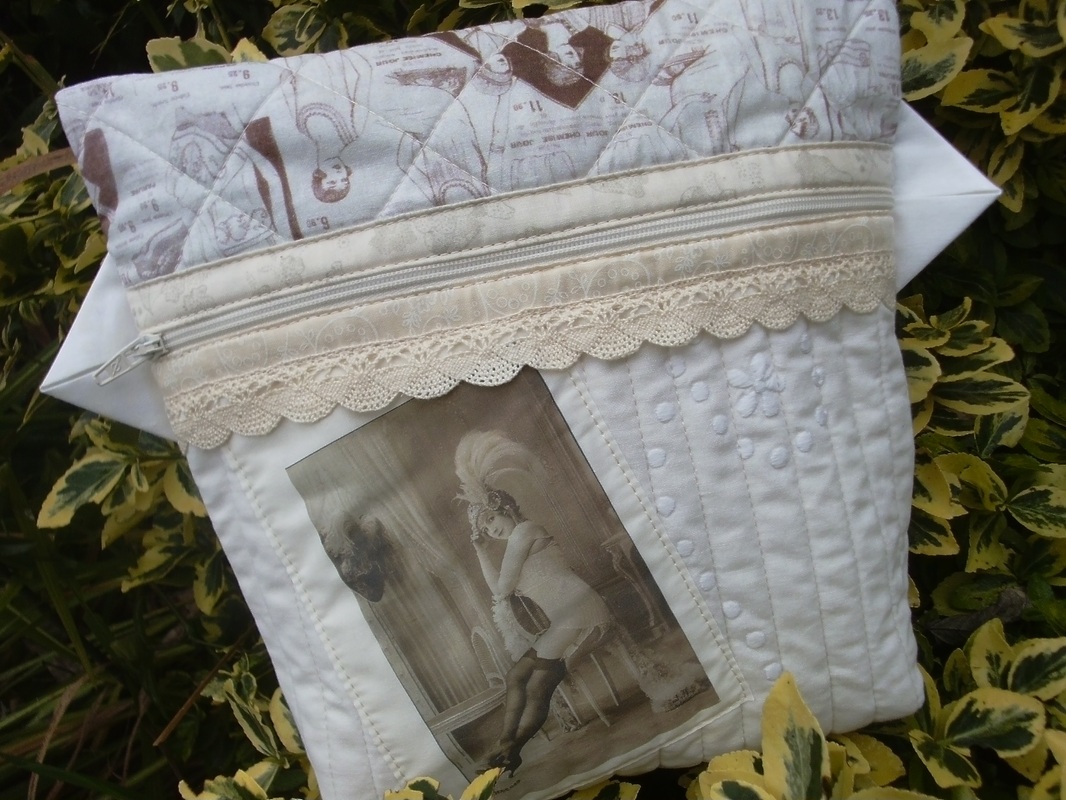
...then changed to a Schmetz Topstitch size 70 needle and an Aurifil thread 40/2 weight for the quilting. I changed the pattern slightly and made the back with an enclosed zipper, I used some extra "Quilters Garden" fabric for the cushion back and the binding... 
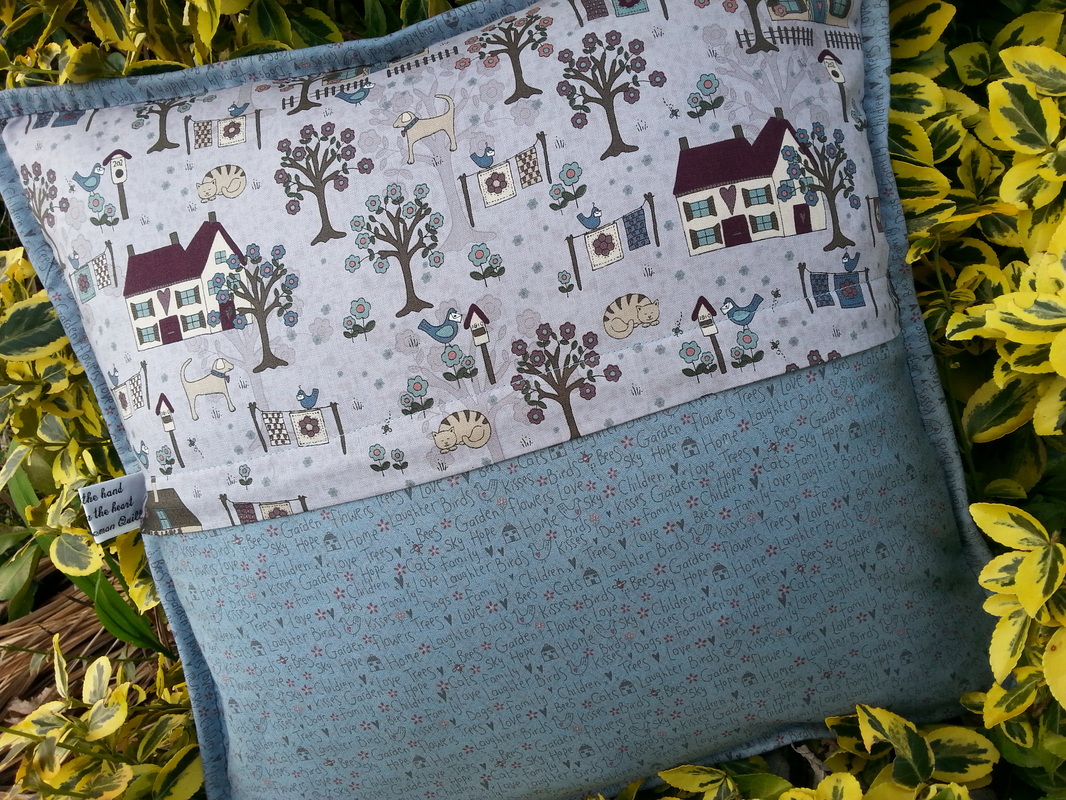
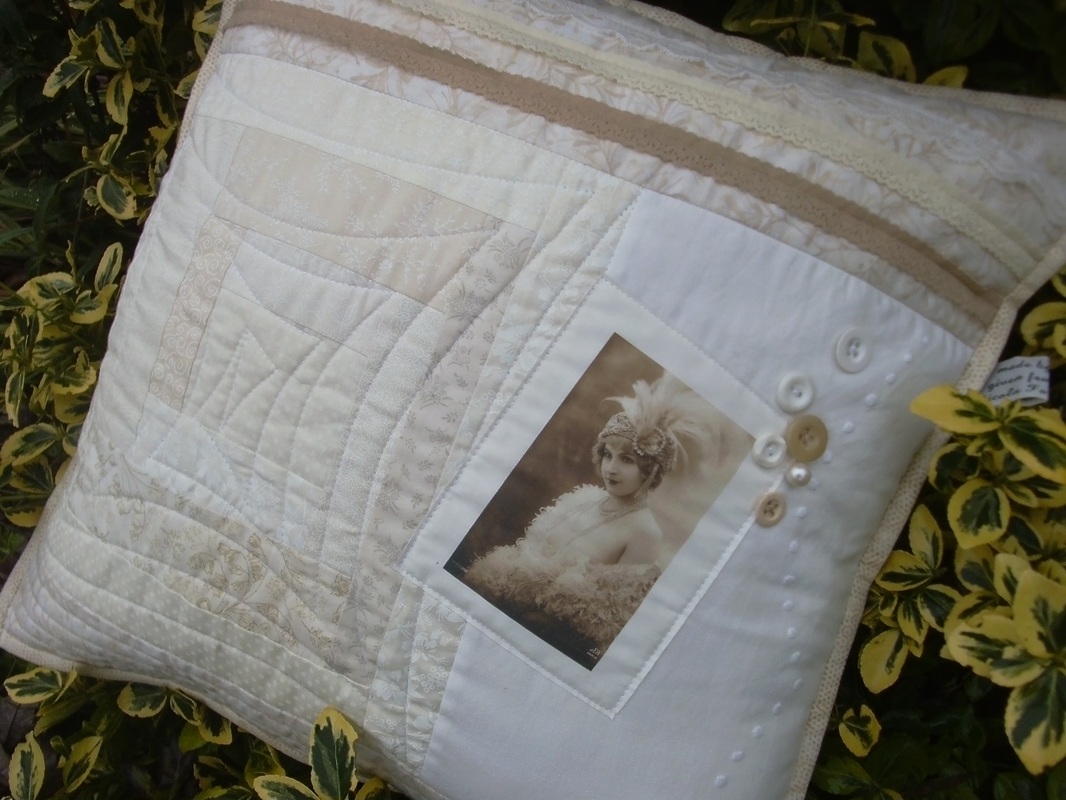
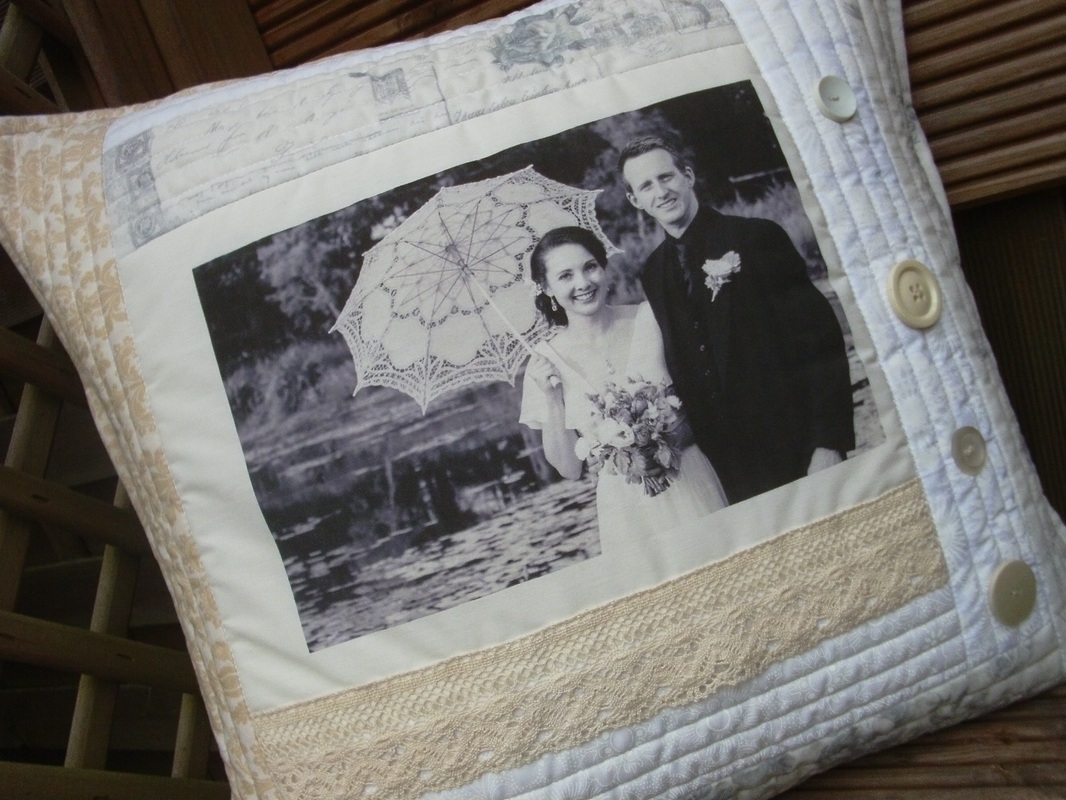
...here it is finally completed with a nice plump feather cushion pad inside. This really is so pretty. I'm getting quite a collection of Lynette's cushions for my sewing corner - poor Mr F is worried that I may soon need a special sewing room all for myself! And my daughters are worried that the next time they come home from uni I might have taken over one of their bedrooms!!!
*There is a great video tutorial on Lynette's blog demonstrating how to use the apliquick tools.
0 Comments
Each year we have a "Secret Santa" at work, and this year I decided to make a really unique gift for the person who's name I had picked. I knew that she's very fond of her grand daughter, so I printed a photograph onto an EQ printable sheet, added some fabrics in shades of cream and added some lace trimming and some vintage buttons. The cover is removable, so at the end of 2015 the cover can be removed and a replacement put in... ...today was the day when the gifts were shared out, and my colleague was so pleased with it! Now every time she uses her diary she'll see her gorgeous little grand-daughter.
I've been playing around with a selection of white and cream fabrics, and lace trimmings, and printing vintage pictures onto fabric (I always use EQ printable sheets that I buy from my local quilt shop, Quilters Haven). I made a scrappy log cabin block and added more fabric in random shapes and sizes until I had a piece that was approx 18" square. Once I was happy with the layout, it was layered onto a piece of muslin with some wadding inbetween (I used an off-cut of Quilters dream cotton wadding, select weight that was left over from another project) and spray basted the layers together using 505 spray. I quilted the layers together, and free motion quilted a large angular spiral on the log cabin block... ...once the quilting was completed, I machine appliqued the vintage picture into place, and stitched a few vintage buttons randomly. 3 rows of lace trimming were finally added. The front and back of the cushion were layered up, and the binding was added... ...I used 2 fabrics for the back of the cushion (I think this adds a bit of interest to the back, and like things that I make to look pretty on the back as well the front!) and used a concealed zipper as the closure. This looks really neat, and had a small label sewn into the side seam too... ...and here's the finished cushion. A plump feather cushion is used to fill this out. It was time for a quick photoshoot this morning, as it was raining when I finished this yesterday, then it needs to wrapped up for my baby sister who has a birthday coming up!
Here's the same pattern AGAIN - "Anna's Sminkepung" by the Norwegian designer AnnAKa. I've got a HUGE box full of lace trimmings, and love mixing them with vintage fabrics and photographs of rather saucy ladies. (These were printed onto a sheet of EQ printables that I'd bought from my local quilt shop, Quilters Haven). The picture was appliqued onto the front of the bag. Some lace trimming was used to embellish this one.
Last year my friend Lynette's son Eddie married his beautiful bride, Emma. I had started a very special gift for them soon after the wedding, using one of their wedding photographs, then I was distracted by other projects, until finally a few weeks ago it was completed. Initially a selection of vintage fabrics, lace and buttons were collected together. I'd printed the photograph onto an EQ printable fabric sheet (I buy packets of these from Quilters Haven). This project was quilted very simply with lots of straight rows using the quilt-as-you-go method. Some cream lace was added, and some vintage buttons from my button tin were used to embellish it... ...the back was made with some sepia-toned fabric depicting vintage ladies in their lingerie and also some fabric that had once been a Laura Ashley duvet cover (I'd had this as a wedding present many years ago and although it had seen better days, I was still able to put it to good use). A zipper is hidden under the flap, and one of my labels was added to the side seam before the binding was stitched into place... ...and here is the finished project - this was posted out to Emma a couple of weeks ago, and arrived safely in Australia in time for their 1st wedding anniversary.
A few weeks ago, when I was at the Festival Of Quilts, I bought this pattern "Garden Pincushions" by Lynette Anderson Designs, along with a small bundle of fabrics also designed by Lynette, "Hollyhock Cottage", for Lecien. The pattern included 2 large raw wood buttons to decorate the completed pincushions, and 2 stitchery designs. I traced the design onto the textured fabric, fused a small piece of stabiliser onto the back, and was ready to start stitching... ...once the stitchery was completed and the borders attached, the front and back were stitched together using a very small machine stitch, leaving an opening for turning through to the right side. I'd made an inner lining with calico too for the filling. This was stuffed with crushed walnut shells that I'd bought online from Creative Grids UK, and the opening was closed using ladder stitch. Finally buttons were added as decoration. I used one from my button tin for the back... ...and the raw wood button that came with the pattern was used to decorate the front. I used some very strong thread to sew these buttons into position. Now I have a pretty new pincushion to use when I'm sewing. And what will I do with the other button that is spare? Well I might just make another one so I've got a spare pin cushion ;)
Before I packed away the applique paper that I'd recently ordered from Patchwork Chicks, I thought I'd do some more applique before I got out my sewing machine for a bigger project! This is another kit designed by Lynette Anderson - "Christmas Night" - and again, the kit contained everything I needed - background fabric, ribbon, embroidery thread, scraps of fabric for the applique, and even the hand painted buttons that are used to embellish this picture once the stitchery and applique are completed. Once the design had been traced onto the background fabric I was ready to start. The frame was also bought from Lynette... ...once again, some wadding is added between the stitchery and the backing board, which ensures a snug fit and pads it out a little bit too. Buying the frame at the same time as the kit was a brilliant idea, as it meant I could get the whole project completed without it going in my "to-finish-later" box. This one will be used to decorate my lounge at a more seasonal time. It did seem a bit strange sewing Christmas project in the summer!
My daughter Alice is working for Lynette Anderson at the Festival Of Quilts again this year. The show is held at the NEC in Birmingham, and is on from Thursday 7th Aug through to Sunday 10th Aug. We're travelling to Birmingham on Wednesday, and I needed to prepare some hand sewing to take with me. Last year at the show I'd bought a lovely kit from Lynette Anderson Designs, called The Orange Tree, and as it was still waiting to be opened, it seemed like the perfect project to take with me this year! The kit contained the pattern and all the beautiful fabrics ( "Secret Garden" which was also designed by Lynette, for Lecien) to make the cushion, and a hand painted button too. Firstly the fabrics were cut and pieced together, then using my new light-box I traced the design using a fine Micron Pigma pen, then ironed a piece of fusible interfacing onto the back of the fabric. I just needed to add a few more sewing supplies to my sewing kit, some embroidery threads from my thread box, and it was ready to pack in my travelling bag. It's always useful to have some hand sewing to take on long journeys, and maybe when I'm having a rest from ohhhing and ahhhing at all the quilts, and shopping, and stopping off for tea and cakes with friends at the show, I'll sit and do a bit more stitching. If you see me you must stop and say hello ;
Well I don't normally do 2 posts in one day, especially at the weekend, but as I'd spent the afternoon busy sewing yet another bag, I thought I'd share it now! I used some lace and vintage buttons and a suspender and a rather saucy ohhh-la-la picture printed onto an EQ printable fabric sheet that I appliqued onto the front panel of another toiletry bag. Again, this is based on the pattern "Anna's Sminkepung by the Norwegian designer AnnAKa... ...these ones are a bit larger, so can be used as a toiletry bag - it would hold several small bottles of all the essentials you'd need for a weekend away or a holiday, and is washable too so it doesn't matter if anything gets spilled inside it.
One of my friends, Sue, asked me if I could do a commission for her. Sue's daughter is getting married today, and Sue wanted a matching toiletry bag and cosmetic bag to give to her daughter to take away on her honeymoon. I can remember Lizzie when she was a little girl, running around when her dad used to play cricket against Mr F's team, many many years ago before I had my own girls (gosh that seems like another life!!) Sue said the wedding colours were purple and cream, with a little bit of green. Well, of course it just HAS to be Lecien fabrics, and of course it HAS to be an AnnAKa pattern! The cosmetic bag is based on the pattern "Anna's Sminkepung", and is available from Lappedilla and Lapp-Elisa. I had some gorgeous velvet ribbon trimmed lace, in green and purple, that went perfectly with these fabrics. (This lace is from Little A Designs)..... .....once the cosmetic bag was completed, it was time to get started on the toiletry bag. "Toalettveske" designed by Elin R Roland was my choice for this - I used the same fabrics that I'd used for the cosmetic bag, (I really do love these Leciens!) and added a strip of cream swirl fabric too. There are pockets inside the bag, to keep smaller bits and bobs in, and the long zipper ensures the toiletry bag can be opened fully..... .....and I embellished the cream strip of fabric with some vintage buttons, these colours matched the fabric perfectly! The toiletry bag was decorated with different lace trimmings so that both the front and the back will look slightly different. The ties keep everything neat and tidy at the sides, and finally one of my labels is stitched into the side seam..... .....I delivered this to Lizzie's mum a few days ago, and she thought Lizzie would love it! Well she's getting married later today, at 1pm, so does that means this will be packed in her case ready for her honeymoon? - I do hope so!
|
About me...Hi - welcome to my quilting blog! My passions are my family, my dog, my friends and sewing, not necessarily in that order! Archives
July 2023
Blogs I followUK shopsThese are the UK shops that I use to purchase my quilting supplies - fabrics and threads etc.
Australian linksScandinavian links |