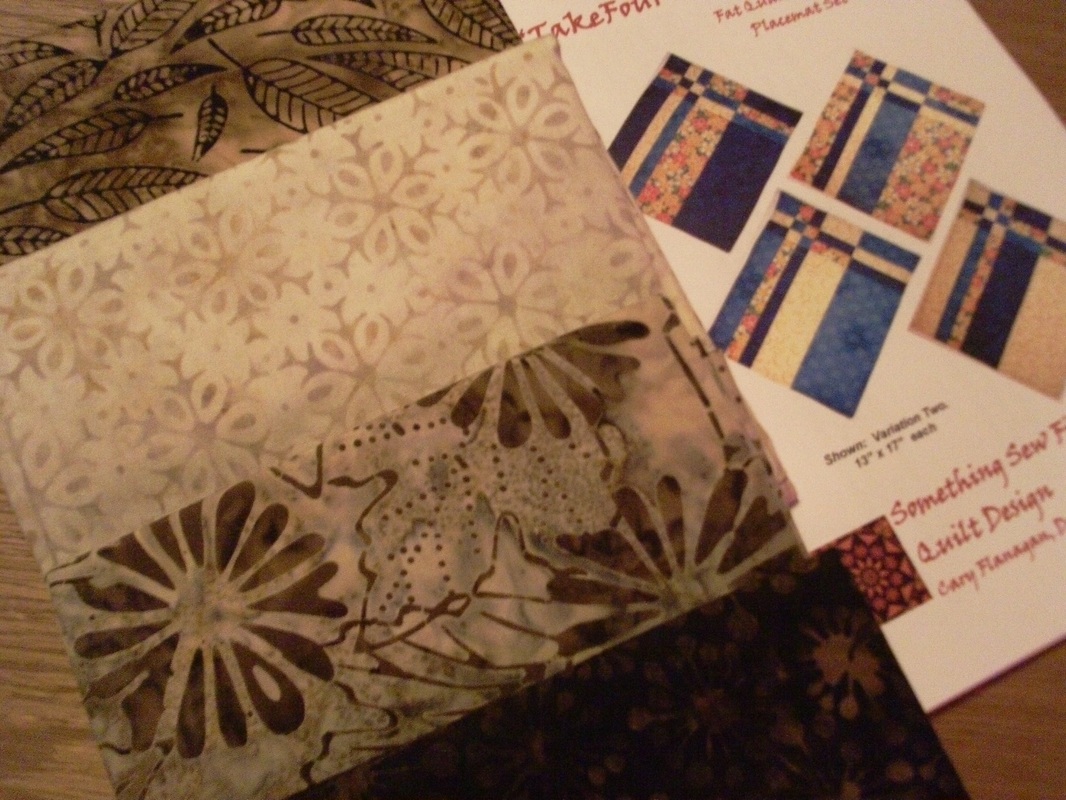
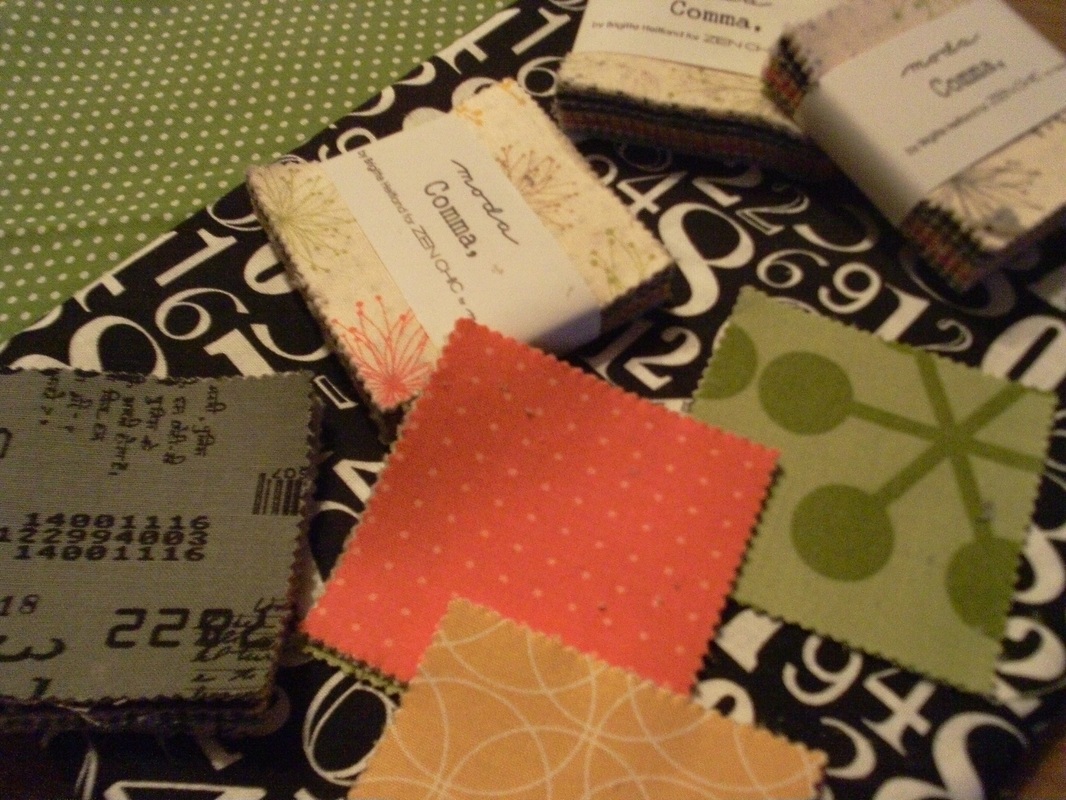
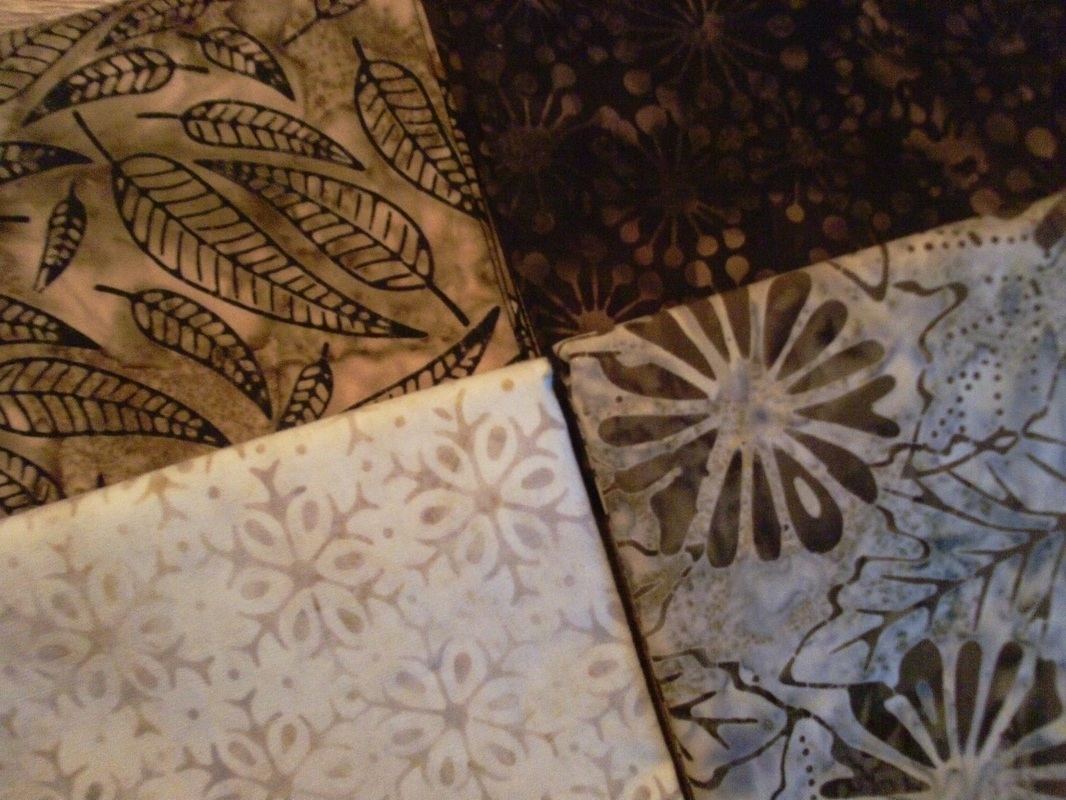
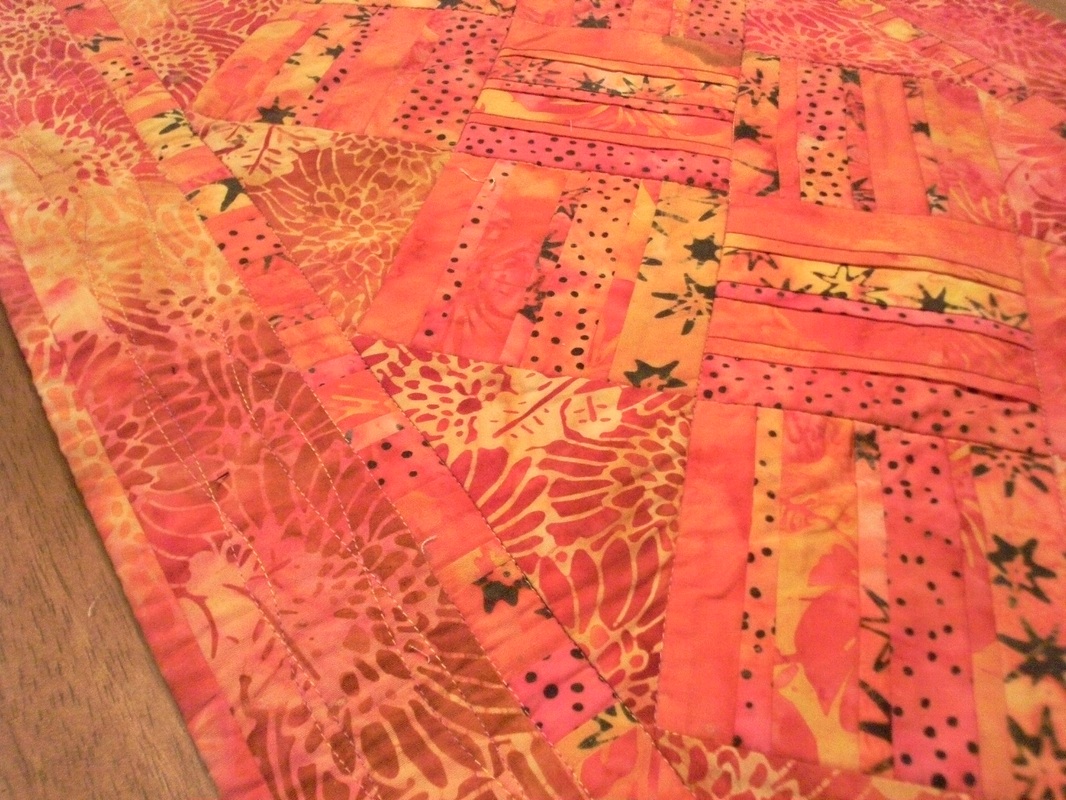
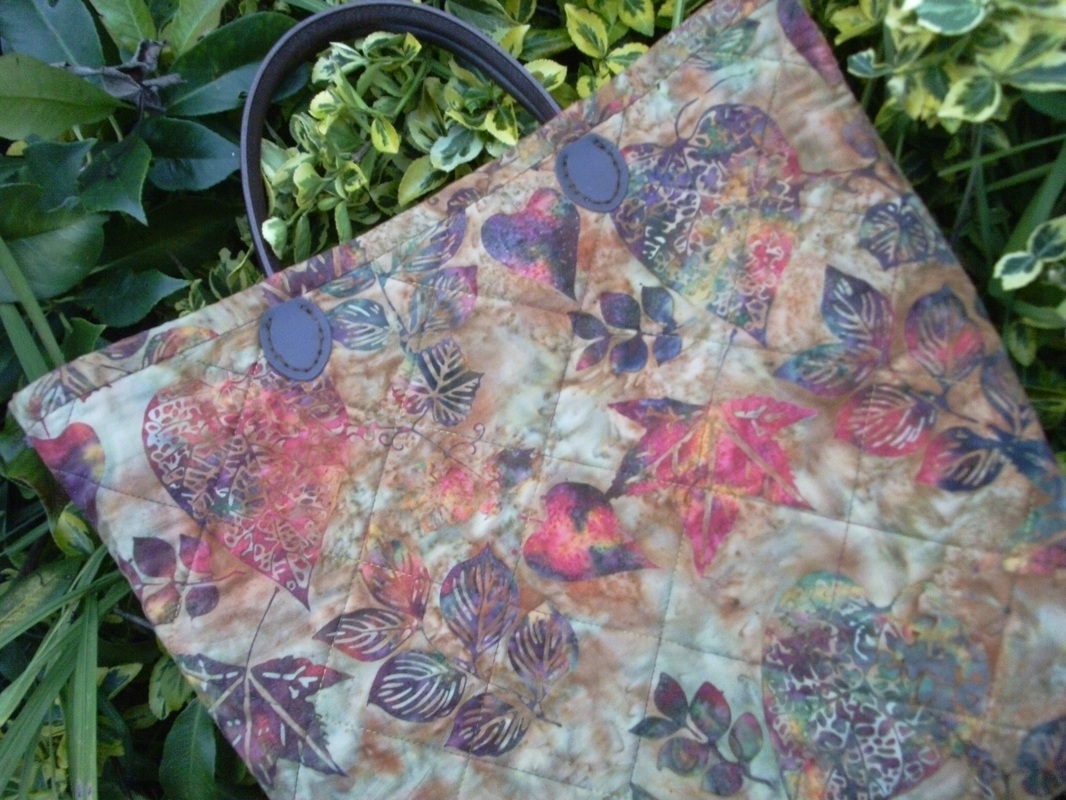
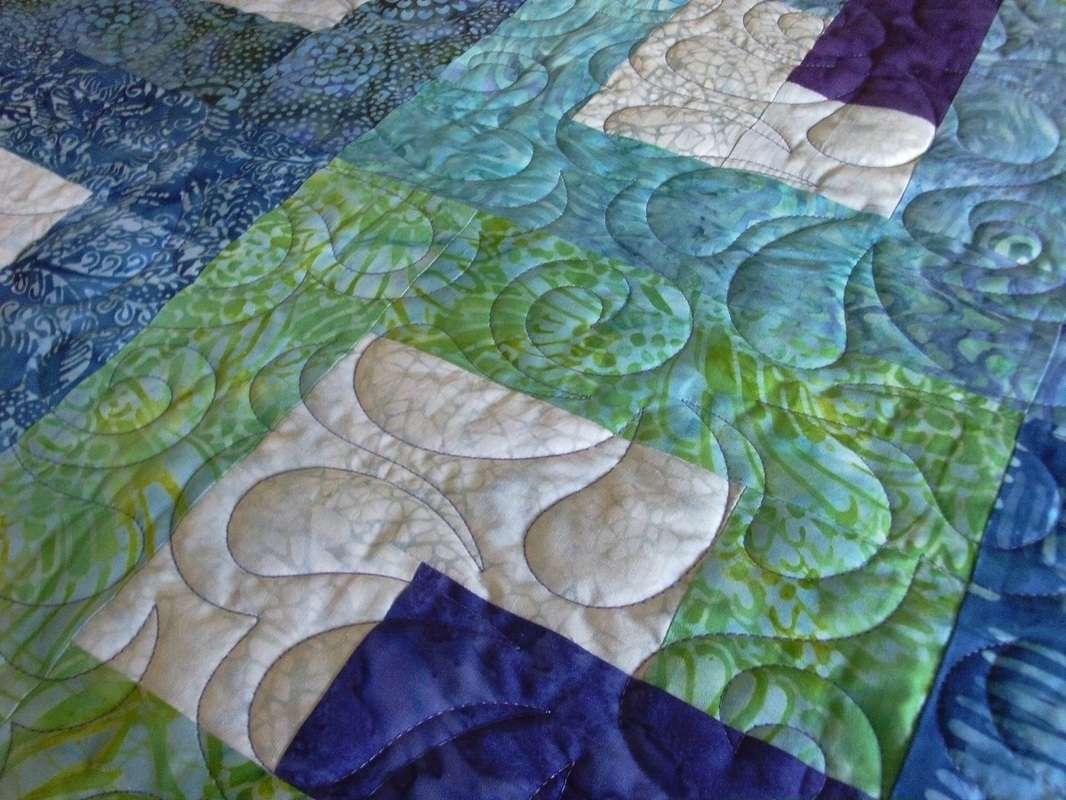
I wanted something simple to showcase these gorgeous brown batiks that I'd bought from Sew and So's when I went to Bungay with my friend Sue, when I was on my stay-cation a few weeks ago. I used this pattern called "Take 4" (designed by Cary Flanagan for Something Sew Fine Quilt Design), and I quickly set about slicing these batiks into neat little piles... 
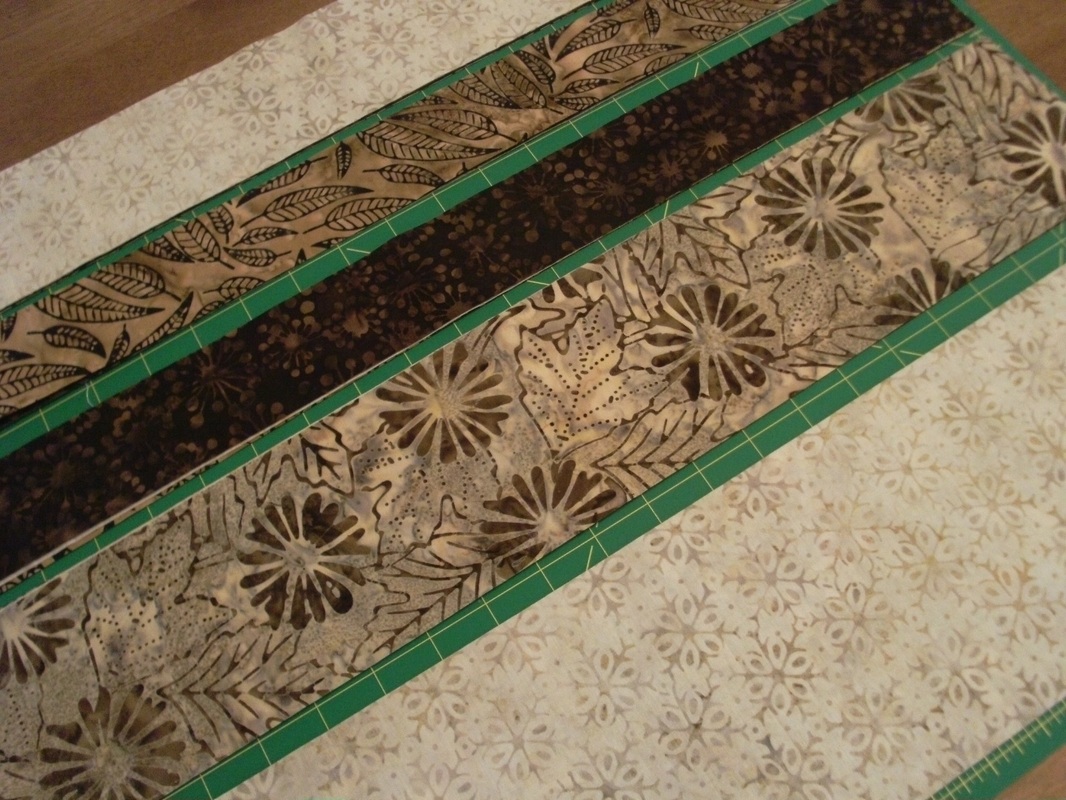
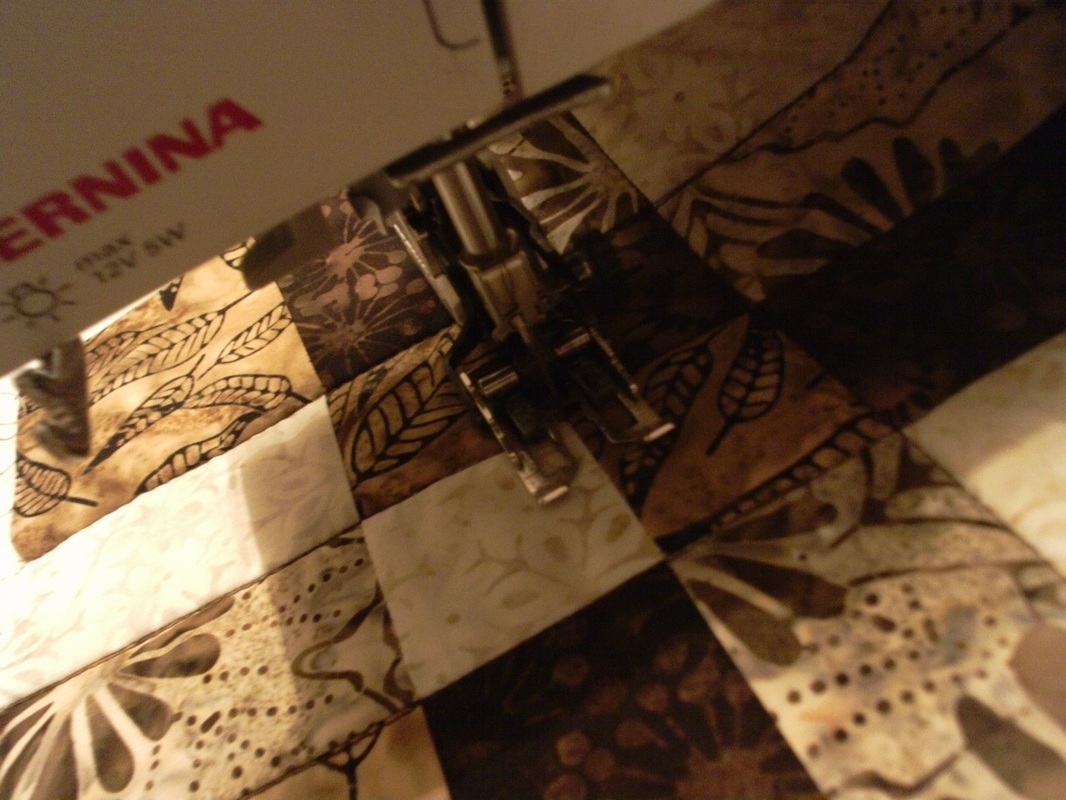
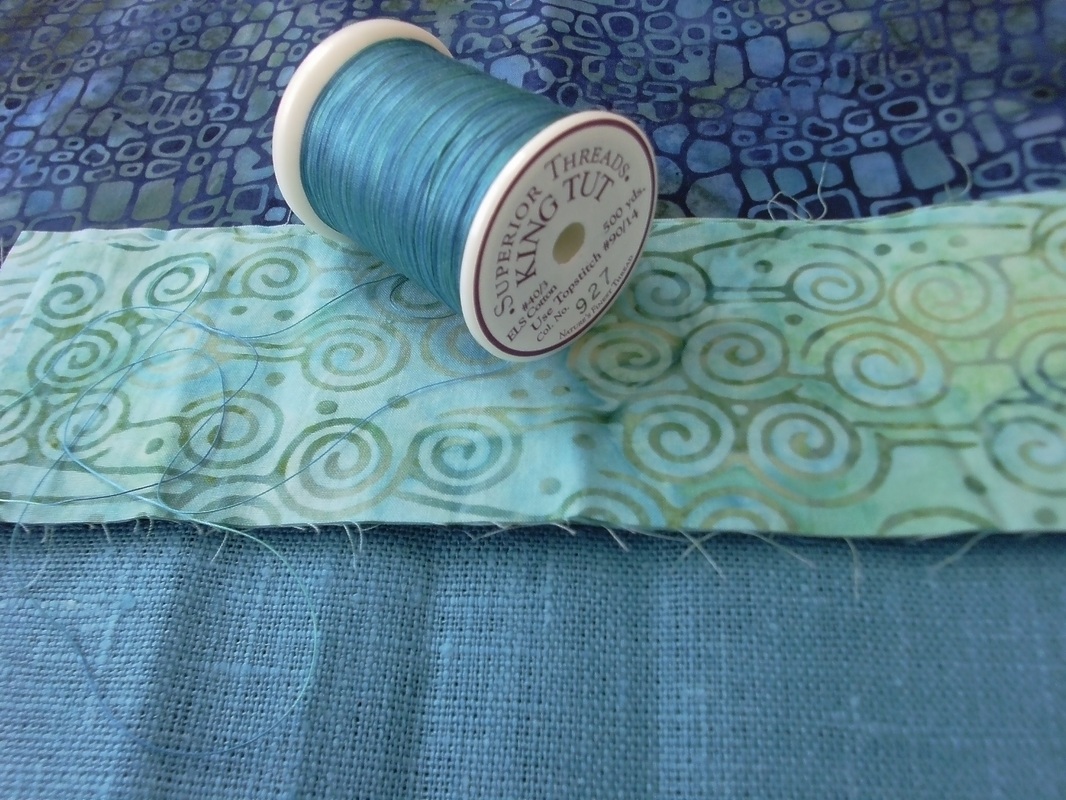
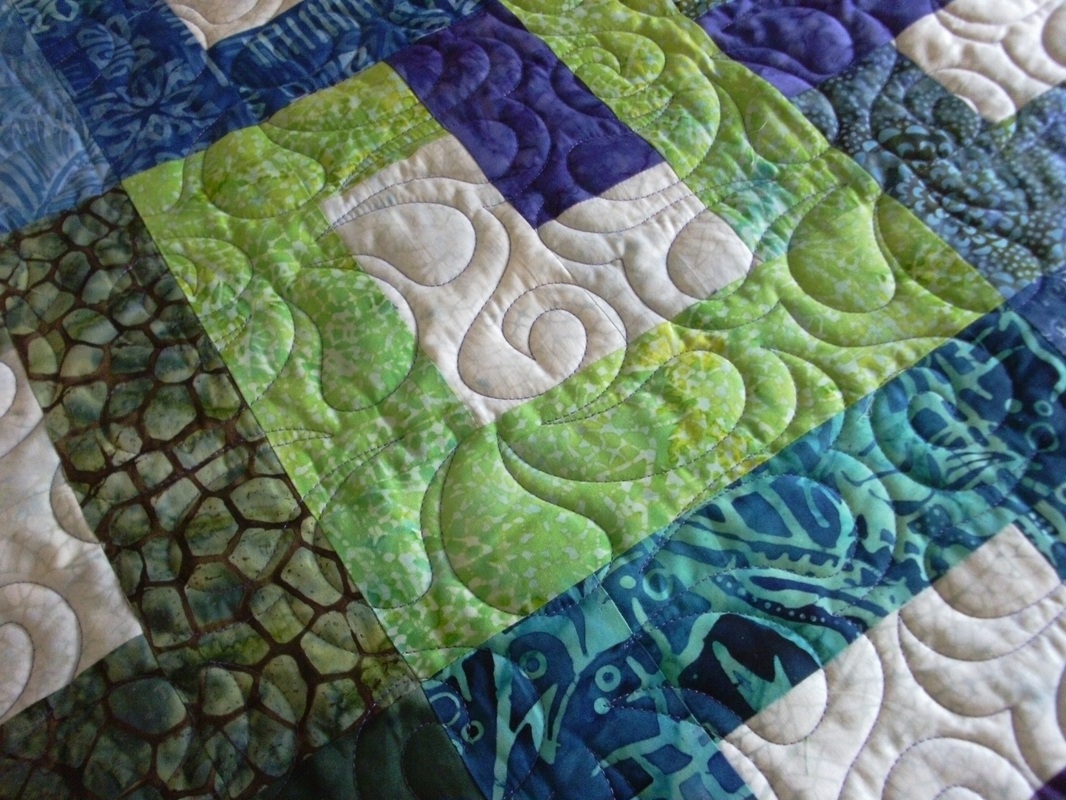
...these mats pieced together VERY quickly, and I used a mid grey Mettler fine embroidery thread in my Bernina, and a Schmetz Microtex needle size 60. In no time at all 4 place mats were pieced and pressed... 
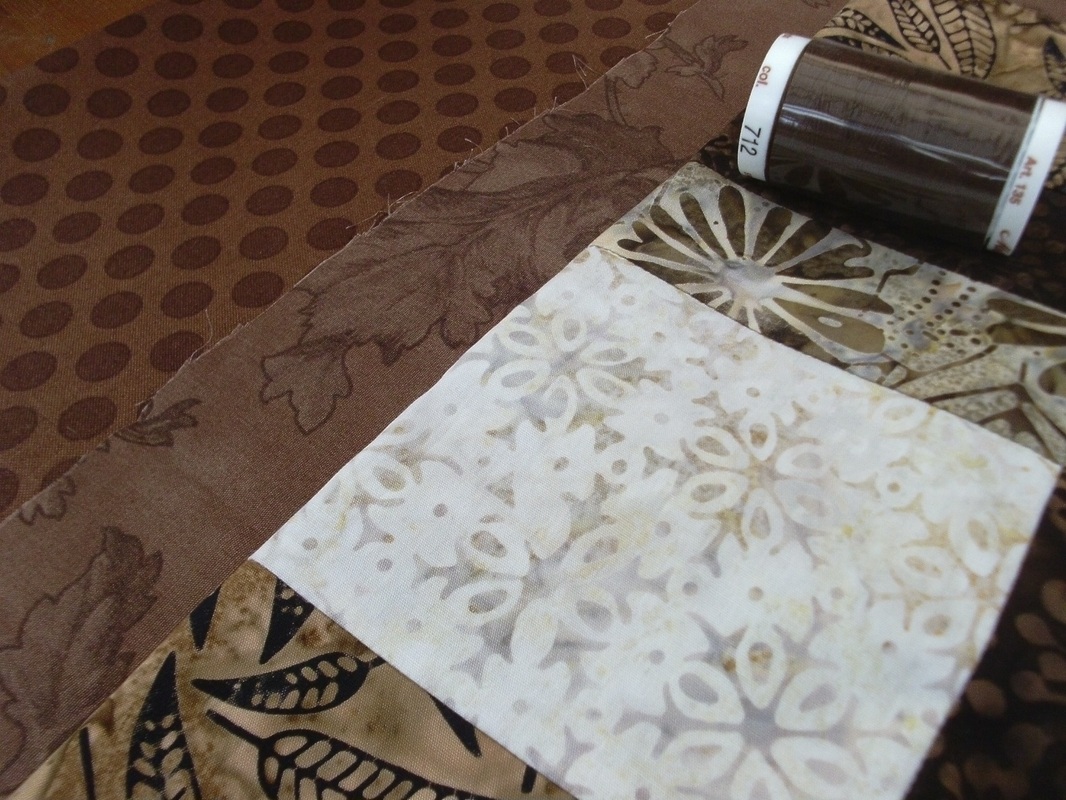
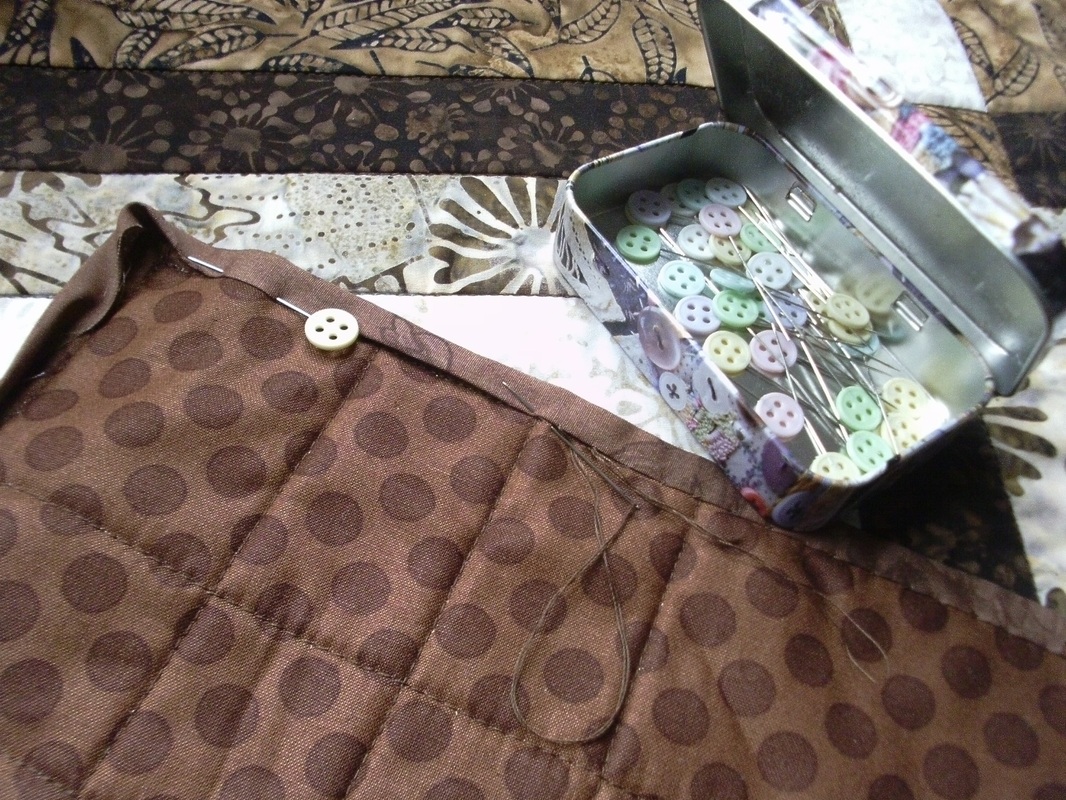
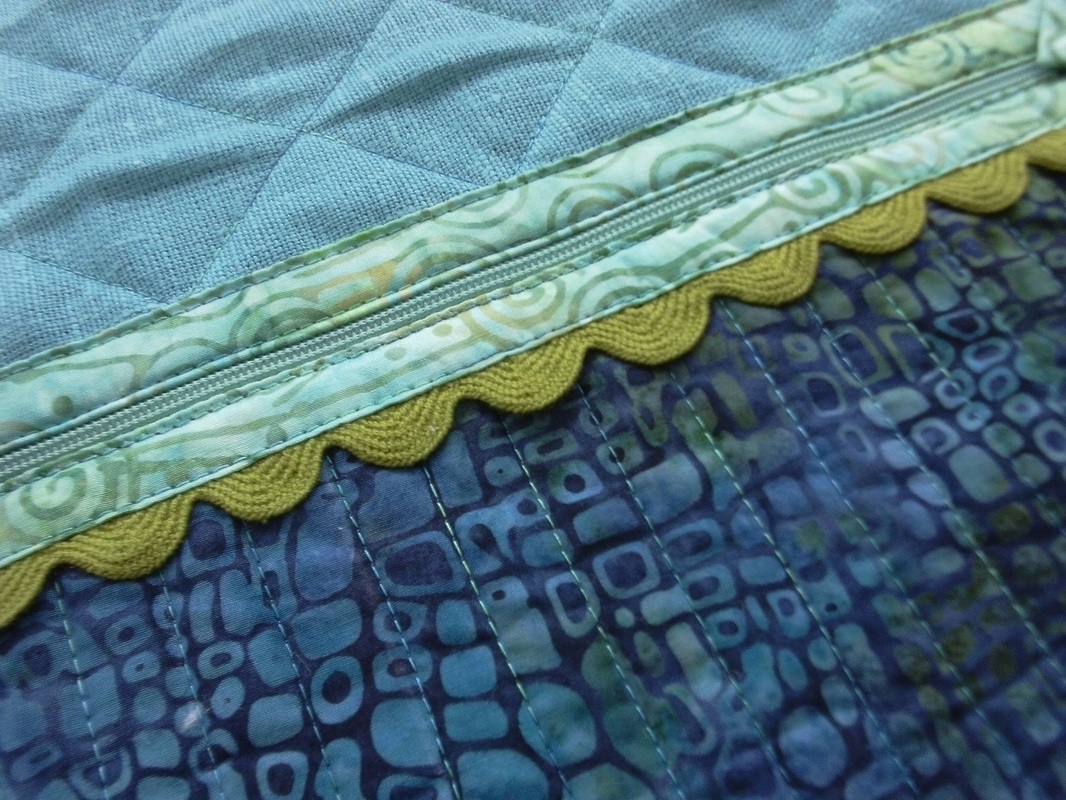
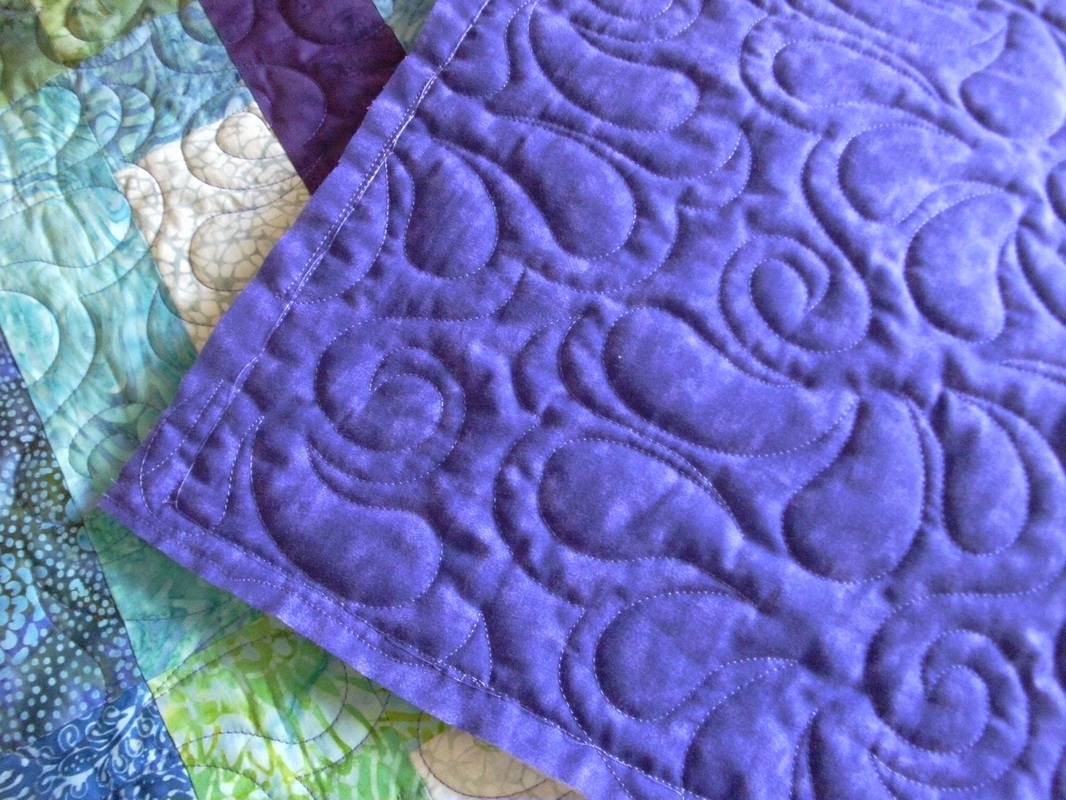
...unfortunately I didn't have the right fabric for backing them in my stash, so had make a hasty visit to Quilters Haven on my day off. Brown polka dots (from the "Cherry On Top" collection by Keiki for Moda) was just what I was looking for, and already had this brown tone-on-tone fabric in my stash, (it was left over from a previous project - enough for binding but unfortunately not enough for the backing too!!) so I was ready to get started on the quilting. I've used a plain brown Mettler quilting thread, shade 712 and a Top stitch needle size 80 (I don't like using anything larger than that when I'm quilting batiks). These were quilted very simply, just stitch-in-the-ditch, and I used some thin pellon wadding. (Pellon is a felted polyester and is perfect for runners and place mats and bags too)... 
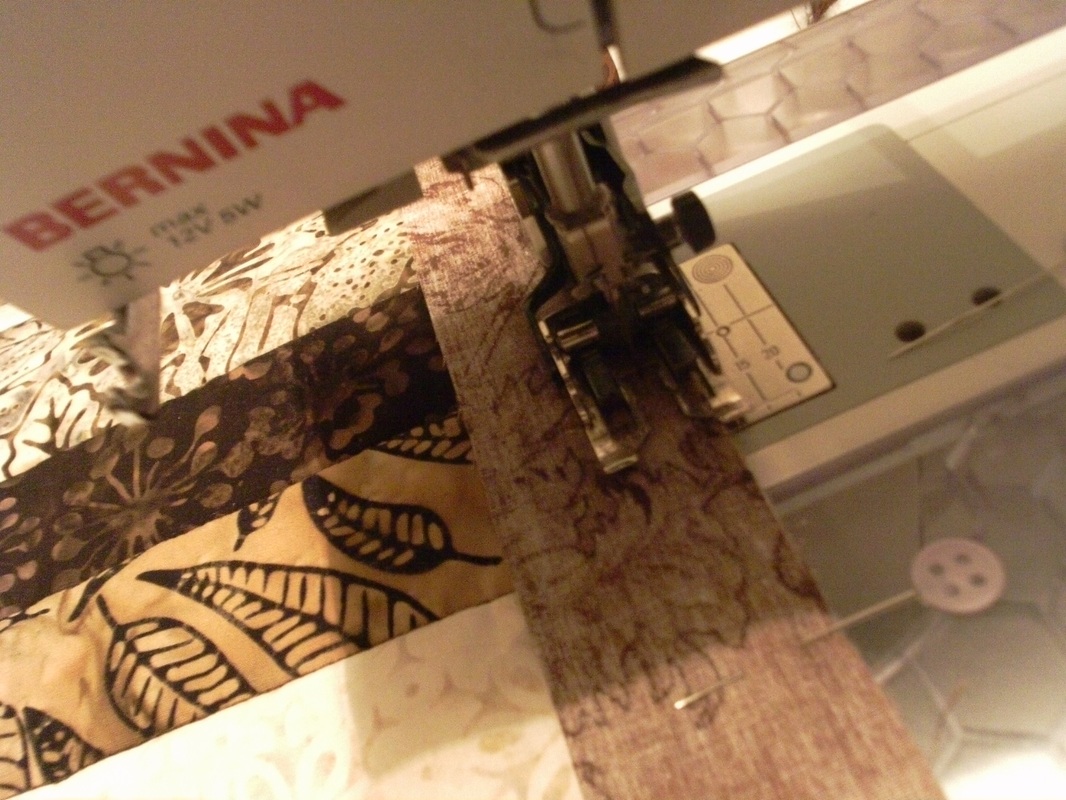
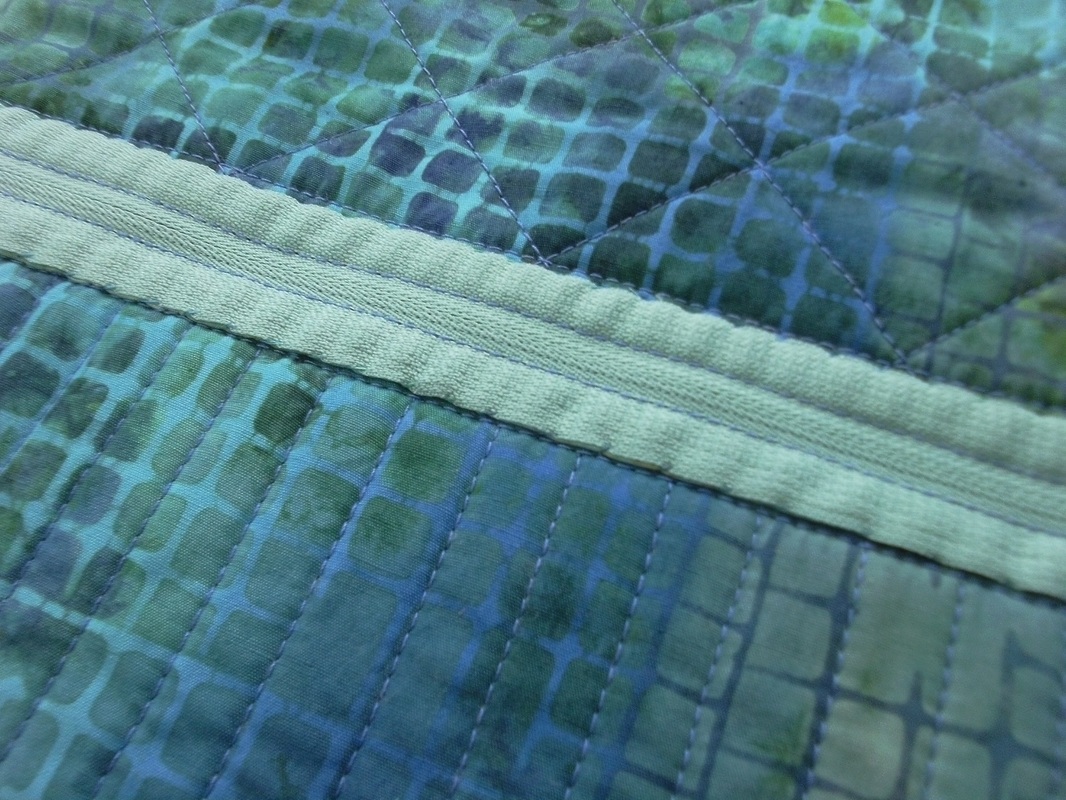
...these were bound with single-fold binding. I cut strips of fabric 1.5" wide, and machined them into place 0.25" from the edge of the mats, and mitred the corners. Then the binding is folded over to the back and hand stitched into place with ladder stitch. I used the same dark brown Mettler quilting thread for this... 
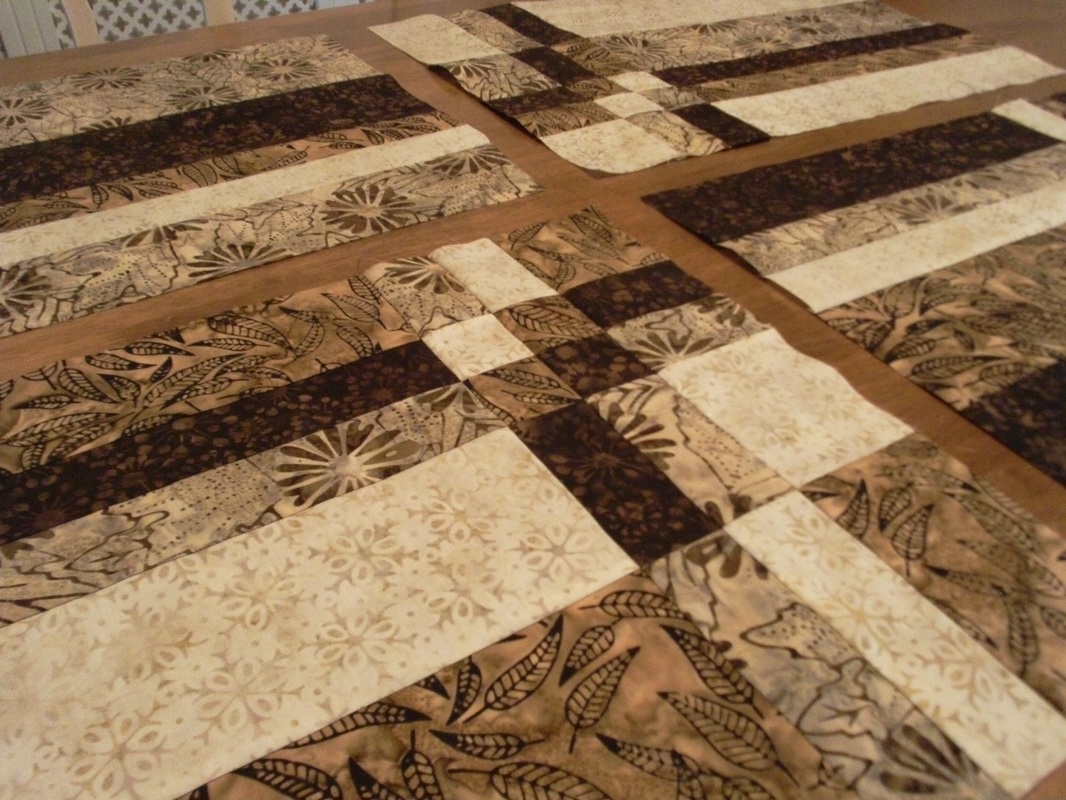
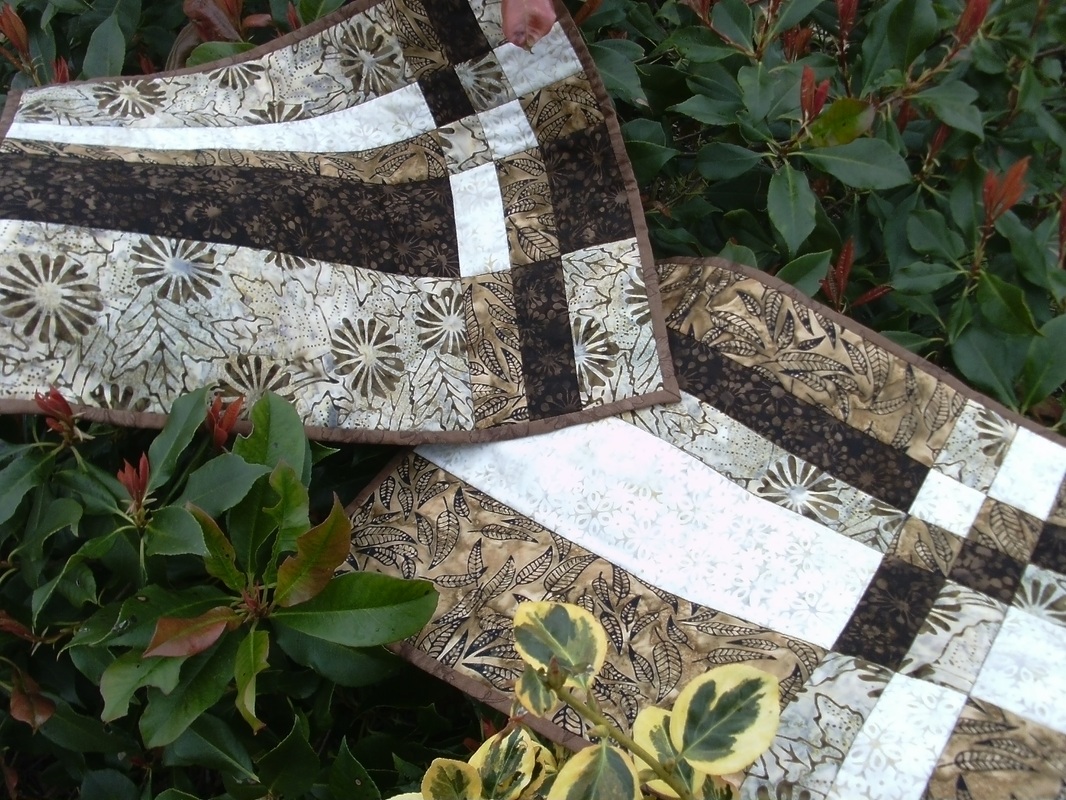
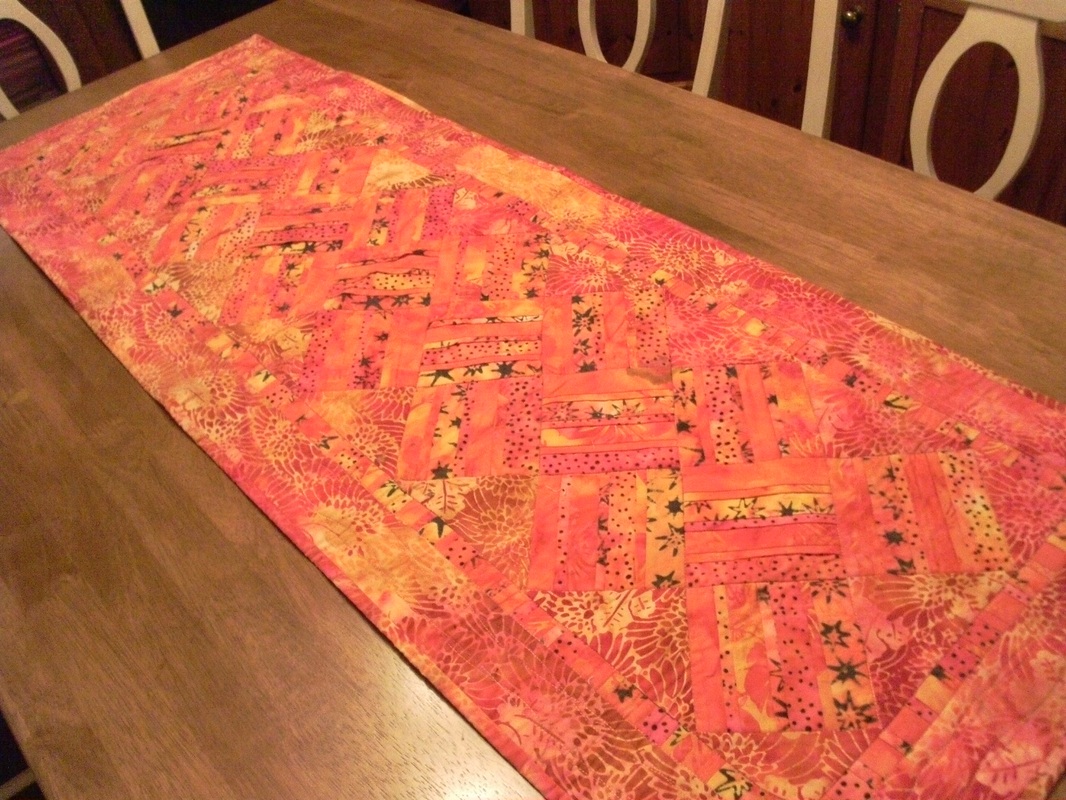
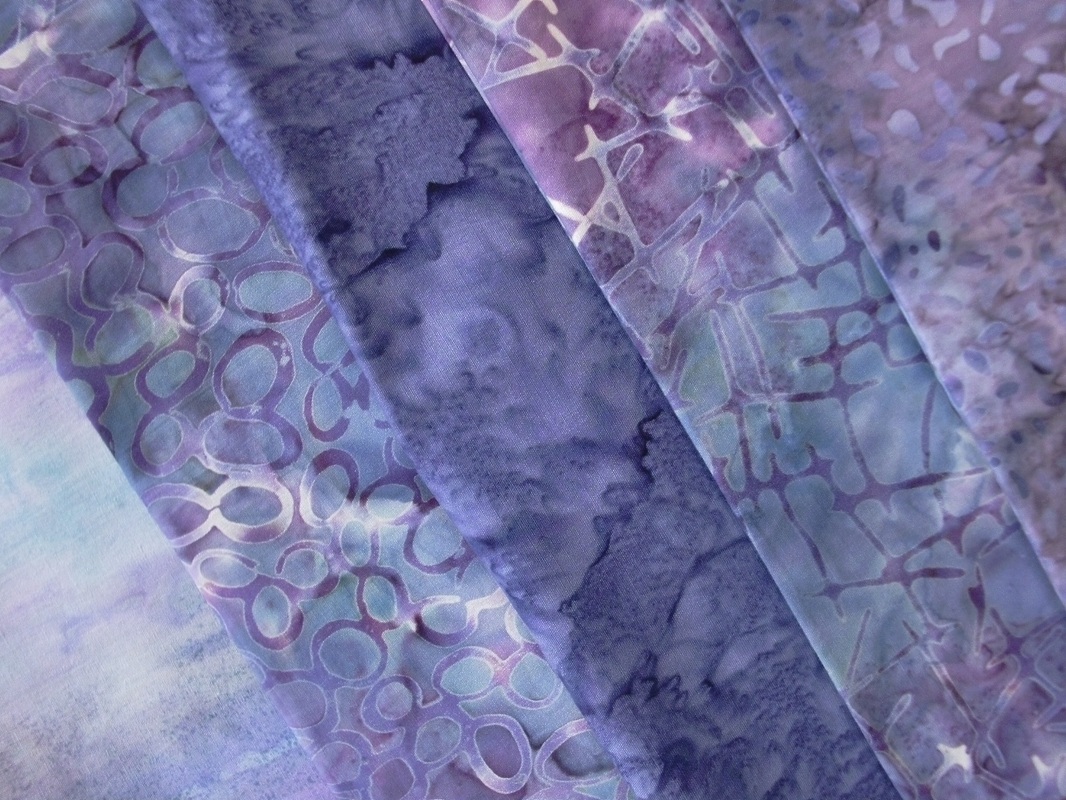
...and here are the completed mats. When I bought these batiks, I was very greedy - they're actually half metres hehe!! so I've got some leftovers for a runner too and I just "need" to find a couple more to add to them. That'll be my project for next weekend! These mats will look very smart on my dining table. They're machine washable, so it won't be a complete disaster if Mr F spills any gravy on them ;)
6 Comments
A week off work was spent being very busy indeed - with 2 separate trips to Bungay with friends. Firstly I'd planned a trip there on Tuesday with my friend Helen - we did a little bit of shopping in Sew and So's - I needed some fabric to make another baby quilt, and these packs of mini-charms in the range Comma by Zen Chic for Moda were perfect for this, and I couldn't resist this black and white numbered fabric (599 Numbers by The Henley Studio for Makower UK) for the backing. Of course a lime green spot for the binding was just what I was looking for! Then trotted off to lunch at Earsham Street Cafe, where we both had the spiced sweet potato, leek and coconut milk coup followed by some delicious cake... ...this was followed on Wednesday with another trip there with my friend Sue. This involved coffee AND lunch at Earsham Street Cafe, and a shopping trip to Sew and So's. I'd seen the spiced apricot crumble on the menu at the cafe when I was there on Tuesday, and luckily it was still on the menu on Wednesday and it was as delicious as it looks! I'm rather fond of batiks, and these four half meters were just what I needed to make some more place mats with to go in my newly decorated dining room - maybe I'll have time to make them at the end of my week's stay-cation, before I have to go back to work!
I've had a very week, and haven't completed any new projects, but Mr F has been decorating and the last thing I want on my beautiful fabrics is splashes of paint!! Anyway, yesterday afternoon was spent re-arranging furniture and such like, and I've put a bright and cheerful runner on my table. This pattern is called "Summer Picnic" by Laurie Shifrin and is featured in the book "Skinny Quilts and Tablerunners". I made this runner a few years ago, with a selection of bright batiks - some of which were bought on a holiday in Devon. That's a great way of remembering a holiday - to buy fabrics and make a super project! It's been quilted very simply with a variegated YLI quilting thread, "stitch-in-the-ditch" around the blocks and some gentle wavy lines in the border.
My youngest daughter, Alice, worked at my local quilt shop, Quilters Haven during her gap year. Just imagine spending all day surrounded by fabrics. And threads. It would be heaven! Anyway, several months ago she came home from work with some beautiful red batiks -I wonder who she takes after??!! - and announced she was making a quilt. She had picked a pattern from my vast collection called Pie Chart (this was part of a programme called "Stash Pot Pie" that my local quilt shop took part in a few years ago... .....this really does look beautiful - it is so dramatic! Well after she's finished it, she was saving all her pennies ready for university, so couldn't afford to get it quilted. We pulled it out of her cupboard when she was home for the Christmas holidays, and felt it too's too nice to be hidden away - and we both decided it needed to be quilted so she can use it!! She had a look at Janette's website, and chose a quilting design and had a think about colours of quilting threads. Today I'm off to Janette's wonderful studio to get it long arm quilted as a special treat for Alice - she'll get such a surprise when she's home for the Easter holidays - all she'll have to do is sew on the binding! I recently made a bag using the leg that I'd cut off an old pair of jeans, and as I'd got the other leg, thought I'd put it to good use and make another bag. I added these purple batiks that had been in my stash for ages, and added these super lime green handles to liven it up a little bit (as my friend Lesley says, "Limes with everything...even G&T" haha!!) and some stunning variegated King Tut quilting thread. It didn't take me long to get the outer part of the bag constructed, and I used a DMC embroidery thread to stitch the handles into place... ...I made a centre panel with 2 pockets (a small lined pocket with a zipper and a deeper slip pocket) using a pattern by Elizabeth Hartman, and adapted the size of the pattern to fit this bag. The top edge has been finished with a neat double-fold batik binding that has been slip-stitched by hand to the inside of the bag... ...and here's the finished tote bag - I really like these longer length handles, as the bag can be worn over your shoulder. This is a great way to use up old clothing. Tweed mens trousers would also work well - and I've been eyeing up a pair of Mr F's moleskin trousers - I think they'd make a fabulous bag!!
I've been on annual leave this week, and have had a rather busy week - Monday was spent helping a friend with a sewing lesson, and yesterday I had a day out shopping and lunching with a friend, so today at last I was able to get out my sewing machine and make a couple of these cosmetic bags. The pattern is "Anna's Sminkepung" by the Norwegian designer AnnAKa. This one was made with a selection of batiks and a rather nice piece of turquoise linen that I bought from Lappedilla a couple of years ago. Oh and the perfect colour quilting thread was already in my thread box - this is King Tut shade 927 and is perfect for these fabrics. I added some wide olive green ric-rac to the front of the bag... ...the zipper is neatened on the inside with a little bit of hand sewing - I like this style of bag as the inside is really as neat as the outside. I'm really pleased with these nice smart boxed corners - they give a very professional finish to this little bag.
One of my colleagues, Tessa, is leaving our team at work, and I wanted to make her a leaving gift - so I decided to make her a "Jean's Tote Bag" using a pair of jeans that no longer fitted and were in my rag bag (and were freshly laundered!!) and a half metre of batik in these gorgeous autumnal tones which is just perfect for this time of the year!! As you can see in the picture below showing the lining, the straps have small leather tabs that are stitched to the inside of the bag at the same time... ...here are a couple of close-up pictures to show the leather handles - these are sewn onto the bag by hand after it is completed, and I've used a dark brown embroidery thread - and I used all six strands in one go, so it's really sturdy and can be used lots and lots. The binding at the top of the bag covers all the raw edges, and after machining into place, is folded over to the inside of the bag and slip-stitched into place by hand. Oh and yes, I added one of my labels to the side seam of the tote bag... ...and this shows the back of the bag - I quilted the back piece with a cross-hatch design, using a Top stitch needle size 70 and a King Tut quilting thread shade 936 that matches the colours of the batik lining perfectly... ...and finally - a picture of the front of the bag! You can see how I've cut the jeans to make full use of the pockets so they can be used too - the handles were a bit tricky to sew into place due to the thickness of the denim and the wadding (I used a double layer of Quilter's Dream cotton wadding select weight that I had leftover from other projects for this bag) and I needed plenty of huffing and puffing to get the needle through all the layers - thank goodness there were already tiny holes pre-punched in the handles and thank goodness for my thimble!! I gave this to Tessa last night at her "leaving do" (we all went for a fabulous meal at the White Hart at Otley) and she was really pleased with her gift!
Last week I managed to machine the binding onto this "Rhythm and Blues" quilt. You may remember this was purchased a few years ago as a kit from my local quilt shop Quilters Haven. It included the pattern and a fabulous fat quarter bundle of these beautiful Tonga batiks and was by Karen Montgomery for Timeless Treasures. I had made the quilt-top, sort of forgot about it, then re-discovered it! I finally sat down this morning and hand stitched the binding into place. This was rather an arduous task, as I've mislaid my thimble, but I think you'll agree it was well worth it! I used the same fabric for the binding that Janette had used for the backing - it really seemed to pull all these colours together - and as a bonus it saved me from using the precious batiks in my stash or even better still it saved me from buying yet MORE fabric! Alice is really pleased with her new quilt (she's going to take it to uni with her) and this morning she's got it on her bed so I think that means she's really REALLY pleased with it!! Oh and yes, I added one of my labels to the corner too - just for the final flourish! As this is finished today, I can add this to "Sew Cute Tuesday" on the Better Off Thread blog too. Now I'm off to search for that thimble!!
A few weeks ago I delivered this quilt top to Janette, who has a longarm quilting studio in East Bergholt. It has been ready for a few weeks, but I wasn't able to drive following surgery, and then Janette was on holiday, so I've been patiently waiting for her to return! On Monday morning I drove over to collect it and WOW!! I was really thrilled with what Janette had done! I was going to post some pictures once it was completely finished - with the binding AND a label, but was so excited that I couldn't resist sharing some pictures of it now! We chose a beautiful mottled purple Moda extra-fabric for the backing and a purple quilting thread to match. This will be the quilt that my daughter Alice takes to university with her in September to remind her of home. All I need to do is sew the binding on, and it will be finished! I had originally bought this as a kit, containing all the batiks and the pattern, and although I knew it was by Timeless Treasures, I couldn't remember the name of the pattern - but when I posted some pictures of this quilt on some FB groups that I belong to, a lady very kindly told me this kit was called "Rhythm and Blues"!! Originally I was going to use a batik for the binding, but now I'm thinking of binding this quilt using the same fabric as Janette used for the backing, as she's kindly given me the left-overs and there's plenty to use. And I think the purple would really set this off a treat! I promise to post pictures on here when it all done!!
As most of my blog followers know, I love using Norwegian patterns, I love making bags and I love batiks - so what better combination to make a special gift!! These batiks have been in my stash for WAY too long and they were just perfect for the project that I had in mind. I used one of my favourite patterns "Mathilde's Sommerveske" by the Norwegian designer AnnAKa, and set to work..... .....inside it has a zipper pocket and a slip pocket too (I used a tutorial from a pattern by Elizabeth Hartman for this pocket panel - I make all my bag linings like this now). And there is a tab for keys to clip onto, and finished it off with one of my labels stitched into the side seam of the lining..... .....this bag is quite roomy, and also has two pockets on the front with a flap - I have sewn magnetic fasteners to these, to keep the contents secure..... .....the handles are made with a variety of the batiks for a scrappy look, and are a bit longer so this tote bag can be worn over your shoulder. This one is for my mum for her birthday next week so please don't tell her and spoil the surprise!
|
About me...Hi - welcome to my quilting blog! My passions are my family, my dog, my friends and sewing, not necessarily in that order! Archives
July 2023
Blogs I followUK shopsThese are the UK shops that I use to purchase my quilting supplies - fabrics and threads etc.
Australian linksScandinavian links |