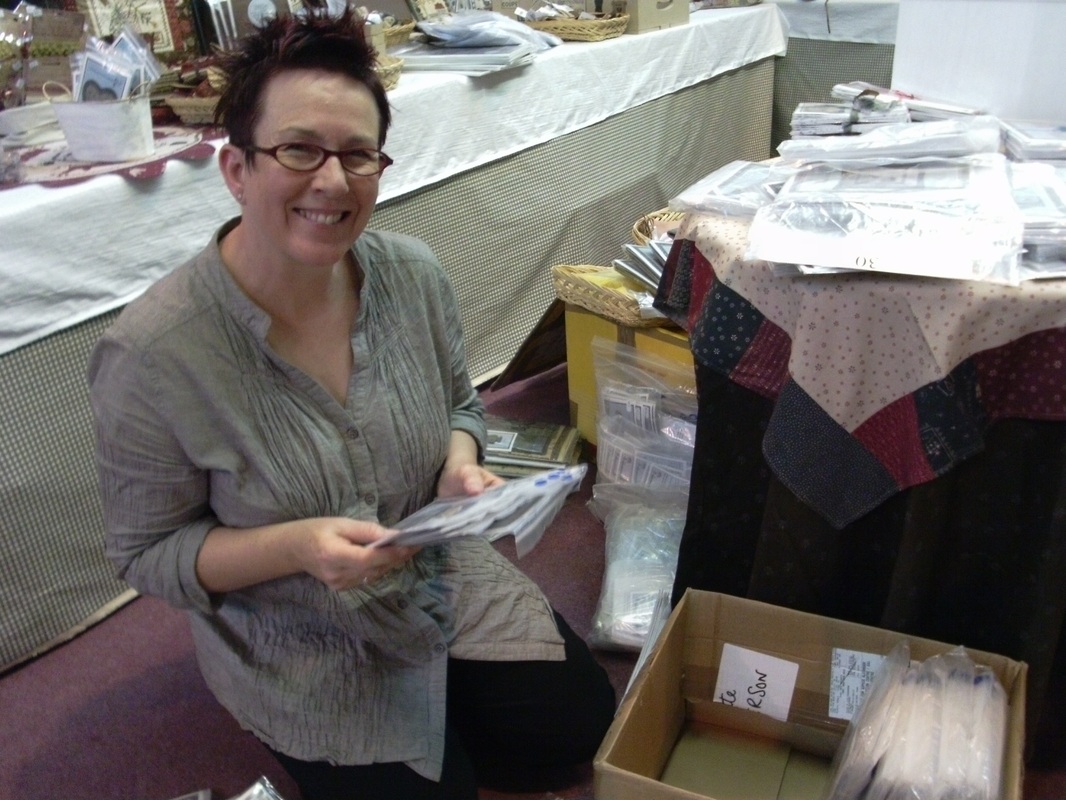
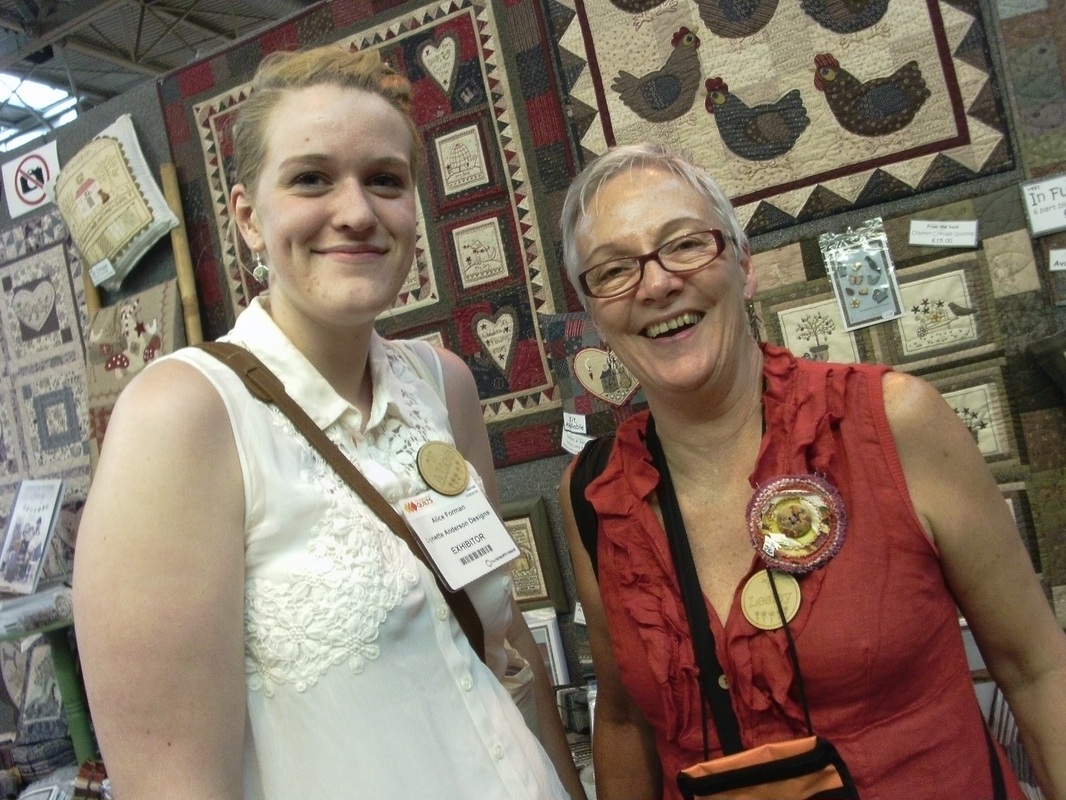
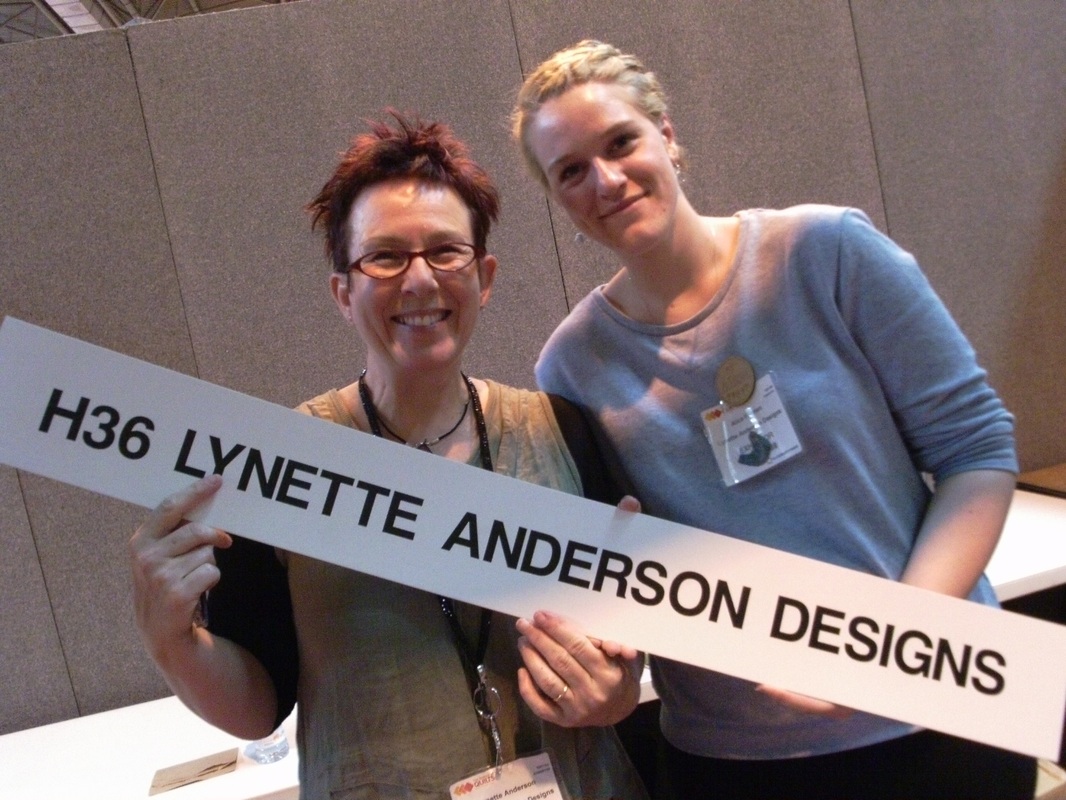
Well I've been busy sorting through all the photographs that I took at FoQ and really didn't know where to start, so thought I'd start at the very beginning. My daughter Alice has had some VERY busy days, working at FoQ with Lynette Anderson, who had travelled over from Australia to do the show and was also teaching at workshops around the country too. Alice and me had travelled up to Birmingham on Wednesday, the day before the show started, and you can see Lynette is really busy getting everything unpacked and getting her stall set up - when it was completed it looked absolutely great! There was a wonderful display of Lynette's quilts and cushions and bags and sewing kits and journals, as well as patterns and fabric and trimmings for sale. And yes I did do a little bit of shopping here haha!! Alice had a great time with Lynette, and her friend Lesley too, and the days flew past really quickly - the stall was super busy, with lots of ladies watching Lynette's demonstrations of using the Apliquick tools. Soon it was time to pack everything away again and I realized I hadn't got a picture of Lynette with Alice!! Luckily the sign for Lynette's stand was still pinned up, so we quickly pulled it down for a final photo. We had a super time, and Alice really loved helping Lynette - who is now off teaching workshops in Cornwall, then London, before she heads off home to Australia. It was great to meet up with Lynette again (I first met her when she was over here 3 years ago and I was lucky enough to do a couple of workshops with her) - thank you so much Lynette for all your wonderful generosity. Oh and I nearly forgot - a huge thank you to Emma (Lynette's soon-to-be daughter-in-law!) for making sure all the helpers on Lynette's stand had a beautiful wooden name badge to wear - thank you so much Emma x
2 Comments
I'm back from Birmingham!! My daughter Alice has been working with Lynette Anderson on her booth at the Festival of Quilts, and I was there too, admiring quilts and meeting up with friends both old and new (I met some LOVELY Norwegian ladies AND some ladies who follow my blog too), had lots of lovely lunches and numerous cups of tea and cake, and also managed to do a little bit of shopping! We travelled there and back by train, and arrived home yesterday afternoon. My suitcase was soon unpacked and the washing machine loaded up - although my shopping bag isn't unpacked yet. I'm sure if he saw how full my shopping bag was, Mr F would have a TERRIBLE headache, so probably best not to tell him hehe!! Anyway I had certainly underestimated how tiring it was going to be, and today I've had a PJ day while I've been recovering. So over the next few days I'll be writing lots of blog posts about the quilts... and the friends... and Lynette... oh and yes, of course I'll write about the shopping that came home with me too!
Well I won't look quite so glam as these ladies when I'm strutting my stuff with my daughter Alice at the railway station later this morning - I'm off to the Festival of Quilts at Birmingham, and we're travelling by train - Ipswich to London, London to Birmingham - arriving in time for lunch! It's very exciting for Alice as she is going to be working with the Australian designer Lynette Anderson on her booth, (which is why we're travelling up there the day before FoQ starts incase you were wondering!) so if you're at FoQ and you happen to be passing by, please stop at Lynette's booth and say hello to her!! Oh and I'll be at FoQ too, admiring the quilts, and meeting up with quilting friends for a chat and a cuppa and a slice of cake and maybe doing a LITTLE bit of shopping too!! If you see me, please stop and say hello to me too (I'll have my super Handbagasje shopping bag with me so you'll know who I am!!) And yes, when I get back home again I'll show you lots of pictures of all the amazing quilts and the stalls and my shopping. TTFN!!
Well this week I suppose it's only half finished, as I still need to get my quilt top quilted, but as the piecing is done, and I can't do any more myself yet, I'm sharing a picture of my "Lattice Top" quilt on the Better Off Thread blog, with all the other crafty work that's showcased each week on "Sew Cute Tuesday". Well just look what I've got here to play with!! A few years ago (2010) I ordered this beautiful BOM from an online quilt shop called Buttonberry - they have sadly closed down, but they did stock the most amazing patterns by those wonderful Australian designers that I am so fond of! This one is called "Down In The Garden" and is by Leanne Beasley. Each month a parcel arrived wrapped in tissue paper with a lovely letter from Emma and Lisa (I do miss those Buttonberry girls! Emma and Lisa also included a little treat with the letter too - I really used to look forward to these parcels arriving every month!) and inside, tied up with pretty red ribbon was the pattern and fabric and stitchery stabilizer - everything you needed to complete each block..... .....as well as the patterns and fabric, I had been sent the fabric for the borders and the binding and even all the skeins of DMC embroidery thread. So there was nothing to stop me from making a start! Unfortunately at the time I was really busy stitching my other Leanne Beasley quilt, "Butterfly Garden" so DITG was put away each month. And that was 3 years ago. Well I've been catching up with all my unfinished projects with the "Tour de Fibre" group, and it was about time I started something new. I love stitchery, so this seemed the perfect "new" project!..... .....some of the fabric in this kit is "Grandmother's Flower Garden" by Rosalie Quinlan for Lecien and you know how much I like Lecien fabrics!! I pieced the main part of the block together, and then traced the stitchery design over the top. I use a Pigma permanent pen for this, and usually use a pale brown colour. 2 strands of embroidery thread will cover this, but you do need a steady hand. Once the stitchery design was traced, I then ironed a soft lightweight fusible stabilizer to the back of the block (this was all included in the kit too!) and then I sorted out the embroidery threads into a small portable case, as I'm going to take this with me to Birmingham. I'm hoping to do a little bit of stitchery in the evenings while I'm in the hotel to pass away the time. I'll show you how much progress was made when I get back!
Sorry to spoil things, but I just HAD to show this picture first of all!! I was trying to take a simple photograph of the completed quilt top this afternoon. The quilt was blowing gently in the breeze and it moved just as I took the photograph - anyway, I thought oh that will do - and posted it on all the quilting FB groups that I belong to, and received SO many lovely comments!! I've had lots of requests about where the pattern can be bought from, and I honestly have no idea. This was a scheme called "Stash Pot Pie" which my local quilt shop Quilters Haven took part in. It lasted for a year, and each month we were given a list of fabric requirements and the cutting instructions - the idea was to use up fabrics from your stash. Then on the day of the class we were given the instructions for making the quilt top, and had a tutor to show us the techniques and to help us. It was a great class, and I've shown some of my other "Stash Pot Pie" quilts on my blog earlier here. So if anyone wants the pattern, I would suggest they contact their local quilt shop for further information!..... .....anyway - back to the quilt top! The next stage in the "Lattice Top" quilt was to add the borders. An inner border, an outer border, and in the middle a twisted ribbon border. The pieces for the twisted ribbon border had already been cut 5 years ago when I took part in the class for this. However it was then packed away and forgotten about! Having the pieces already cut out has certainly made life a lot easier. I thought the middle border looked a bit tricky, but found it wasn't that difficult after all, and I'd already joined pairs of the twisted ribbon blocks 5 years ago - once I'd sewn a few pairs together it wasn't so bad..... .....I used different white tone-on-tone fabrics for the inner and outer borders, in keeping with the different tone-on-tone fabrics I had used for the blocks. This shows the way the borders will look when they are all joined together - HOPEFULLY!! A pieced border always looks really tricky, and I was wondering if it was going to fit..... .....the inner border was a "spacer" and would need to be trimmed to fit, according to the pattern instructions, after they were sewn into place. I thought this would be wasting time AND fabric, so I did a few sums - and because my blocks were accurately pieced, I quickly worked out what measurement the inner borders needed to be before I added them to the quilt top. And yes!! my sums were right! The pieced "twisted ribbon" side borders fitted perfectly!..... .....I then added the 4 corner stones to each end of the top and bottom pieced border, pressing the seams inwards, to make it easier to "nestle and wrestle" the seams. The top and bottom borders also went on very easily - no unpicking at all! Then it was just the outer borers to frame the whole quilt..... .....now it's going to be packed up ready to take over to Janette as soon as she's back from her holidays to be longarm quilted - I was thinking about having an all-over meandering stars design for this one. As yet I have no idea what colour quilting thread to chose - maybe I'll leave that up to Janette - she always manages to pick just the right colour! Oh and for those of you who are interested yes this WAS made mostly with fabrics from my stash - the red and blue fabrics were left over from my "Road to Oklahoma" quilt, the background fabric for the blocks was from a fat quarter bundle of whites and creams - it's amazing what I've found stashed away in my very own quilt shop at Foreman Towers!!
My husband's brother and his wife are celebrating their Ruby Wedding Anniversary today, and so I've been rather busy making their present. I borrowed one of their wedding photographs from my mother-in-law, which I then copied onto an EQ printable fabric sheet, and gathered together a collection of fabrics and lace and buttons and set about making it... ...I made the cushion using the quilt-as-you-go method, and added an assortment of buttons - some of these were the ones my mother-in-law gave me, and then decorated the cushion with some lace fabric and lace trimming too... ...it always looks "sew" much better once it's filled with a nice plump cushion pad! I normally use feather ones, but this one is foam, and does the job just as well... ...then I inserted a covered zipper on the back and added one of my labels too. I then machined the binding into place, and hand finished this on the back. Then it was time for the photo shoot out in the garden. Happy Ruby Wedding Anniversary Stephen and Betty!!
I couldn't resist sharing a better picture of the "Lattice Top" quilt top - it was so sunny today and there was just a cool gentle breeze blowing - perfect for taking a photograph!! The next stage is the twisted ribbon border and I'll tackle that at the weekend.
|
About me...Hi - welcome to my quilting blog! My passions are my family, my dog, my friends and sewing, not necessarily in that order! Archives
July 2023
Blogs I followUK shopsThese are the UK shops that I use to purchase my quilting supplies - fabrics and threads etc.
Australian linksScandinavian links |