|
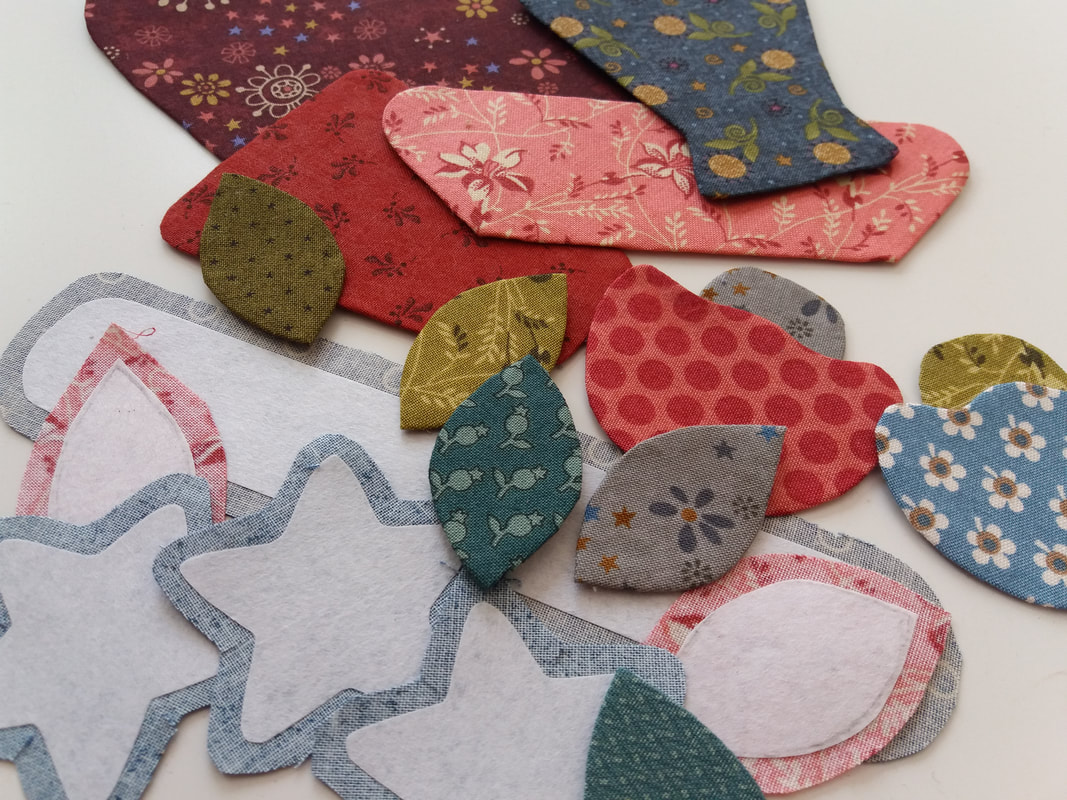
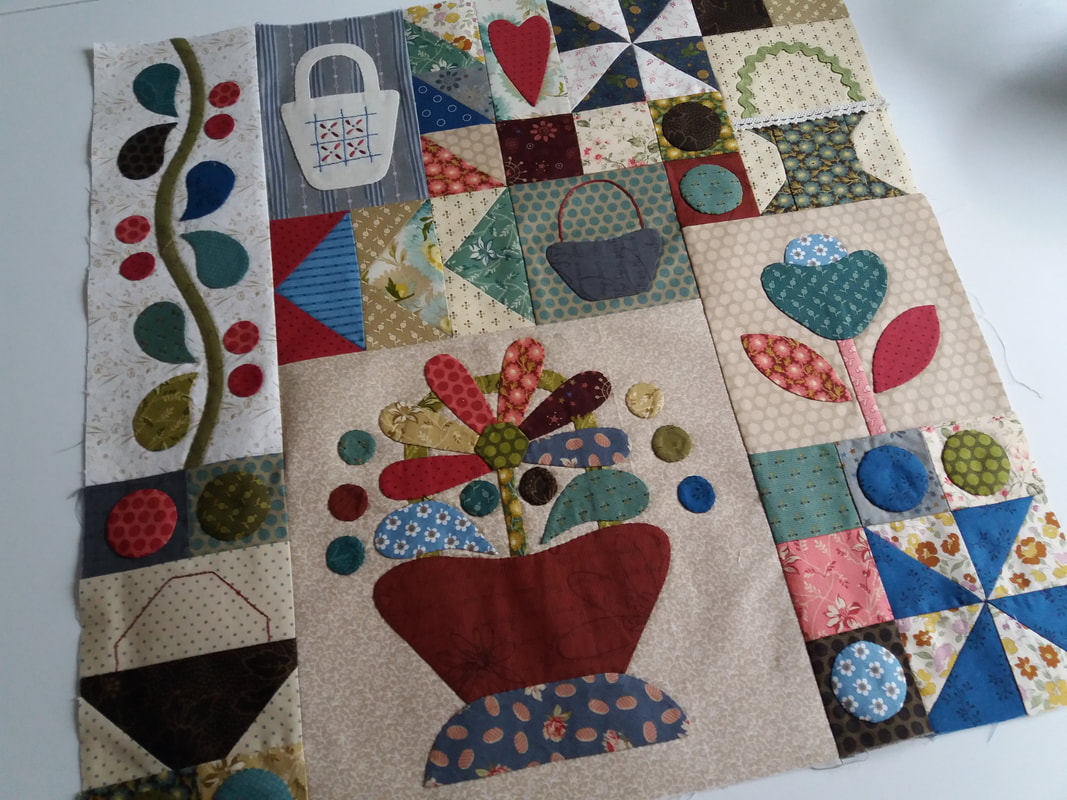
There wasn't much in the way of stitching yesterday morning, but there was plenty of applique preparation ready for block 4 of The Sopwell Ladies Basket Society Quilt. A few pieces still need to have the edges turned over, then they'll be ready for stitching into place. This will keep me busy in the evenings after work!
0 Comments
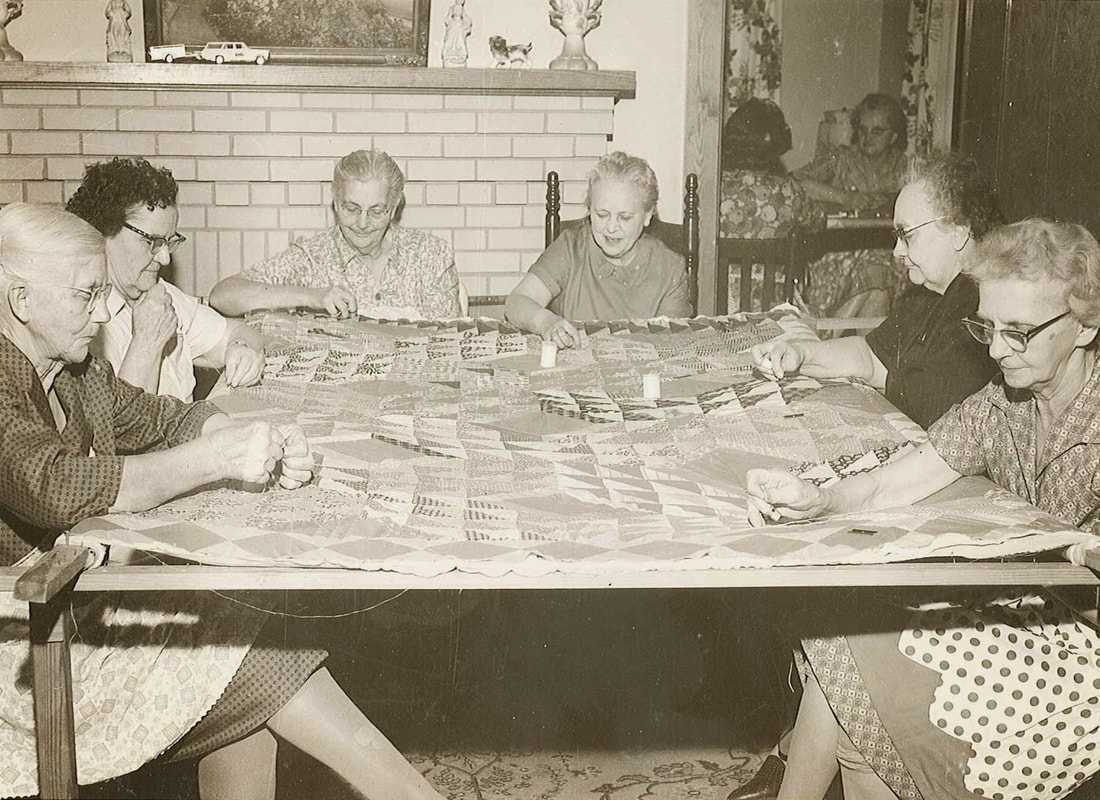
Hooray for the weekend! It's Saturday, so I'm off to KIS Quilting Ltd in Ipswich for a sewing session - Mr F usually says "Are you Stitching and Bitching today"? What he doesn't realise is how good for the soul this is - a group of like-minded women sitting together stitching and chatting and stitching and nattering and stitching and generally putting the world to rights! Spending time in my sewing studio being creative is always great, but spending a few hours in the company of other crafty women is the best thing ever!
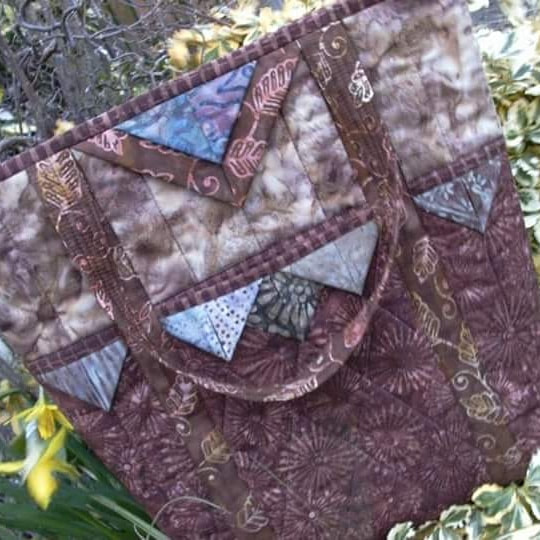
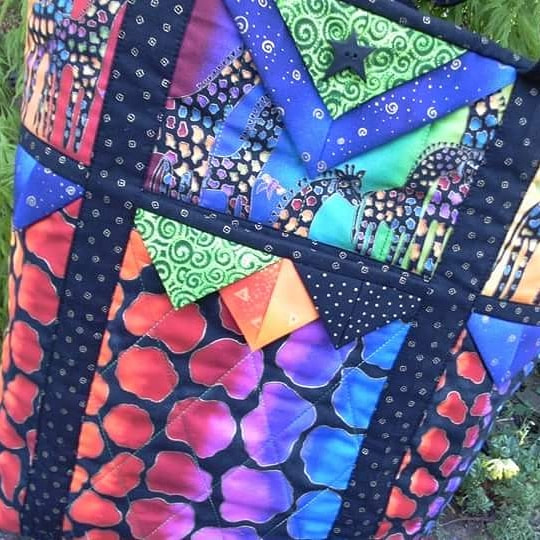
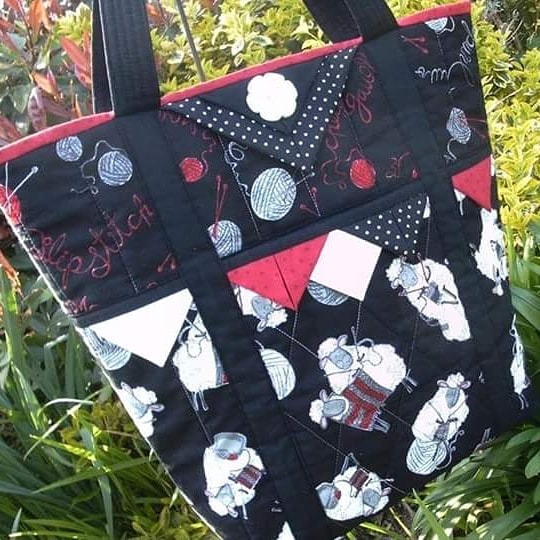
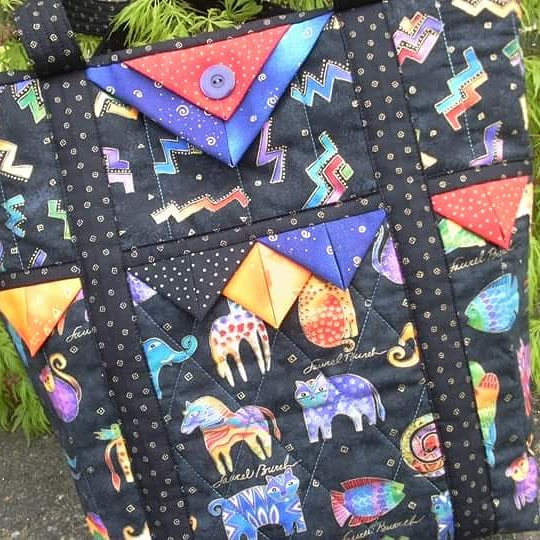
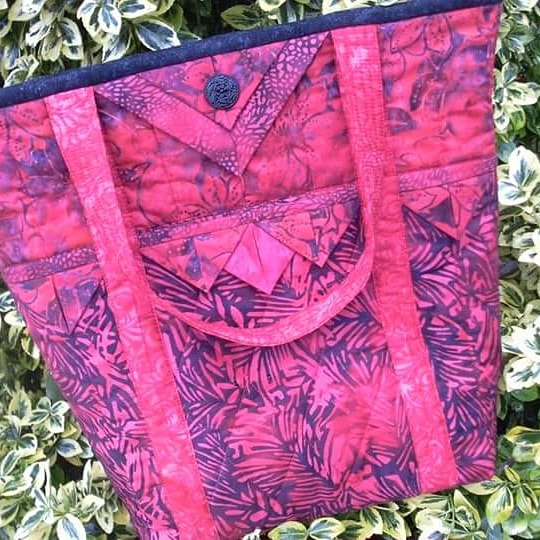
It's been a long time since I made this bag pattern! It's another Norwegian one, Mathilde's Sommerveske - by the Norwegian designer AnnAKa. The only one I kept for myself was the black and cream one that was bought as a kit from Lappedilla when I went on my first trip to Norway, back in 2009. The rest of these bags were all given to friends and family as gifts. And yes, the instructions are all written in Norwegian, but I was able to follow the diagrams without too much difficulty.
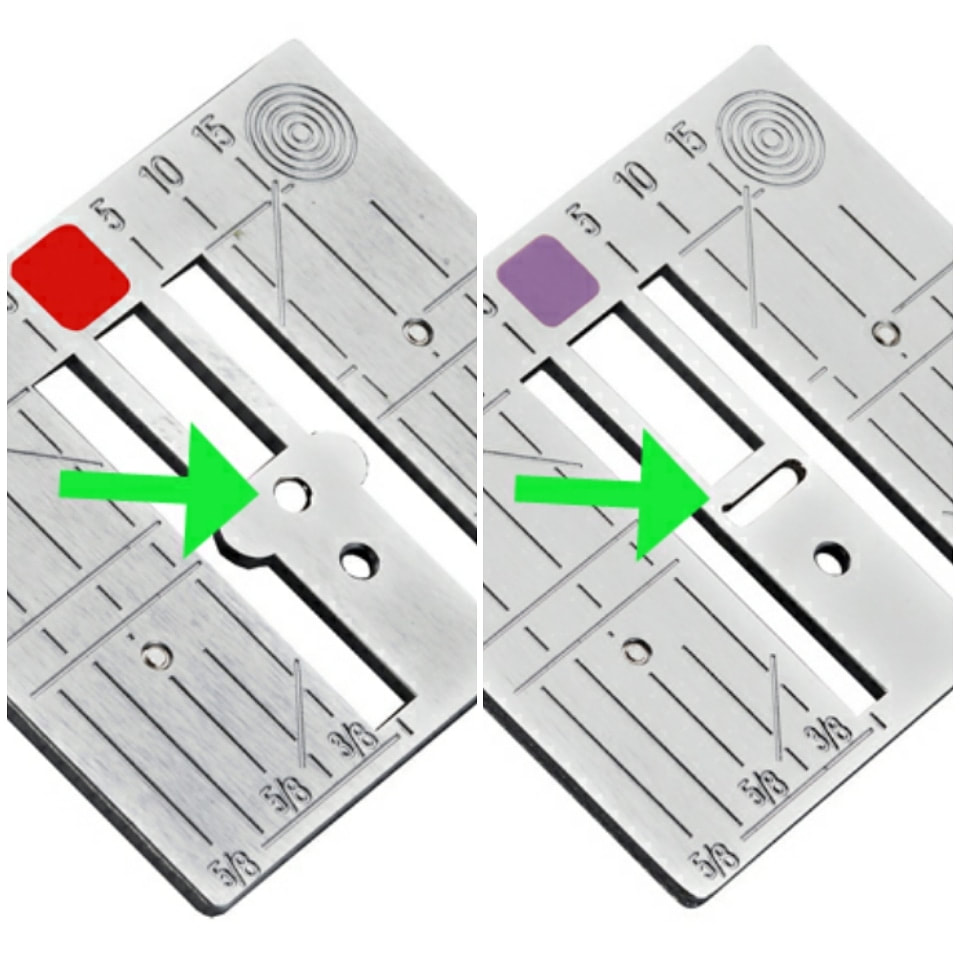
Several people have asked me about the benefits of using a straight stitch needle plate. As you can see in the first picture, the hole for the needle is in a precise position, so the needle won't "wiggle" - this is perfect for precision piecing. The second picture shows a standard needle plate, which you would use if you're sewing decorative stitches or if you're altering the position of the needle.
The next block "Mary" is completed! This is part of a gorgeous quilt designed by Gail Pan (another wonderful Australian designer) and the quilt is called The Sopwell Ladies Basket Society Quilt. This combines lots of techniques - machine piecing (with Aurifil 50wt thread) hand applique (using the applique paper and glue stick method along with Apliquick tools, then stitched in place with Aurifil 80wt thread) and hand embroidery (stitched with 2 strands of DMC stranded embroidery thread). This has been embellished with ric-rac and vintage lace - a few buttons from my button tin will be added once the quilt is completed. This was purchased from Cross Patch in Wales as a kit, and contained the set of 6 patterns (there are six blocks altogether) and all the gorgeous fabrics needed for the quilt top, inner and outer borders and the binding fabric.
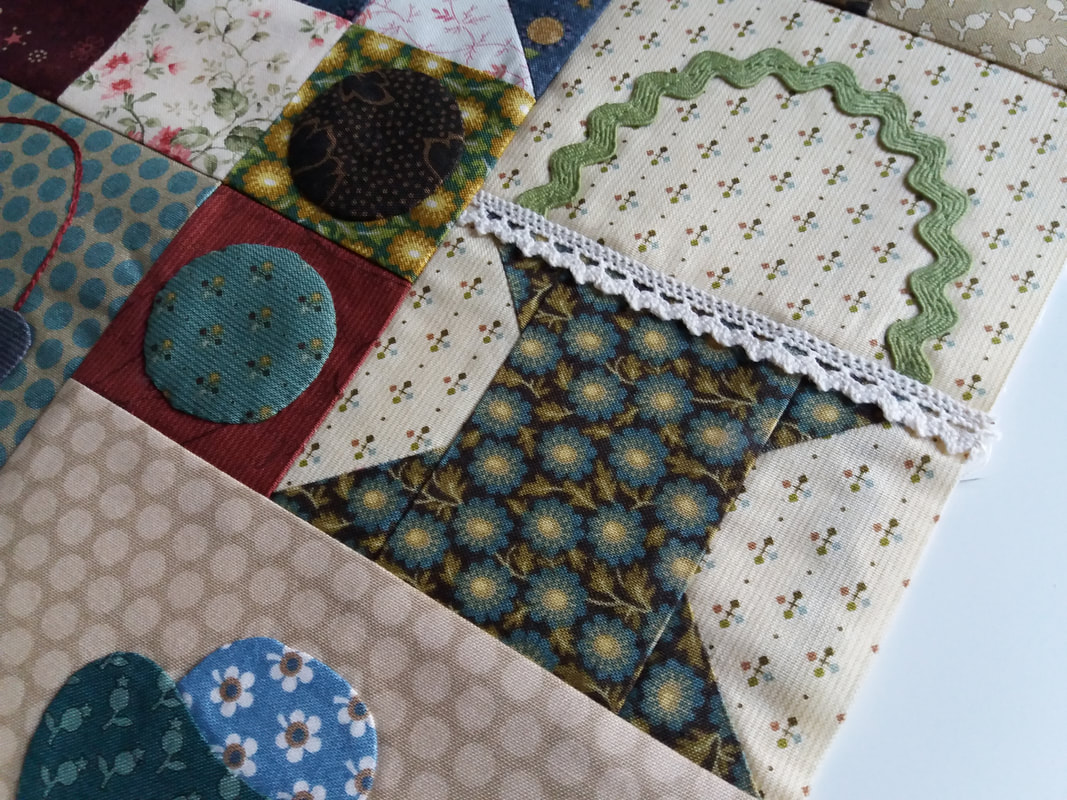
Here's a cheeky little peek at another basket from block 3 "Mary" of The Sopwell Ladies Basket Society Quilt. This pieced basket has been trimmed with some vintage lace and a ric-rac handle, and is the final basket for this block. I'll share a picture of the completed block tomorrow.
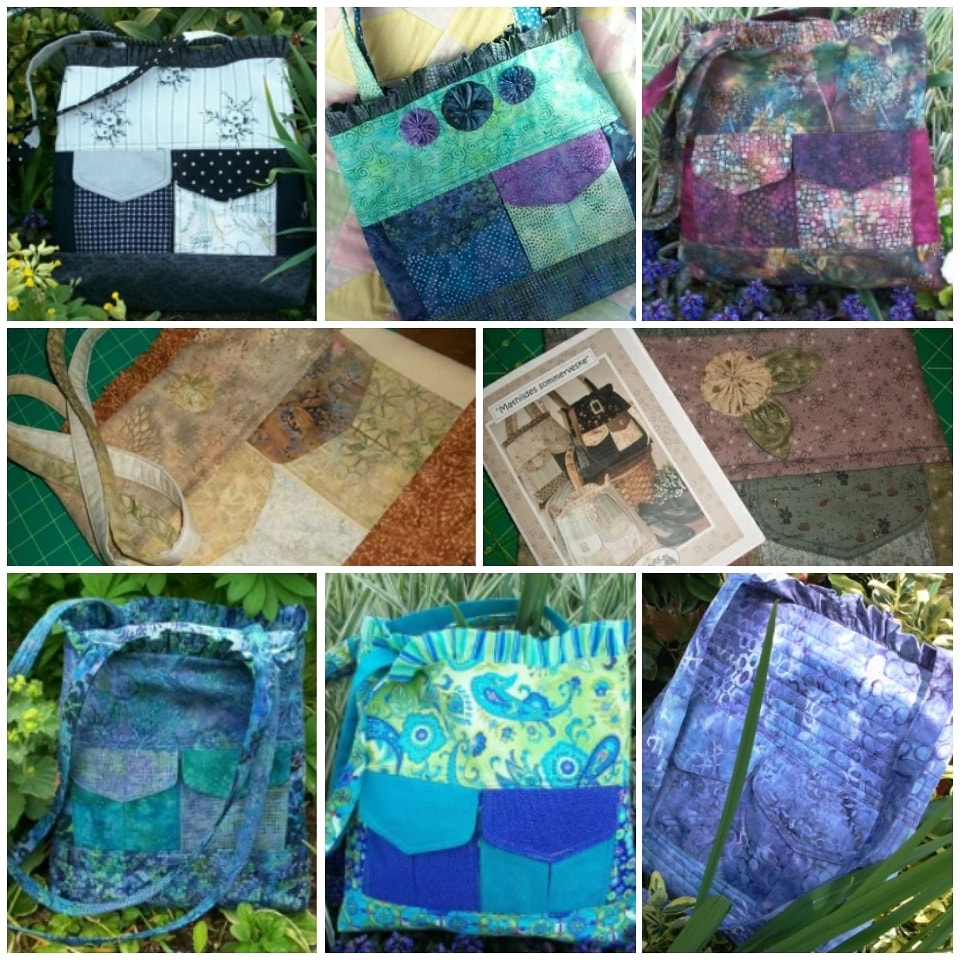
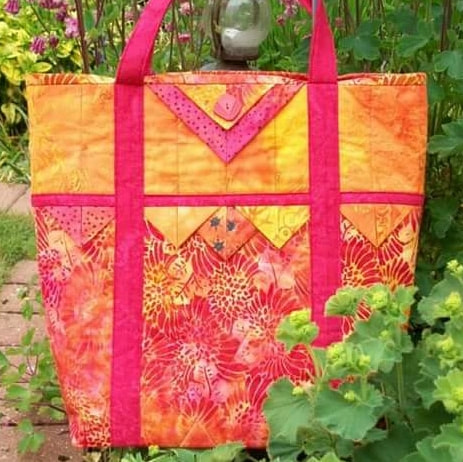
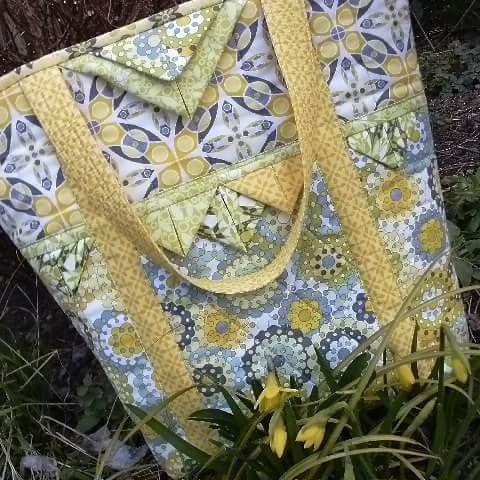
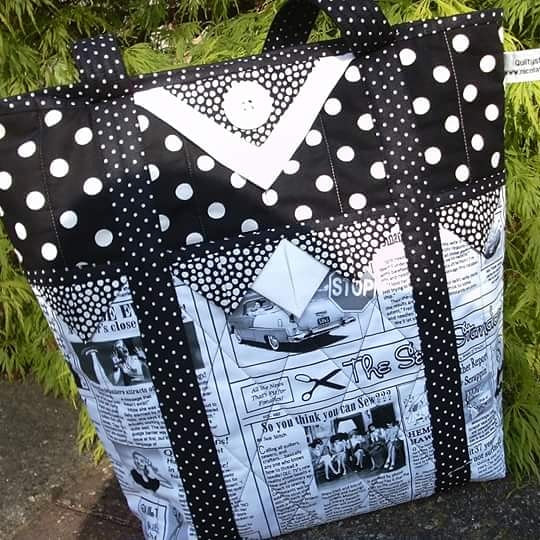
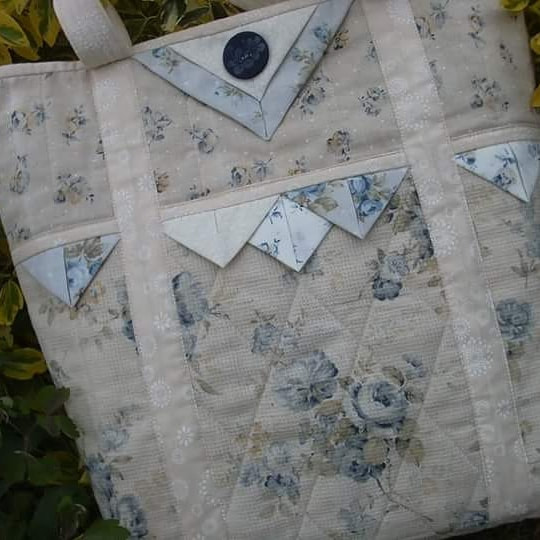
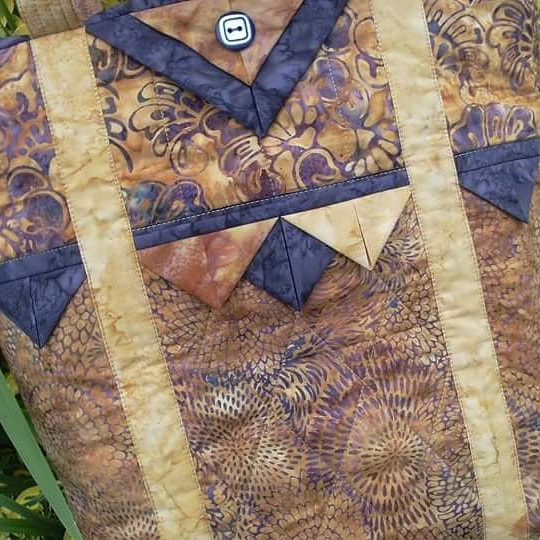
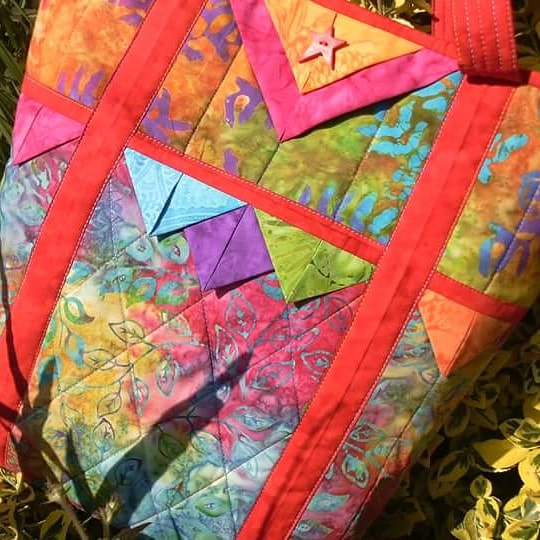
I made my first tote bag with this pattern - "På Quiltelaup" by the Norwegian designer AnnAKa - about 10 years ago. I've made a dozen of these bags altogether - so I suppose this has to be my absolute favourite tote bag pattern! Although the instructions are in Norwegian, I just follow the excellent diagrams that this pattern has! Norwegian patterns are considerably more expensive than any others I've bought, but considering how many times I've used this one, it's been well worth every single penny! (If you click on the individual pictures, you can see an enlarged picture of each bag). Not all of these were for me - several have been gifted to some very special friends and family!
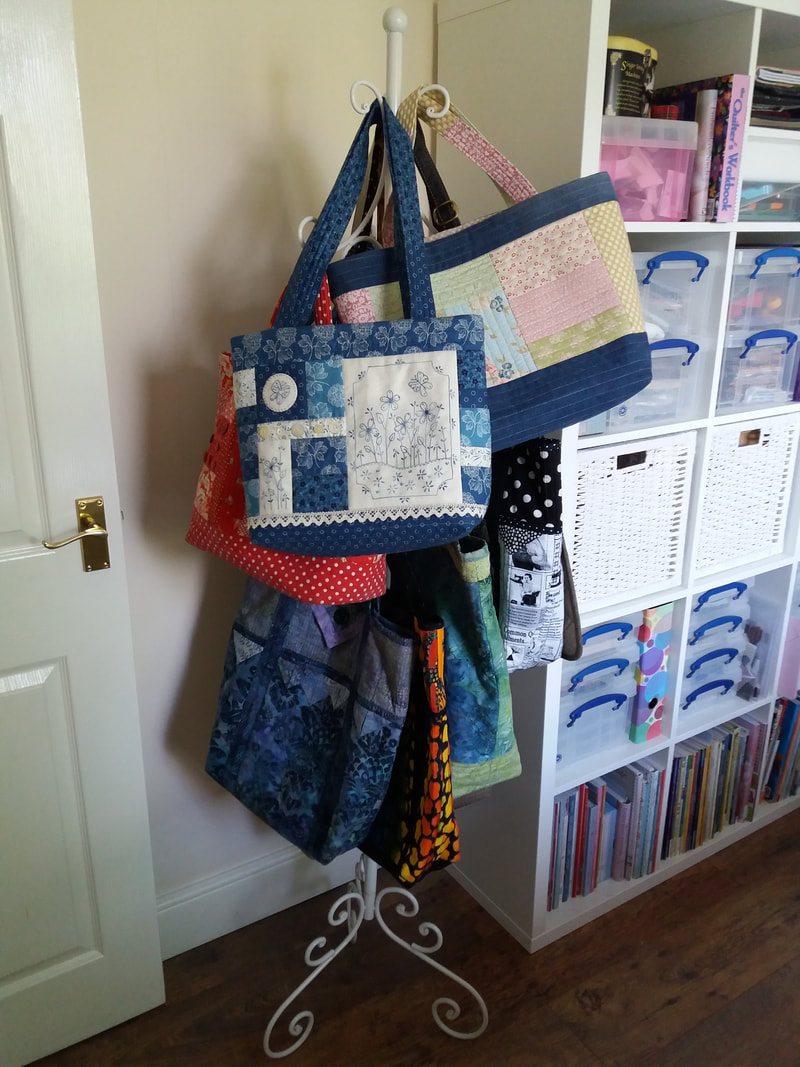
*patterns by the Norwegian designer are only available from Scandinavian countries - the instructions are written in Norwegian, but this pattern has very detailed illustrations - maybe it's time I made another one! On Friday evening I shared a picture of the completed Blue Butterfly Bag that I'd made ready for my mother-in-laws birthday. It was a super pattern to make, designed by Gail Pan (one of my favourite Australian designers!) and was bought as a kit from Cross Patch in Wales (unfortunately no longer a bricks and mortar shop, but a fantastic online shop - with a wonderful selection of fabrics and patterns and kits). I also shared a picture of the bag on my FB quilting page on Instagram and Facebook, and on a few of the online quilting groups I belong to. Well the picture was obviously a hit as I received absolutely HUNDREDS of likes and comments! So I thought I'd share a picture of the bag again, hanging on display in my sewing studio - along with a few of the other bags that I've made. And yes, I really do use all these bags! Bags are a great project to make as a special gift, as they are so much quicker to make than a quilt and much cheaper to make too. I'll share a picture of my favourites over the next few days.
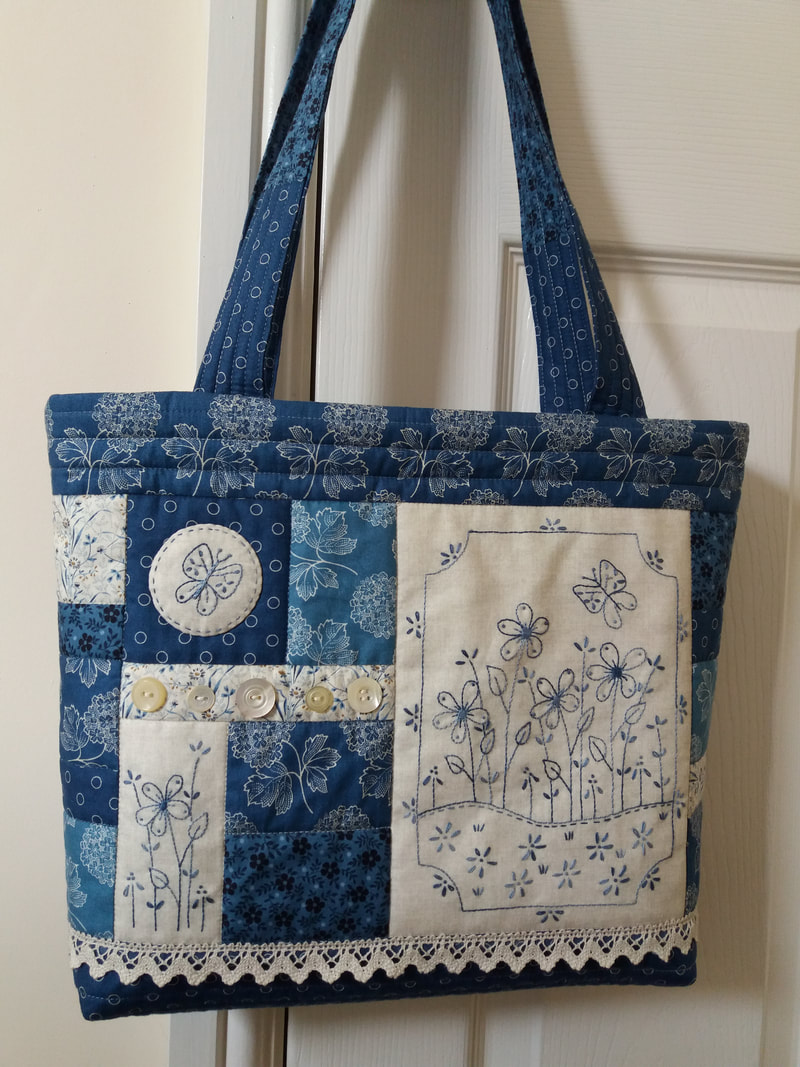
It's finished! Pattern is "Blue Butterfly Bag" by the Australian designer Gail Pan Designs and was bought as a kit from Cross Patch in Wales here in the UK. The front of the bag was hand embroidered with Cottage Garden Threads and hand appliqued. This has been machine pieced with Aurifil 50wt thread and machine quilted very simply with a very subtle variegated blue/grey Valdani 40wt quilting thread. Finally, the front of the bag was embellished with a few vintage buttons and trimmed with cotton lace. These gorgeous fabrics are from the Blue Sky collection by Edyta Sitar of Laundry Basket Quilts for Andover Fabrics. Julia, the owner of Cross Patch (a fabulous online quilt shop) puts together some amazing kits, and she has a wonderful selection of patterns etc on her website. This is going to be gifted to my mother-in-law for her 90th birthday, in a couple of months. I just hope she likes it!
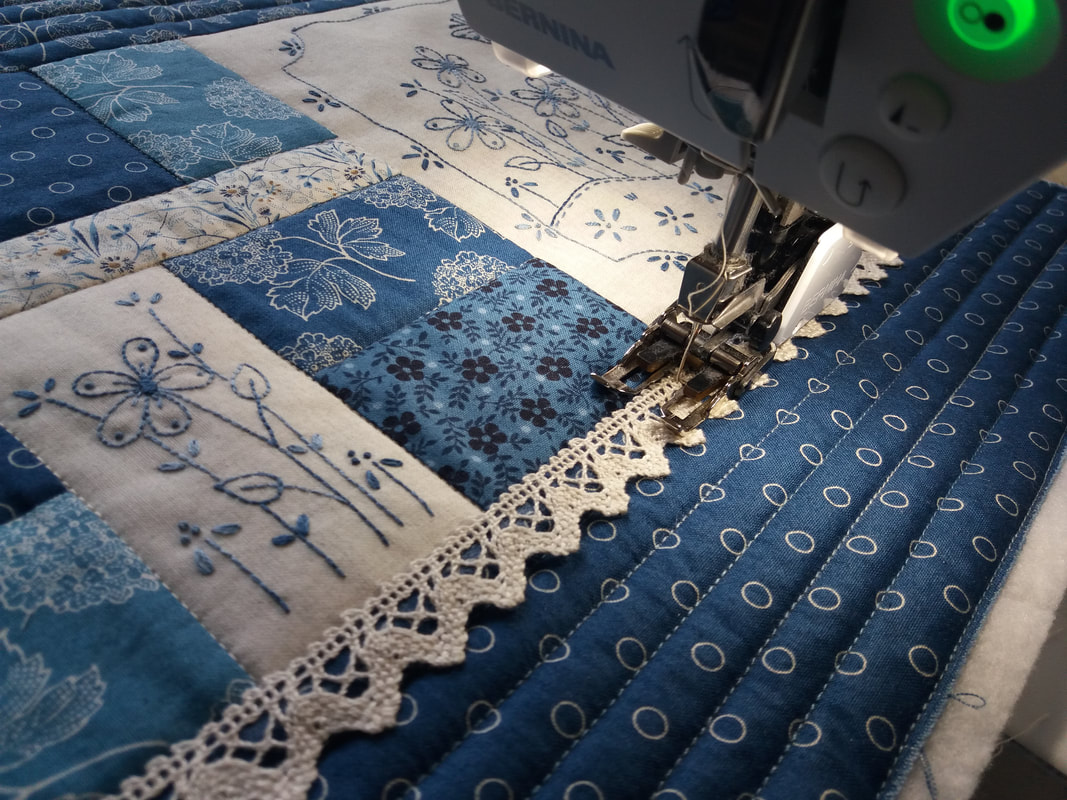
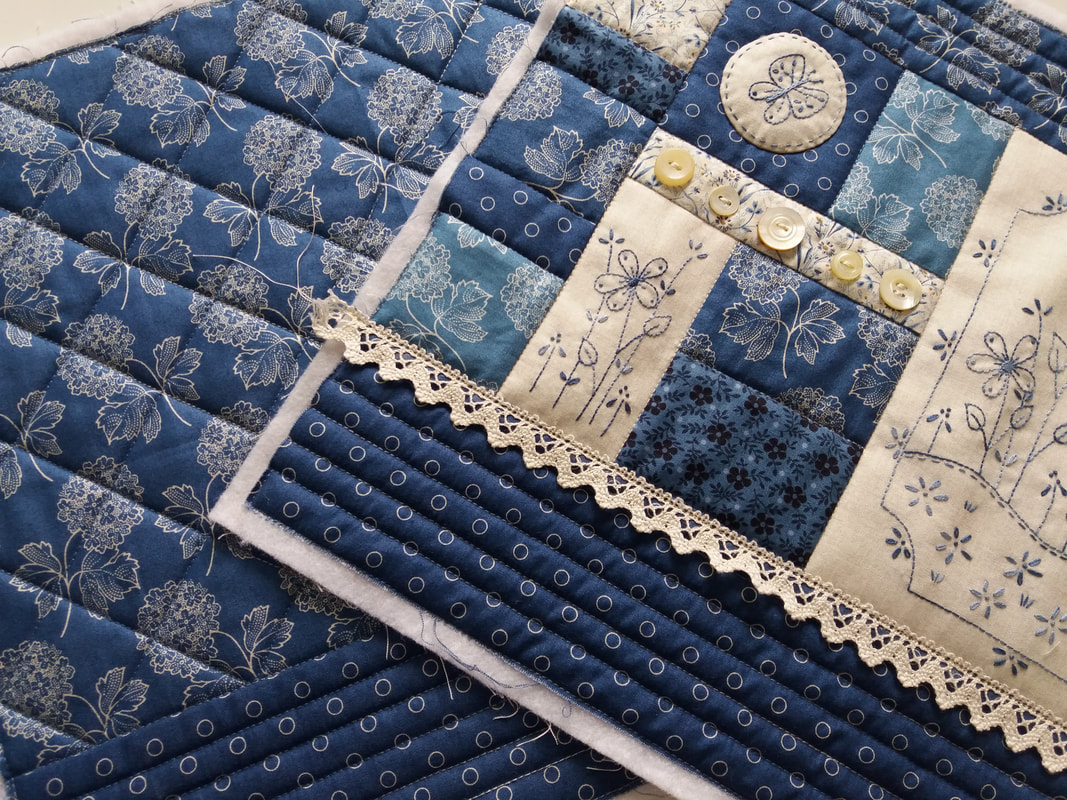
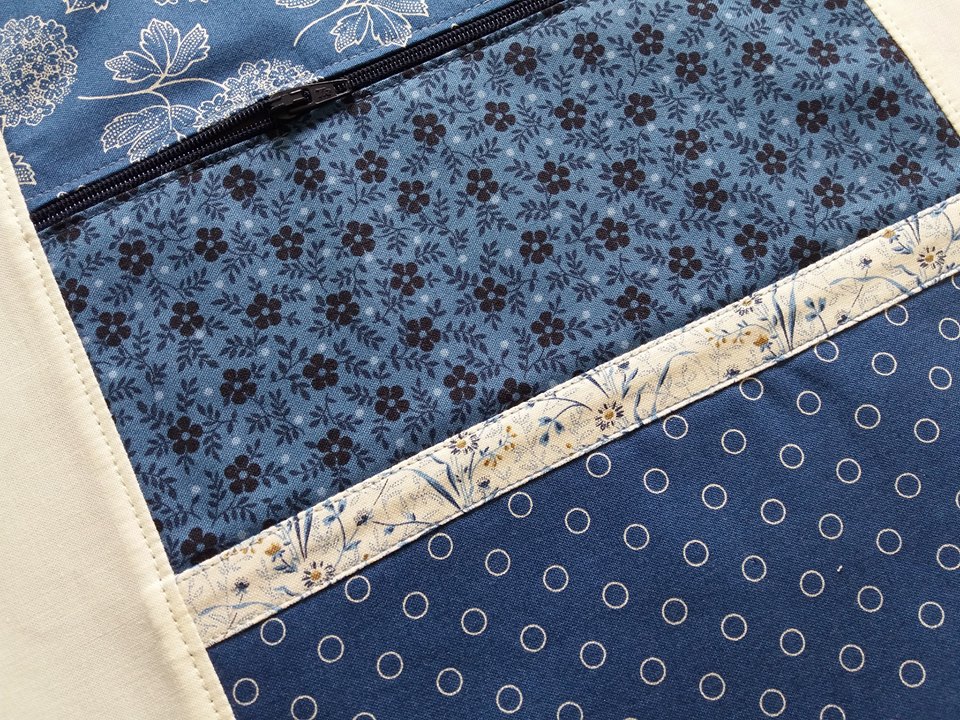
The front of this bag has some hand embroidered blocks - I quilted around these very simply with a cream King Tut 40wt quilting thread. Then I simply stitched in the ditch for the pieced blocks using the same variegated blue/thread that I'd used for the back of the bag. Finally, a strip of cotton lace was stitched along the bottom border of the bag. I used a fabric glue pen to hold the lace in place rather than use pins, and used a longer stitch length than usual to secure it to the bag front, using cream thread to match the lace... ...both the back and the front of the bag have been quilted, embellished with a few vintage buttons and lace, and the applique has been hand stitched into place... ...I decided to add some pockets into the lining of the bag (this isn't in the original instructions). I used these GORGEOUS fabrics that were leftover from the main bag to make a pocket panel, that was sewn into the lining and topstitched for strength and decoration, with a cream King Tut quilting thread (I'm trying to get through my HUGE collection of threads!). Now the next step is to make the handles, stitch the back and the front of the bag together and it will be completed!
|
About me...Hi - welcome to my quilting blog! My passions are my family, my dog, my friends and sewing, not necessarily in that order! Archives
July 2023
Blogs I followUK shopsThese are the UK shops that I use to purchase my quilting supplies - fabrics and threads etc.
Australian linksScandinavian links |



 RSS Feed

