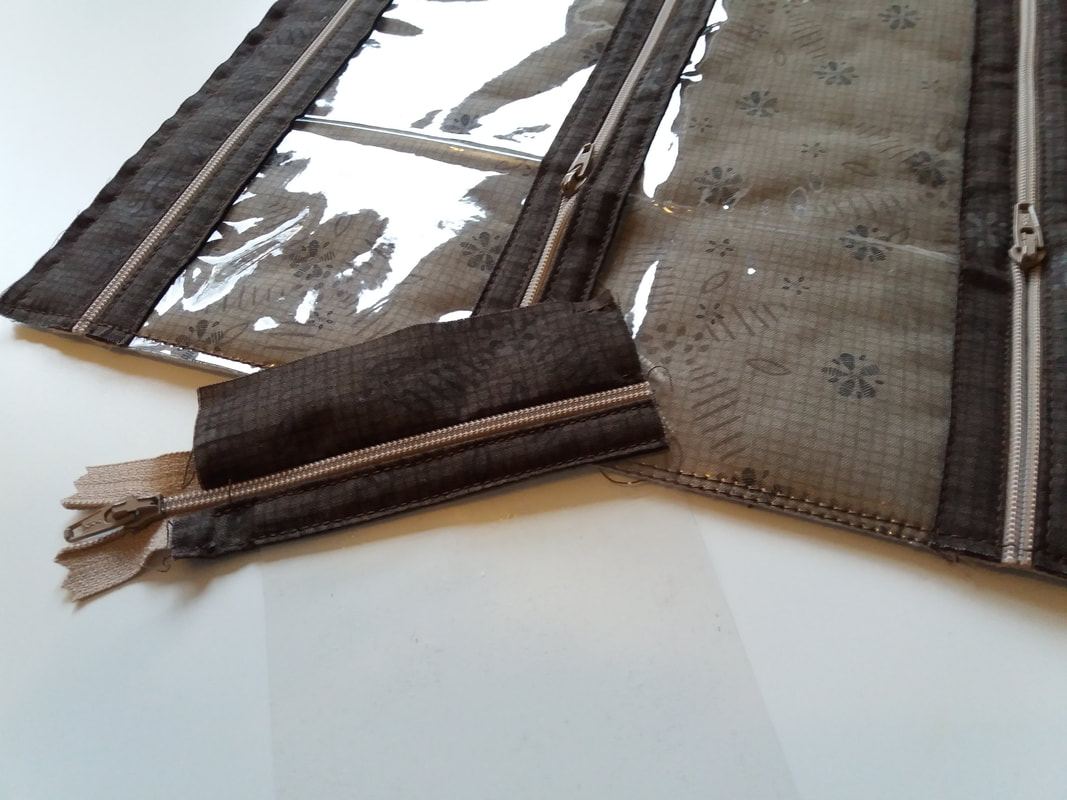
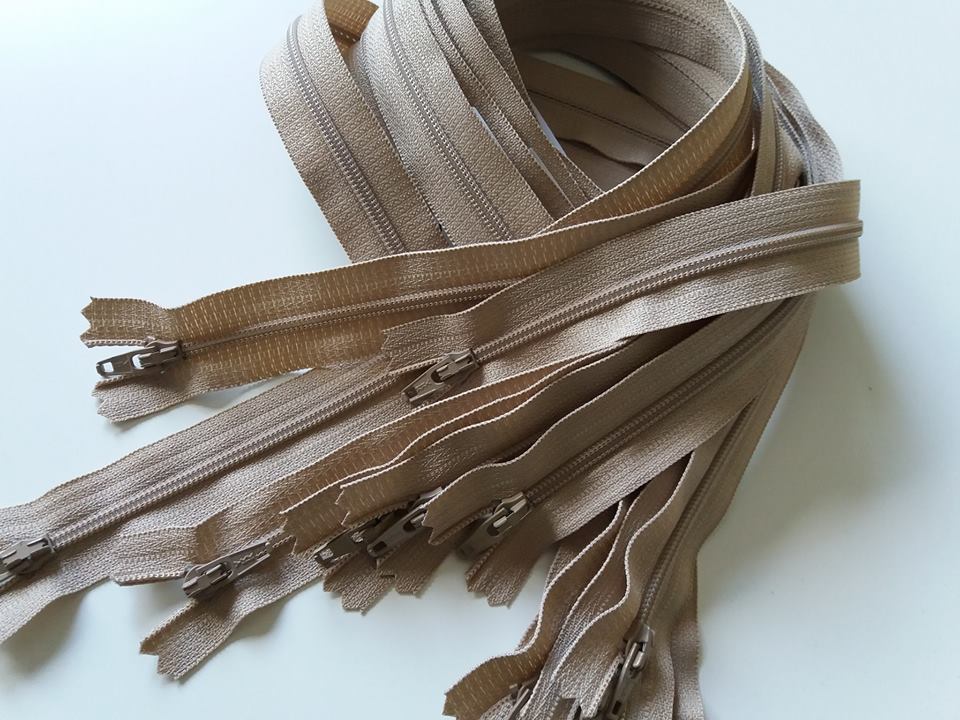
Eeekkk!! I had a disaster in my sewing studio last night - and chopped off my zipper pull! I thought 13 was an unlucky number, not 12. Thankfully 11 zippers have been stitched in place perfectly. This morning I'll be counting out all the IOU's I put in my swear jar when I realised what I'd done and doing a bit of unpicking ready to replace it!!
2 Comments
The next stage of the EPP Storage Carry All (pattern by Lynette Anderson Designs) is preparing for some hand embroidery. This design has been traced using a light pad and a fine tipped Micron Pigma pen (my favourite is a size 005 nib in sepia brown) with a lightweight interfacing fused to the wrong side of the background fabric. The applique has been hand stitched in place already, as some surface embroidery needs to be added... ...once the three cameo sewing scenes had been hand embroidered using a dark brown DMC embroidery thread, they were hand appliqued into place. I'm using fabrics from the Hollyhock Cottage collection, also designed by Lynette, for this project. I just need to add a running stitch along the top and bottom of the row of hexies, and sew the handles in place, then I can finish the plastic pocket panels that were started a few days ago.
A few little hexies have been appliqued into place, on the front of the EPP Storage Carry All (pattern is by the Australian designer Lynette Anderson Designs). I used precut 5/8" papers for the hexies, and they have been hand appliqued into place using 80wt Aurifil thread and a very fine Clover Black Gold needle. These fabrics are from the Hollyhock Cottage collection, also designed by Lynette, and have been in my fabric box for a VERY long time. I picked out a selection of brown fabrics for this project, and the front of the case has been quilted very simply using a brown Mettler 40wt quilting thread and a Schmetz topstitch size 70 needle. I'm trying to use up some of my older threads, and when I first started quilting I bought reels and reels of Mettler thread in every available colour to feed my thread habit!
The next installment of the Vintage Sewing Club arrived a few days ago from Cross Patch - these Cottage Garden Threads are really gorgeous - the colours are beautiful and they really are super to stitch with. My CGT collection is growing fast!
I've got zippers galore on my cutting table today! My latest project suggests using continuous zipper, but as I didn't have any to hand, and wanted to use what I already had in my "zipper box" so I'm using 12 zippers instead! I really don't mind sewing with zippers, but I've never had quite so many in one project before!
Peaceful Garden (designed by the Australian designer Anni Downs of Hatched and Patched) is my latest project. It's finally ready to hang on the wall in my sewing studio! I love making smaller projects that can be displayed, and love sitting in my sewing studio surrounded by pretty things that I have made. This small wall hanging is approx 12.5" x 17.5" and has been a lovely project to stitch... ...this was bought as a kit from Cross Patch, an online shop based in Wales, here in the UK. Julia stocks and amazing array of patterns and kits, and she always gives excellent customer service. Thanks Julia for another great project! Now then - what is next on my "to-do" list!!
Peaceful Garden has been a super project to make, and I really am pleased with it. This pretty wall hanging is now completed, and a label has been stitched to the back along with a narrow quilt sleeve so it can be displayed on the wall of my swing studio. I'll soon need some more decorative quilt hangers! This pattern is designed by the Australian designer Anni Downs (Hatched and Patched) and it was bought as a kit from Cross Patch, my favourite online shop, based in Wales, here in the UK. Julia puts some gorgeous kits together, and this one even included the backing and binding fabric. I really do love stripey bindings!... ...how do you hang your quilts? I always hand stitch a sleeve to the back, slip stitched carefully so the stitches don't show through to the front of the quilt, and ensuring there is plenty of room for the hanger. There's nothing worse than seeing a beautiful quilt on display, but let down by an inadequate quilt sleeve (often quilt shows will have guidance on the size of sleeve recommended). As this is only for display in my studio, and not in a competition, I only needed a narrow one, and the quilt sleeve was pieced together from from some leftover scraps from the kit, and a I also managed to squeeze a small label too. This decorative quilt hanger will look really pretty on the wall of my sewing studio, and I'm hoping to source some more of these smaller quilt hangers as they look so pretty, and my walls are filling up fast!
Peaceful Garden has been stitched together and is ready for quilting. Just deliberating over the type of wadding to be used! I don't want to use anything too thick with a high loft, as it's going to be displayed on the wall when it's finished. I've several pieces of cotton wadding (these are easily joined together either by butting the edges together and using a machine zig-zag stitch, or by using strip of adhesive tape)... ...I've used 2 of my favourite Aurifi threads, a neutral colour on the top, and a dark grey in the bobbin, to machine quilt this. The quilting has been kept very simple, just stitching around the centre panel, around each small stitchery centre, then around the border. The fabrics in this wall hanging are very pretty - Julia from Cross Patch puts some amazing kits together!
|
About me...Hi - welcome to my quilting blog! My passions are my family, my dog, my friends and sewing, not necessarily in that order! Archives
February 2025
Blogs I followUK shopsThese are the UK shops that I use to purchase my quilting supplies - fabrics and threads etc.
Australian linksScandinavian links |