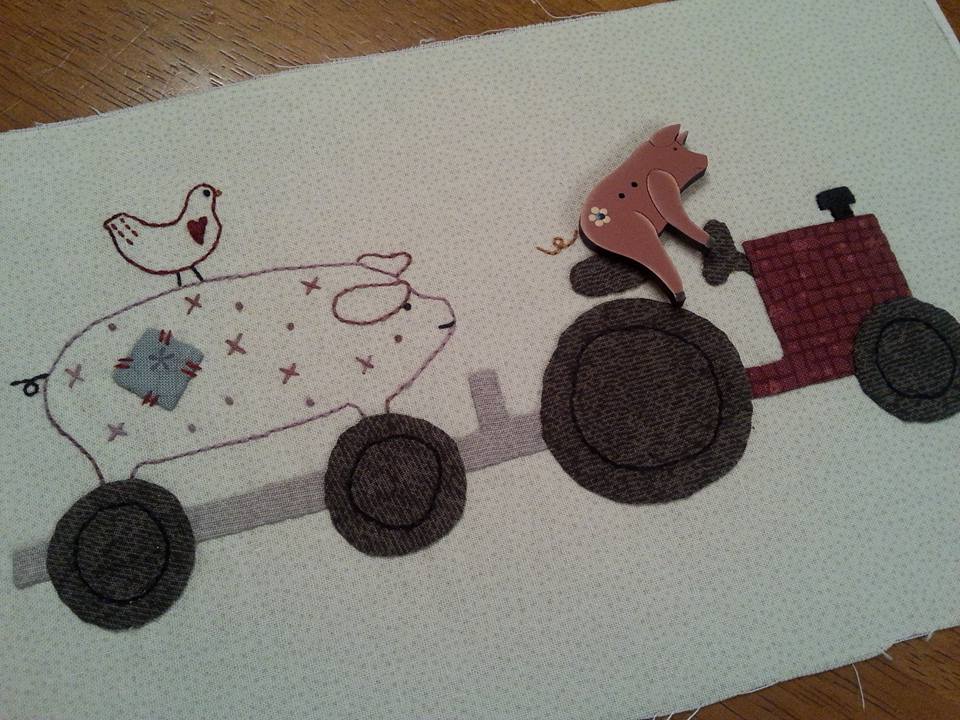
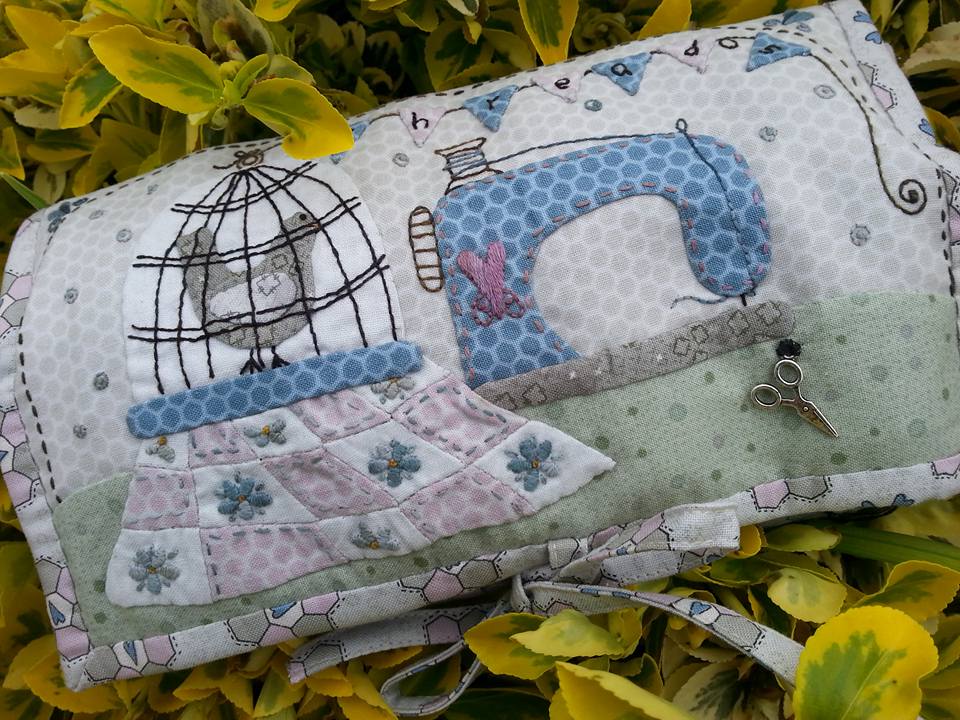
A couple of weeks ago the next block of Anderson's farm (this is a Mystery Button Club designed by Lynette Anderson Designs) arrived in the post all the way from Australia. Each month another pattern arrives, complete with a cute hand-painted wooden button. I'd signed up for this with Lynette, and these have been coming from her shop in Australia, Little Quilt Store. I'd bought a fabric pack from her too, as this is made with a variety of fabrics from several of her fabric collections. I traced the stitchery design onto the background fabric with a Micron Pigma pen and was ready to start stitching. The applique was all completed using applique paper, a glue pen and apliquick rods. Then finally it is hand sewn into place with a YLI silk thread. That piggy button is so sweet!... 
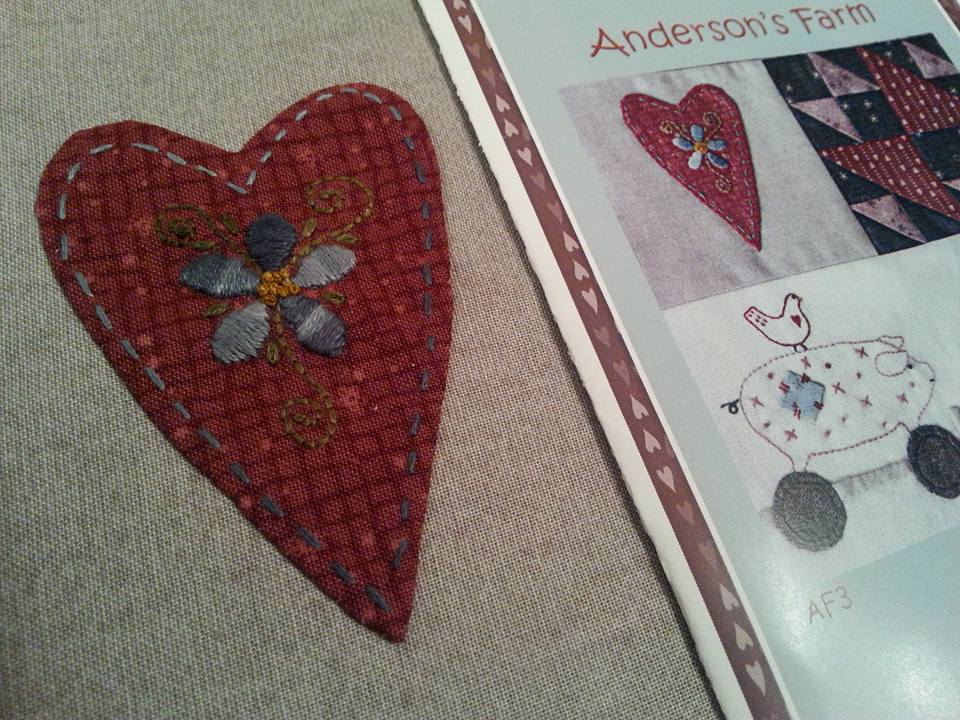
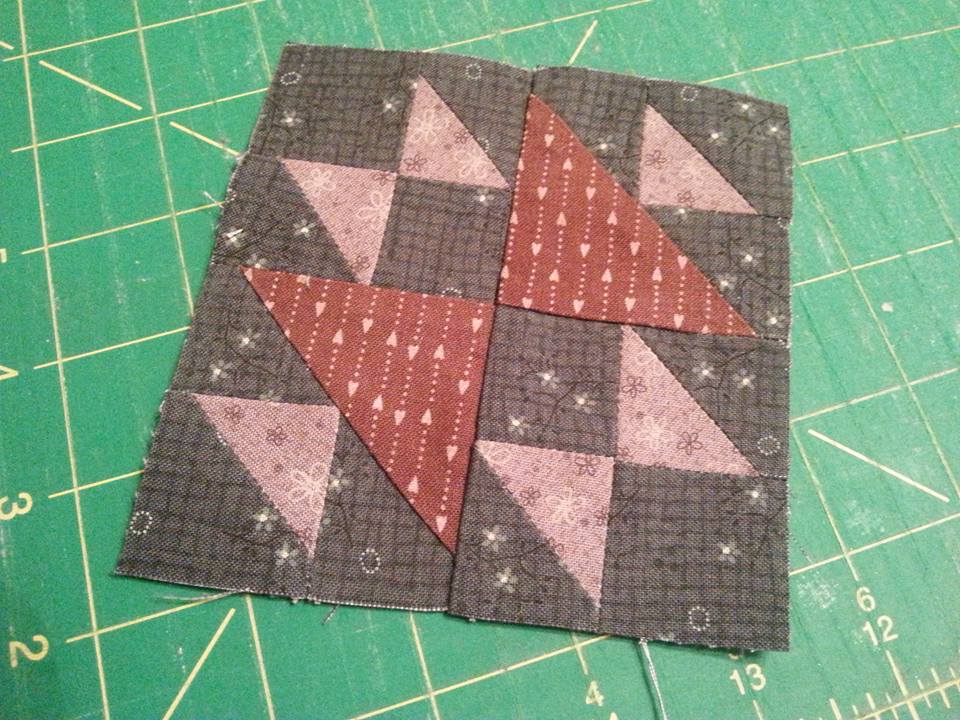
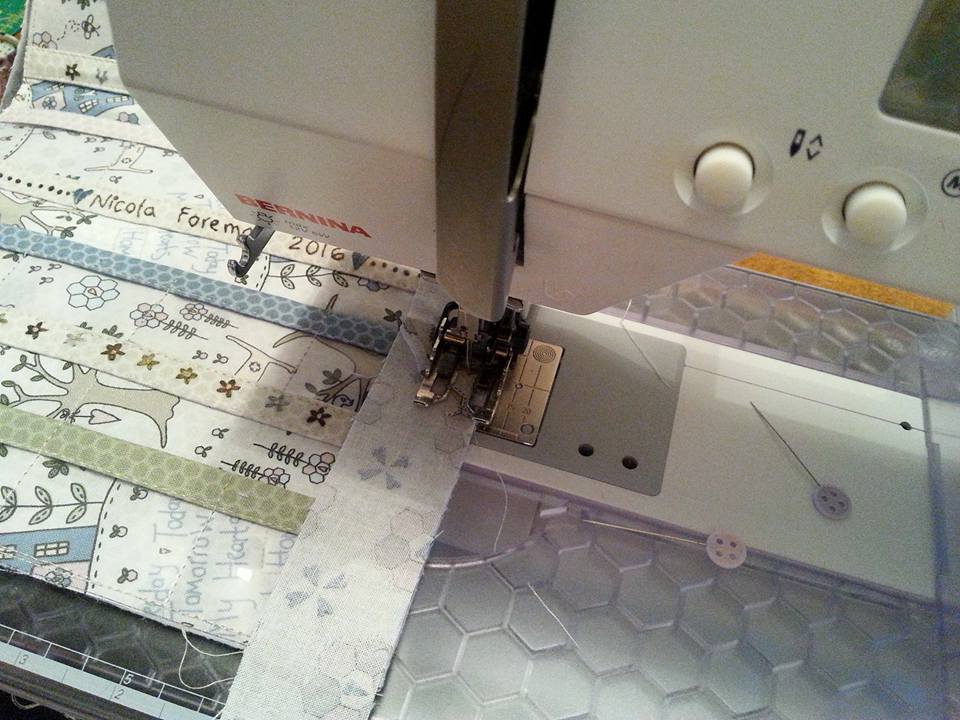
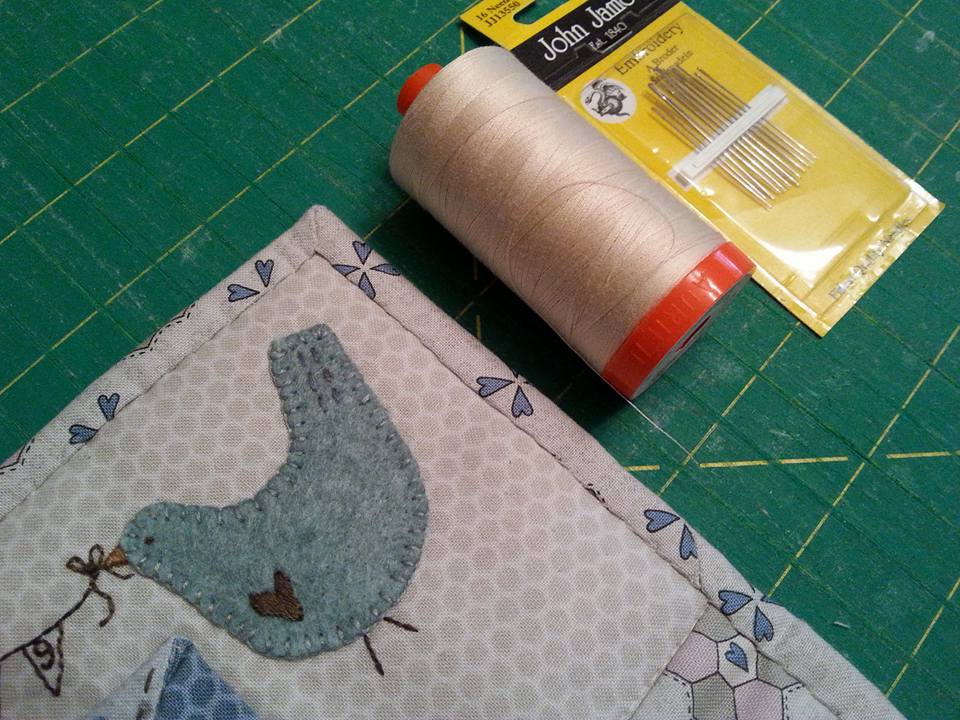
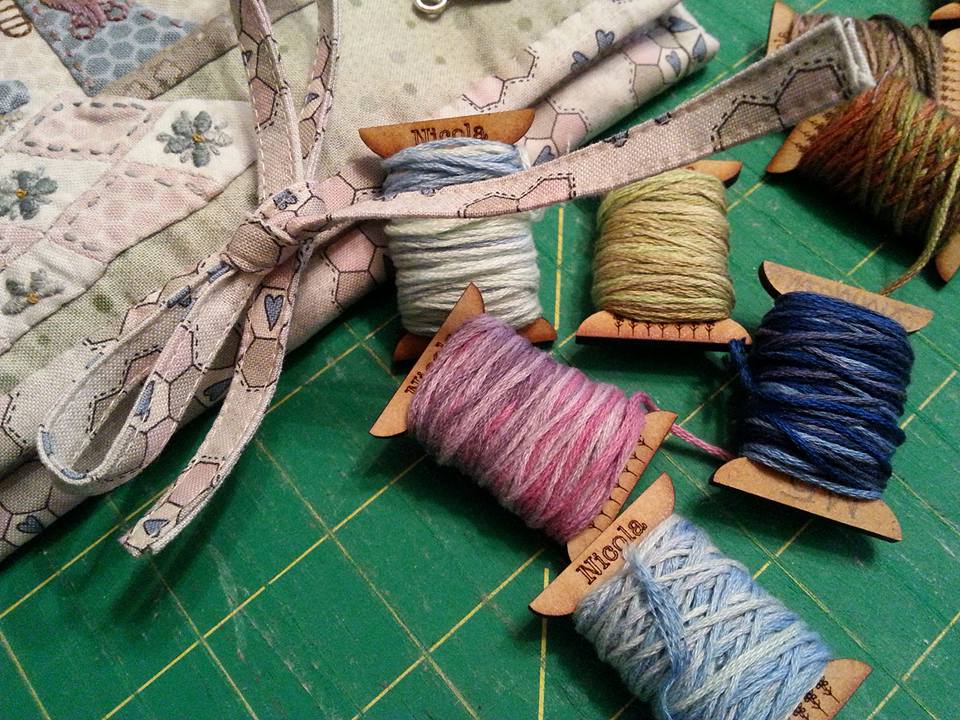
...I used a white Sewline pencil to trace the stitchery design for the appliqued heart, and I found it much easier to stitch the design before cutting the shape out. I didn't use weave line on the back, I just used the applique paper as a stabiliser. The embroidery is completed with over-dyed Valdani embroidery threads - these colours are really subtle, and they're lovely to sew with. The hen and chicks patchwork block was finally machine pieced together over the weekend... 
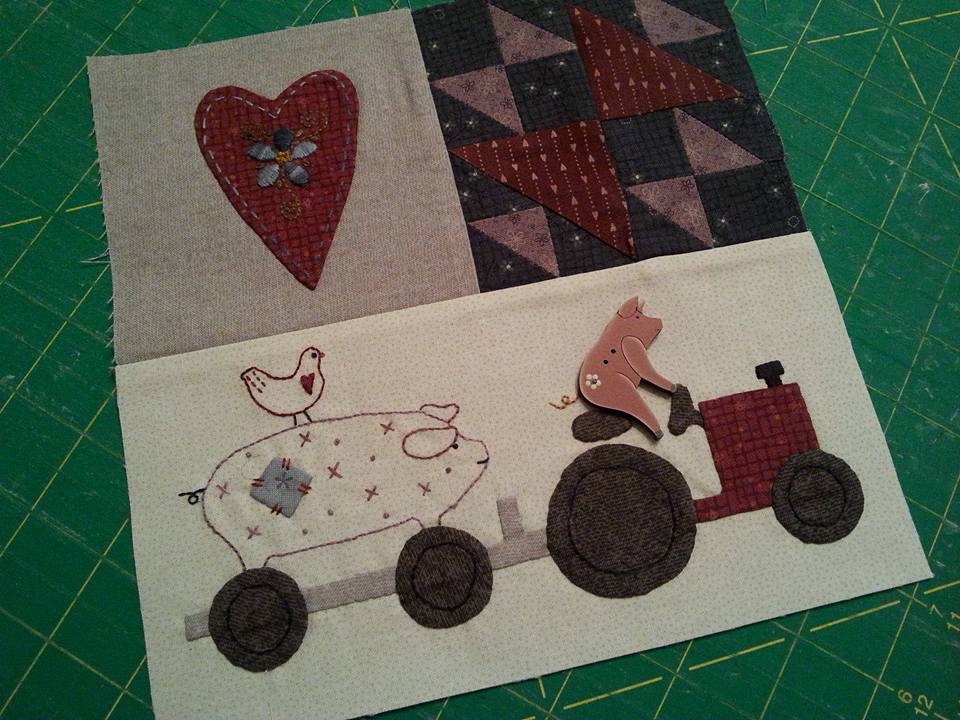
...and then all 3 mini-blocks were pressed and stitched together. I've used Aurifil 50wt thread in a neutral colour for all the piecing, and a Schmetz microtex size 60 needle. These blocks are looking super - there is a list of shops that are participating in this over on Lynette's blog, if you want to join in with this, hurry up and you might be able to get a place!
0 Comments
Here it is - finally completed at last - "My Floss Organiser" - the latest pattern from Lynette Anderson Designs. My version has been made with these pretty fabrics from Lynette's "My Hearts at Home collection. The front of this floss organiser is decorated with a mixture of applique and stitchery, and I used the applique paper and glue stick method for this applique. Hand dyed Valdani threads in co-ordinating colours were used for the embroidery. Finally a cute scissor charm was used to embellish the front - I didn't have one quite like the one Lynette used for hers, but I found this one in my button tin... ...the little envelope has been appliqued into place, and decorated with a hand embroidered satin stitch heart. This is for storing packets of hand sewing needles, and the appliqued wool birds is an ideal location for storing your needles that you're using. I bought several "charm packs" of wool felt in a selection of colourways a few months ago from The Eternal Maker and these have been so useful for projects like this!... ...the floss organiser opens up to reveal 24 clear plastic pockets, neatly bound and trimmed with hand embroidered fabric strips, and are perfect for storing threads as you can see the colours through the clear plastic. (I'd already got some plastic in my craft box that I'd bought a few years ago from Norway, but if you're here in the UK I'd suggest you try Amazon UK for clear vinyl - I recently bought some more from there, and it was about £2.50 for a metre... it comes folded, and you just need to warm it up with a hairdryer to get the creases out!).
These gorgeous hand-dyed Valdani threads are really lovely to stitch with, and they have been wound onto cute wooden spools. These personalised spools were part of the Thread Club that I took part in last year, and I absolutely love them! If you'd like to make one of these to keep your threads in too, the patterns are available from Lynette's shop Little Quilt Store, along with the cute scissor charms and spools and fabrics. If you're in the UK Julia at Cross Patch has these patterns and some wooden spools too. My latest project, My Floss Organiser (pattern by Lynette Anderson Designs) has been made with with really pretty fabrics from "My Hearts At Home" collection, also by Lynette. The main feature of the inner is 24 clear plastic pockets - when I added the binding to cover all the raw edges, I found it much easier to machine the binding onto the inner, covering the plastic parts, then turn the folded edge over to the front of the organiser ready for hand stitching the binding in place - it's much easier to stitch the binding to the fabric part of the front of the organiser, rather than trying to hand sew it the plastic part on the inner. Obviously if you're going to machine stitch the binding completely, this doesn't really matter. I'd initially cut my binding strips 1.25" wide, and machined them into place with a walking foot and Aurifil thread, making mitred corners as I stitched the binding in place. The binding was then folded over to the front of the organiser, and hand stitched in place just as if I was binding a quilt..... ...when the front of the organiser was pieced together, one of the ties was inserted into a seam, and I then stitched through the front of the organiser and the wadding to secure those 2 layers together, before layering the inner part of the organiser and adding the binding. The second tie was secured in place when the binding was machined around the edge. These are then tied in a smart bow to keep the floss organiser closed. These gorgeous personalised wooden spools were part of the The Thread Club that I took part in last year. These gorgeous hand dyed Valdani threads are wound around the wooden spools.
If you're interested in getting the pattern to make "My Floss Organiser" they are available from Lynette's shop Little Quilt Store, and if you're in the UK they are available from Julia at Cross Patch in Wales. |
About me...Hi - welcome to my quilting blog! My passions are my family, my dog, my friends and sewing, not necessarily in that order! Archives
July 2023
Blogs I followUK shopsThese are the UK shops that I use to purchase my quilting supplies - fabrics and threads etc.
Australian linksScandinavian links |