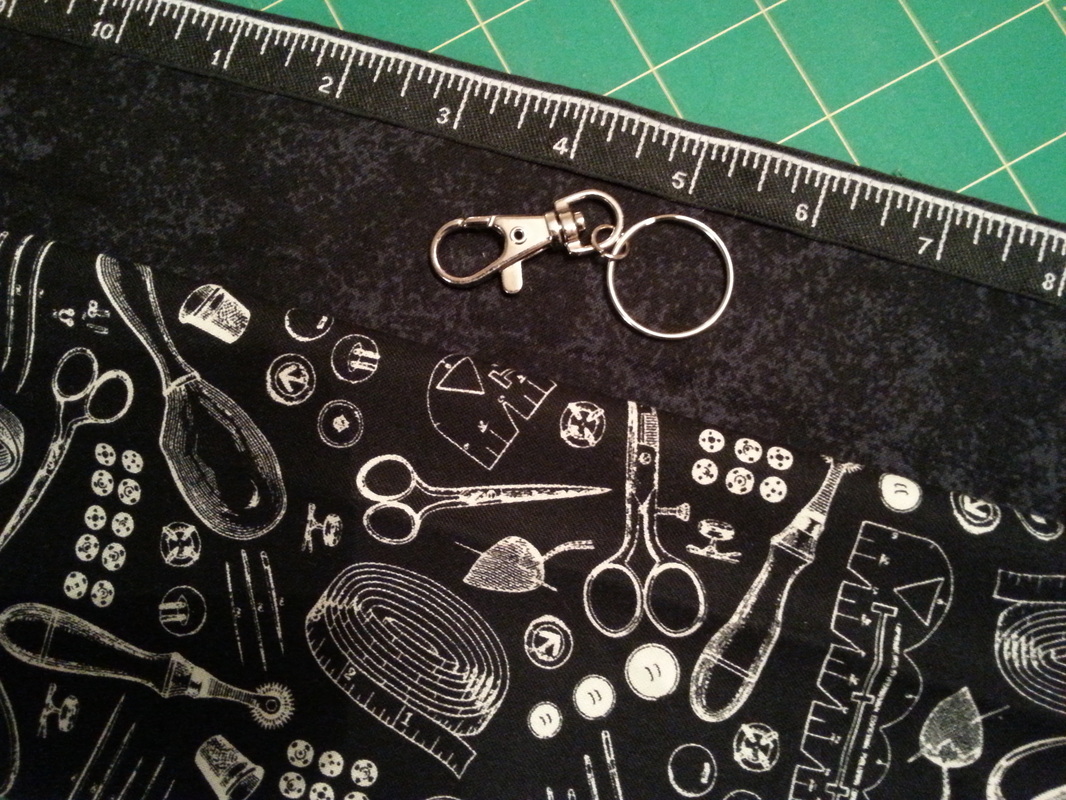
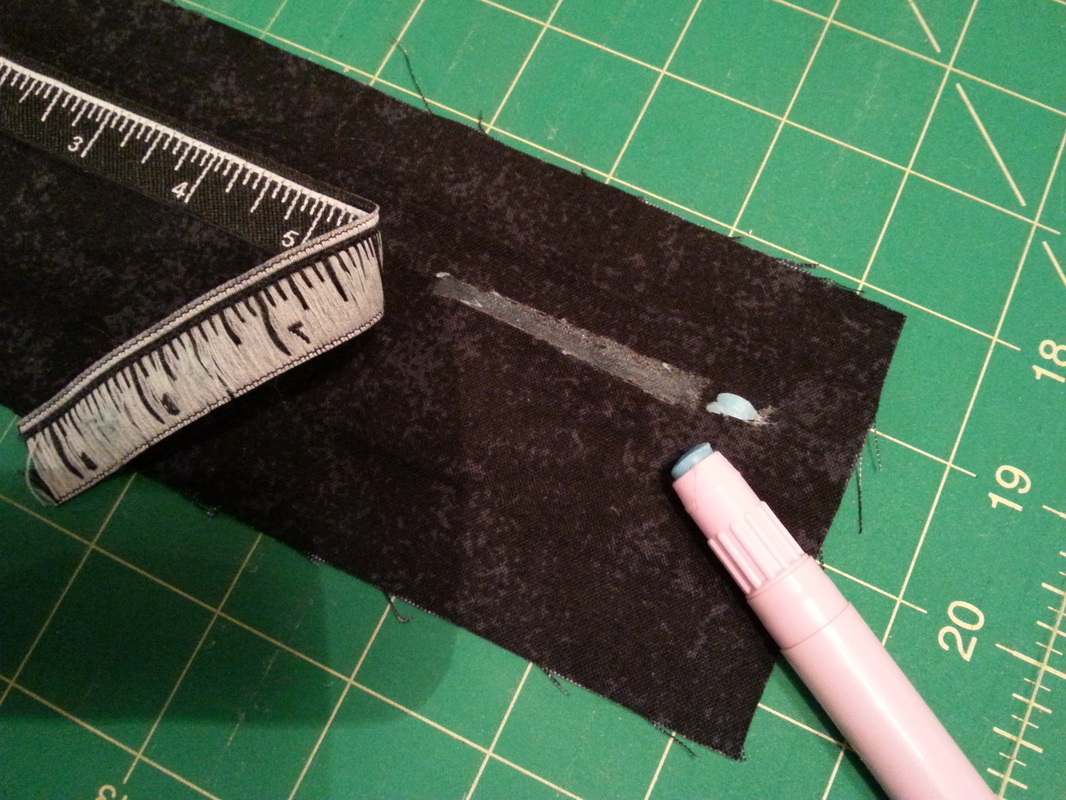
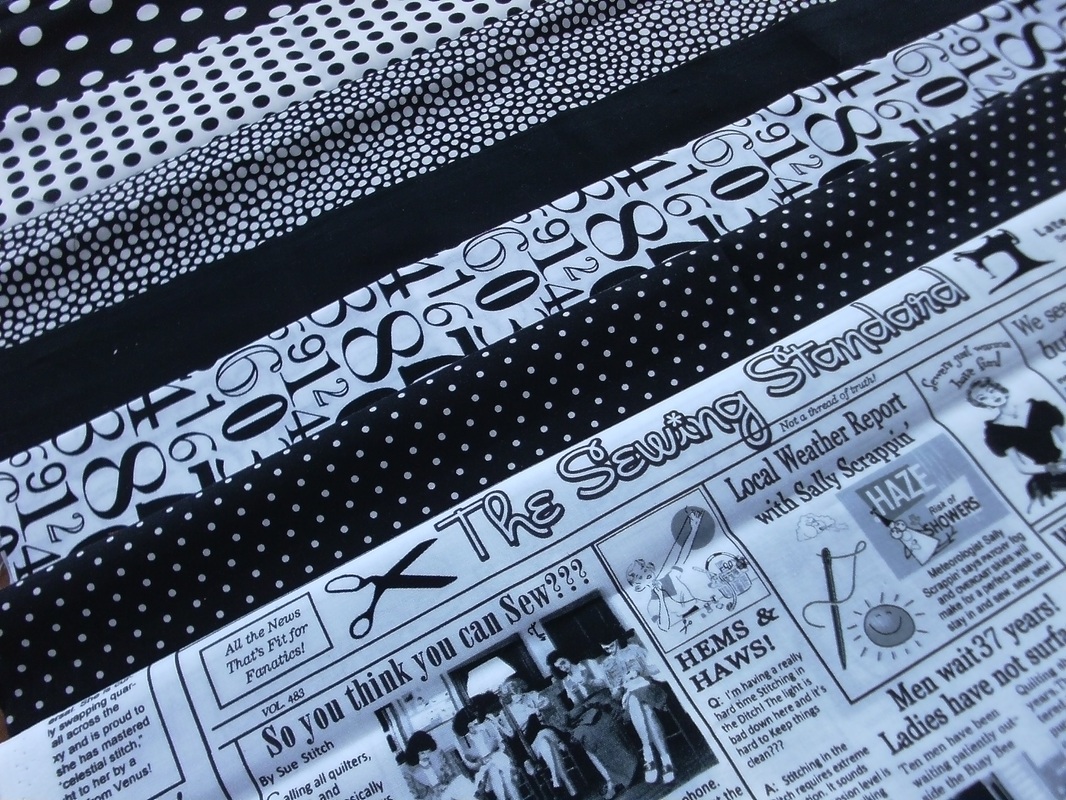
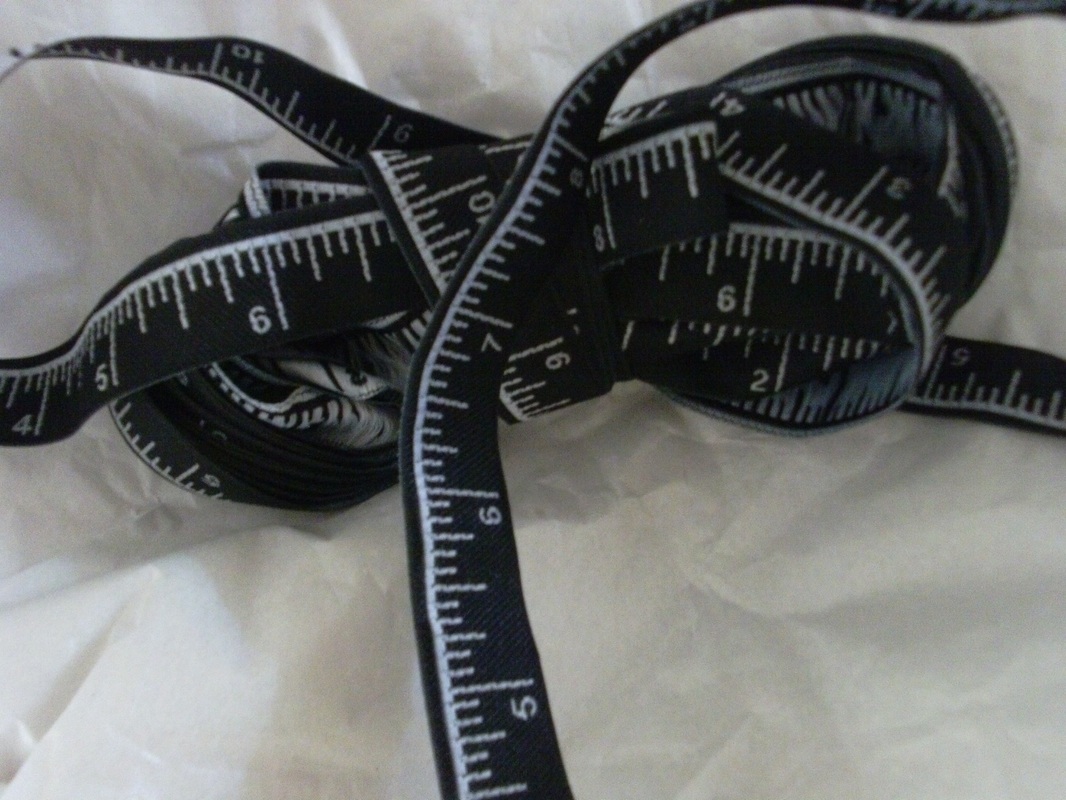
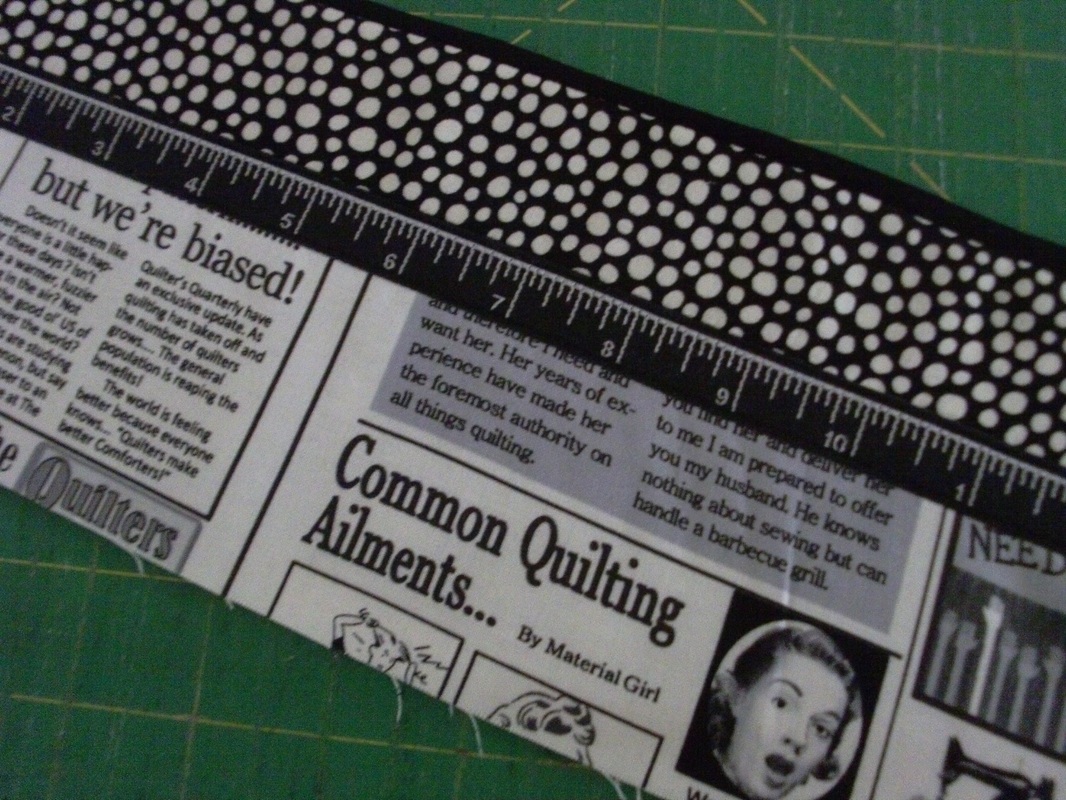
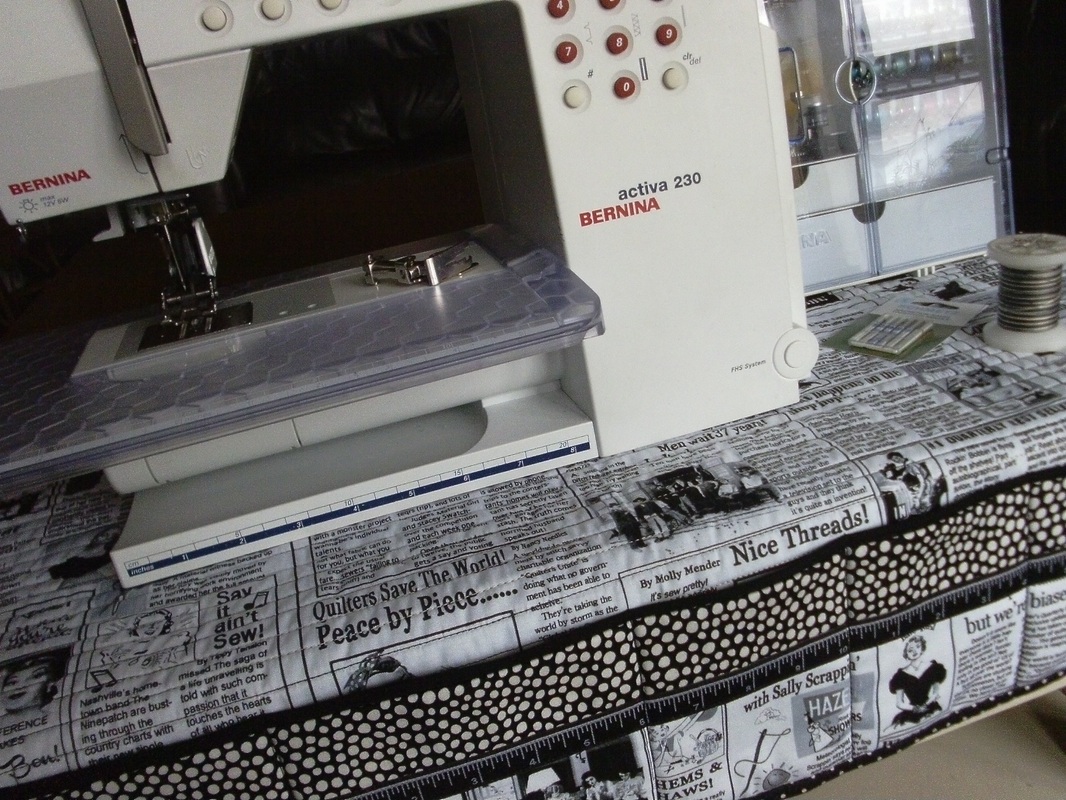
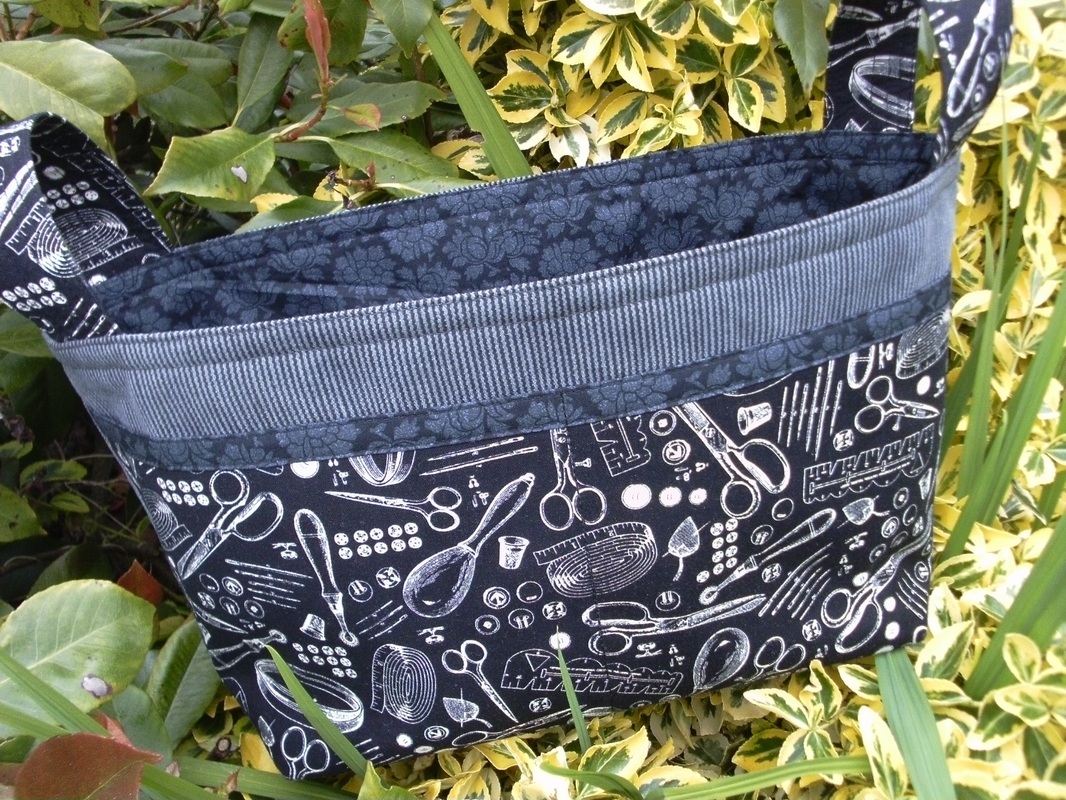
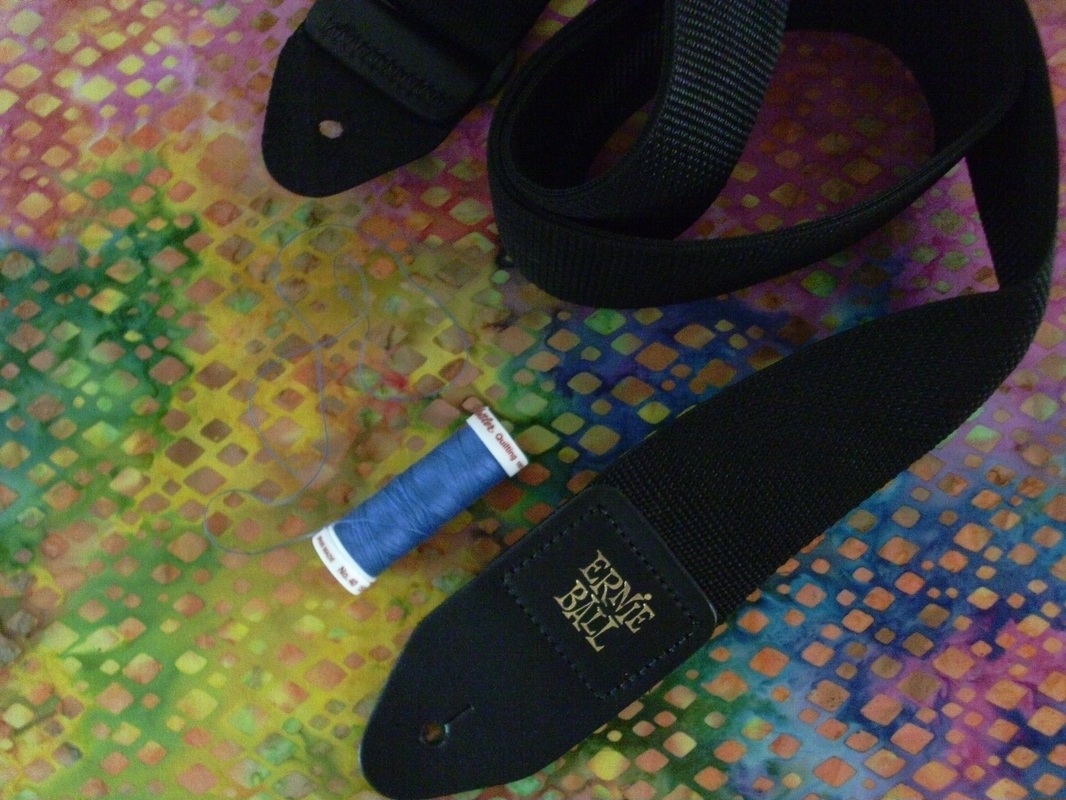
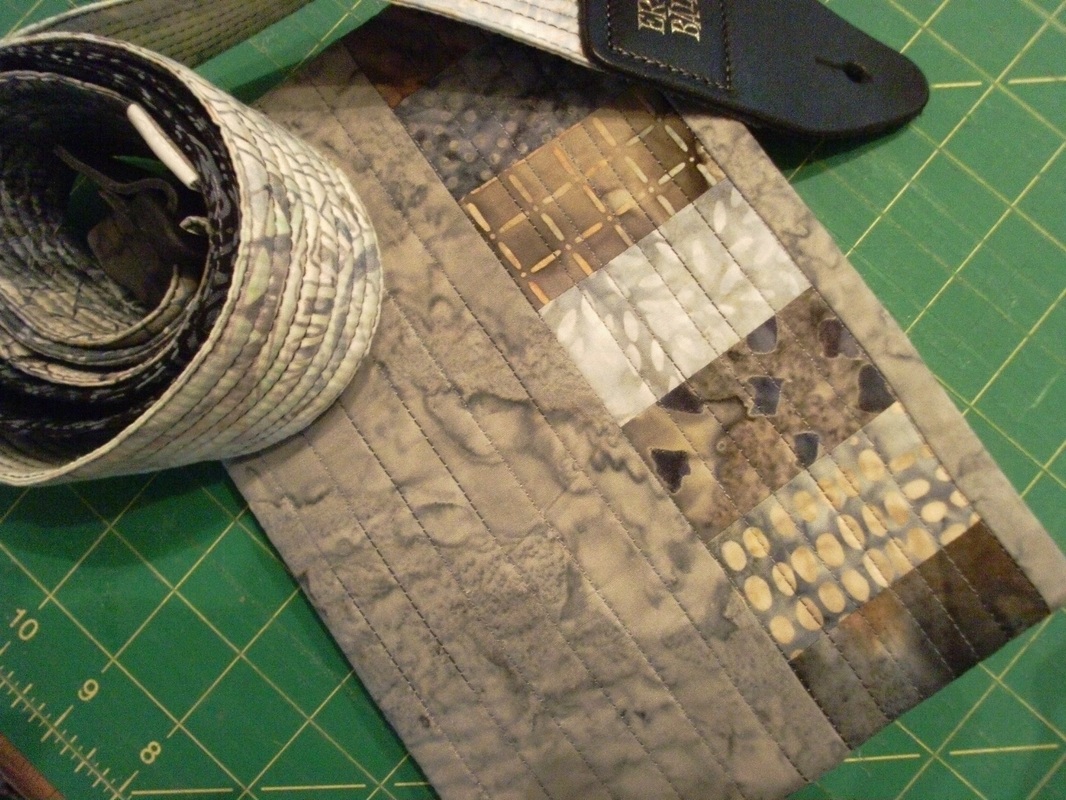
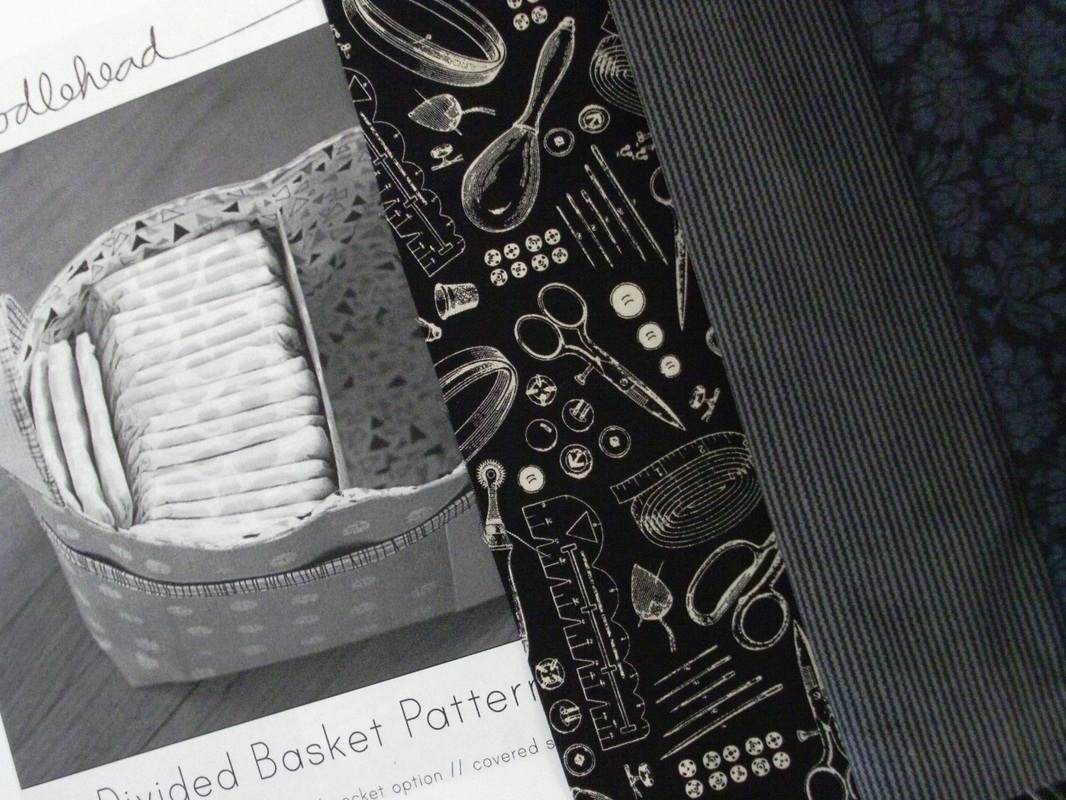
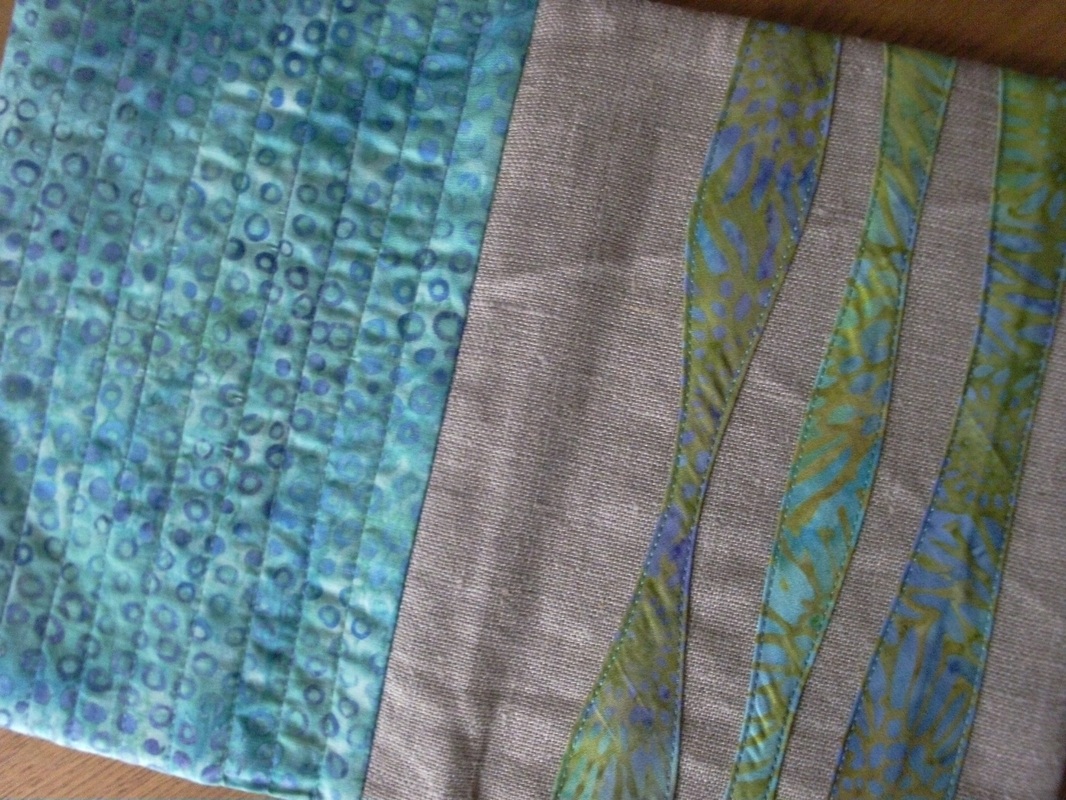
I'm always mis-laying my thread-cutter, so I decided to make a lanyard to keep it on. I used some sewing themed fabric, some tape-measure ribbon, and a trigger clip. Initially I cut cut a strip of plain black fabric 3" wide, folded it in half and then folded the raw edges into the middle. I pressed the narrow strip this with a hot iron, opened it out, and used the fold lines as a placement guide for the ribbon. Rather than use pins, I used a Sewline glue-stick, and ran a line of glue onto the fabric. The ribbon was then pressed into place. I attached a strip of sewing themed fabric (again 3" wide) to the plain black strip, and sewed sewed the raw edges together to make one continuous piece... 
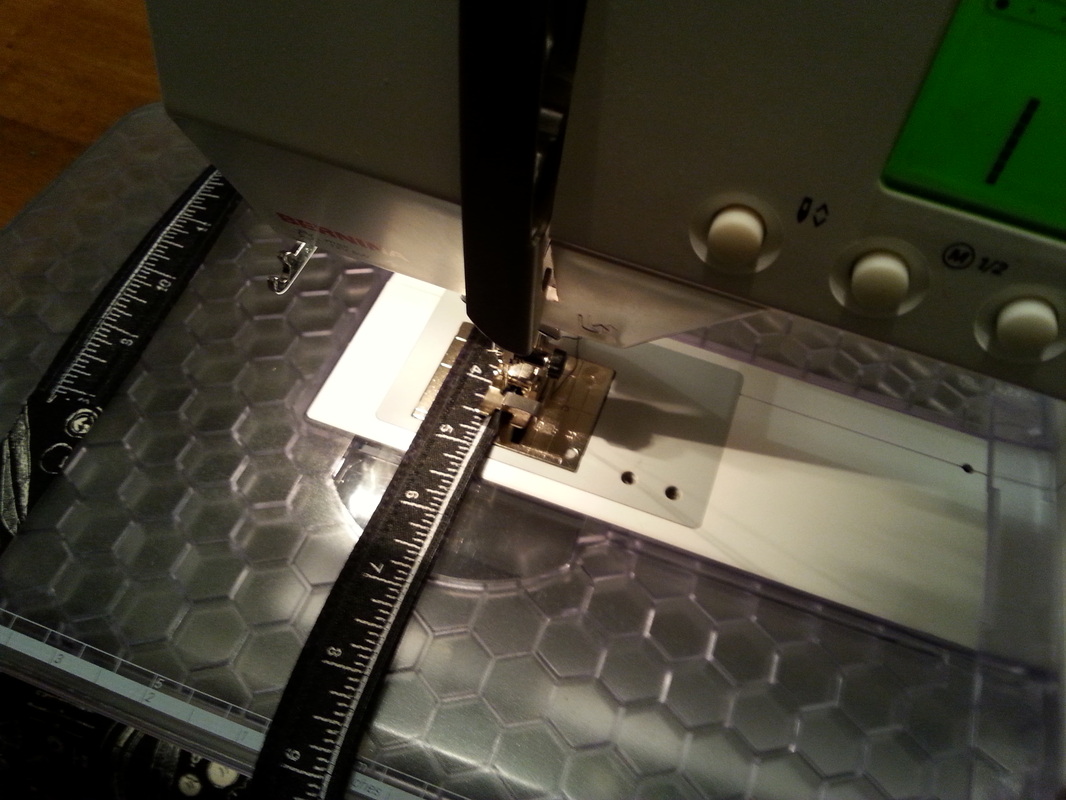
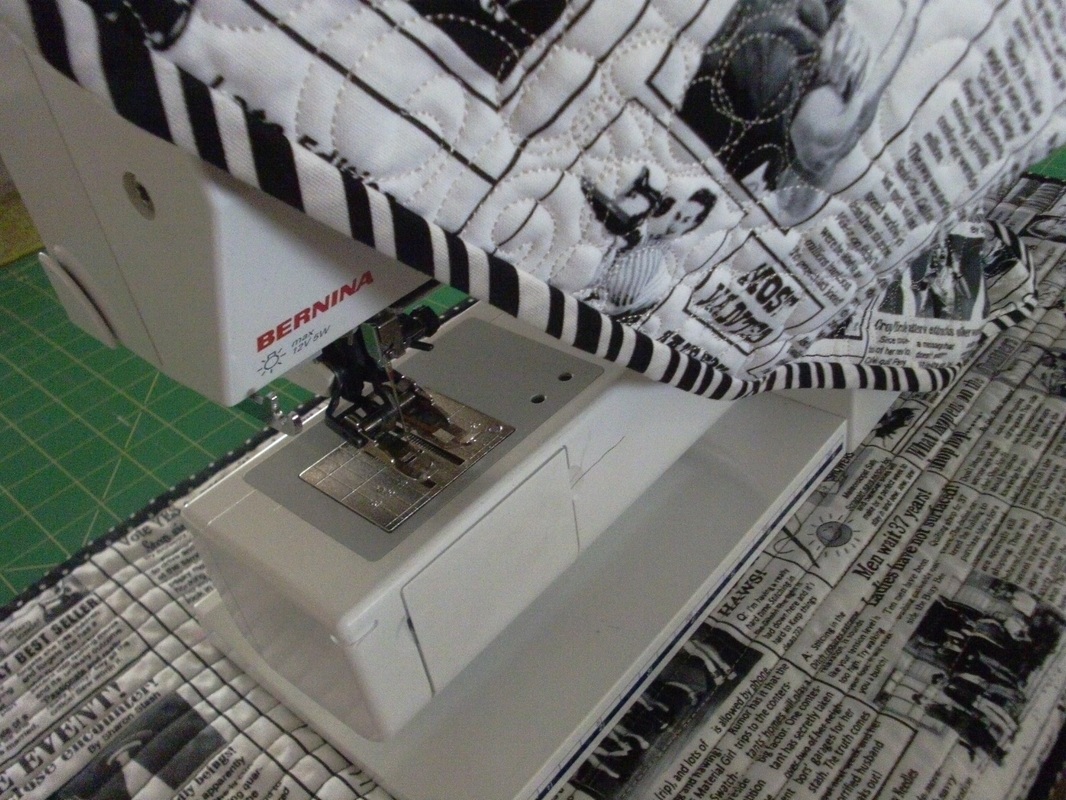
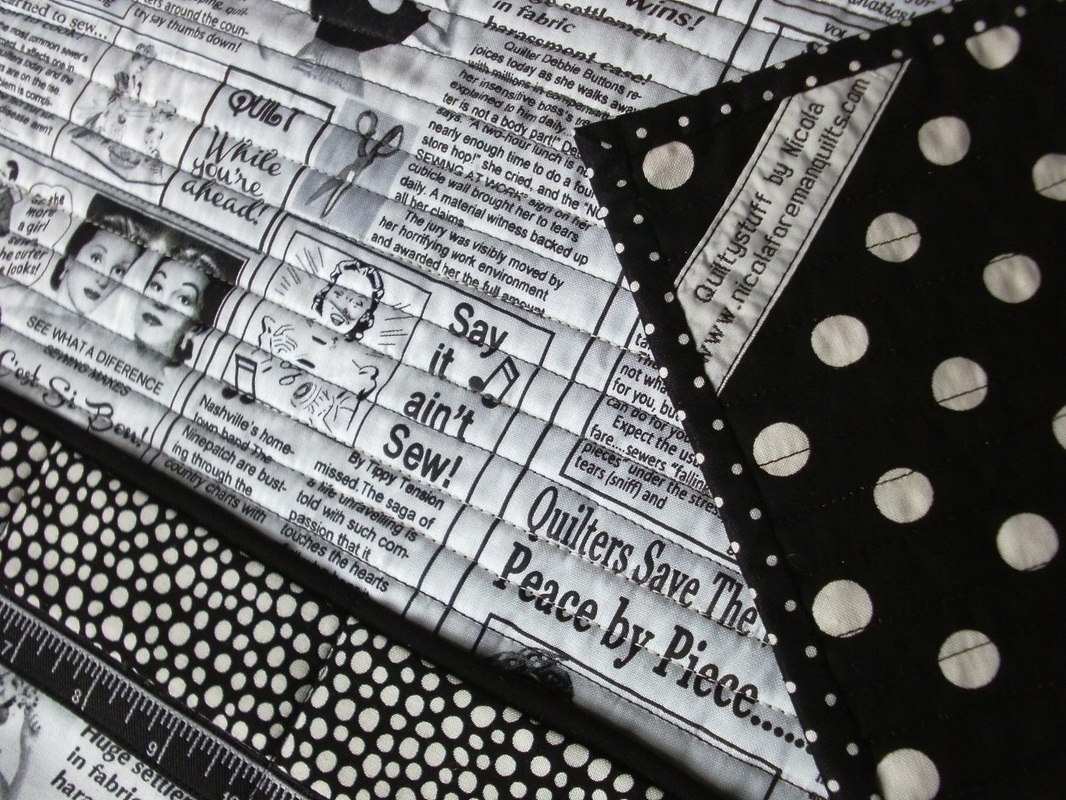
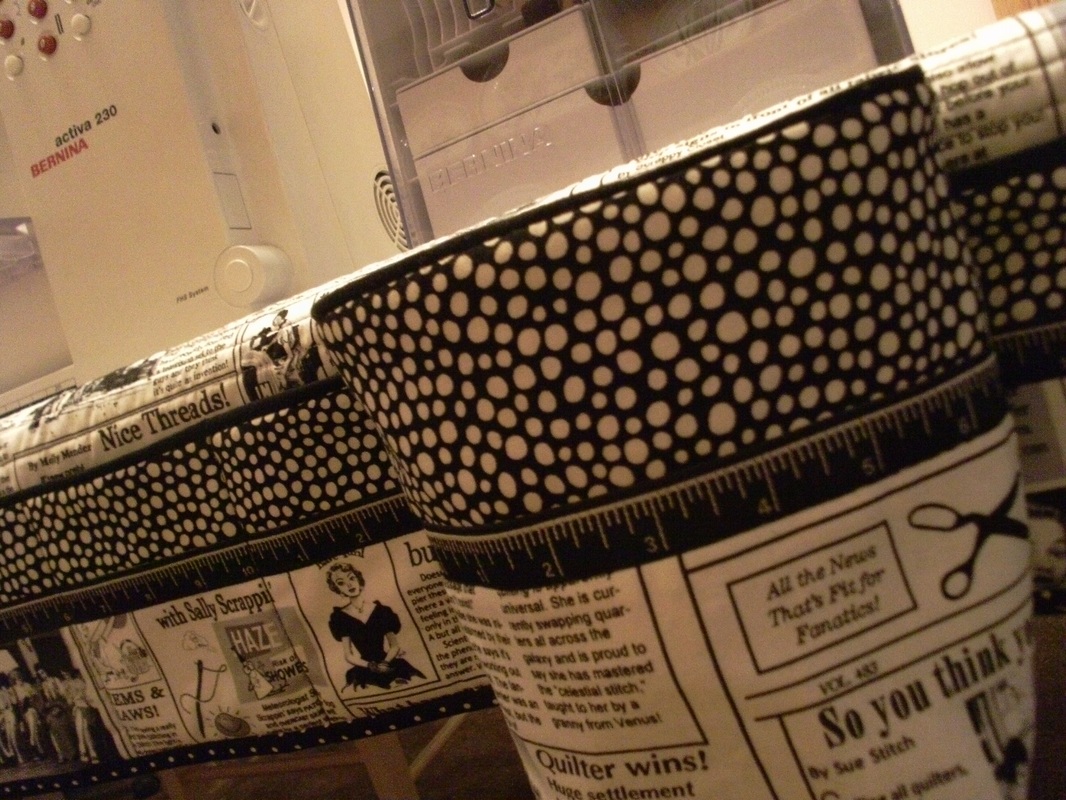
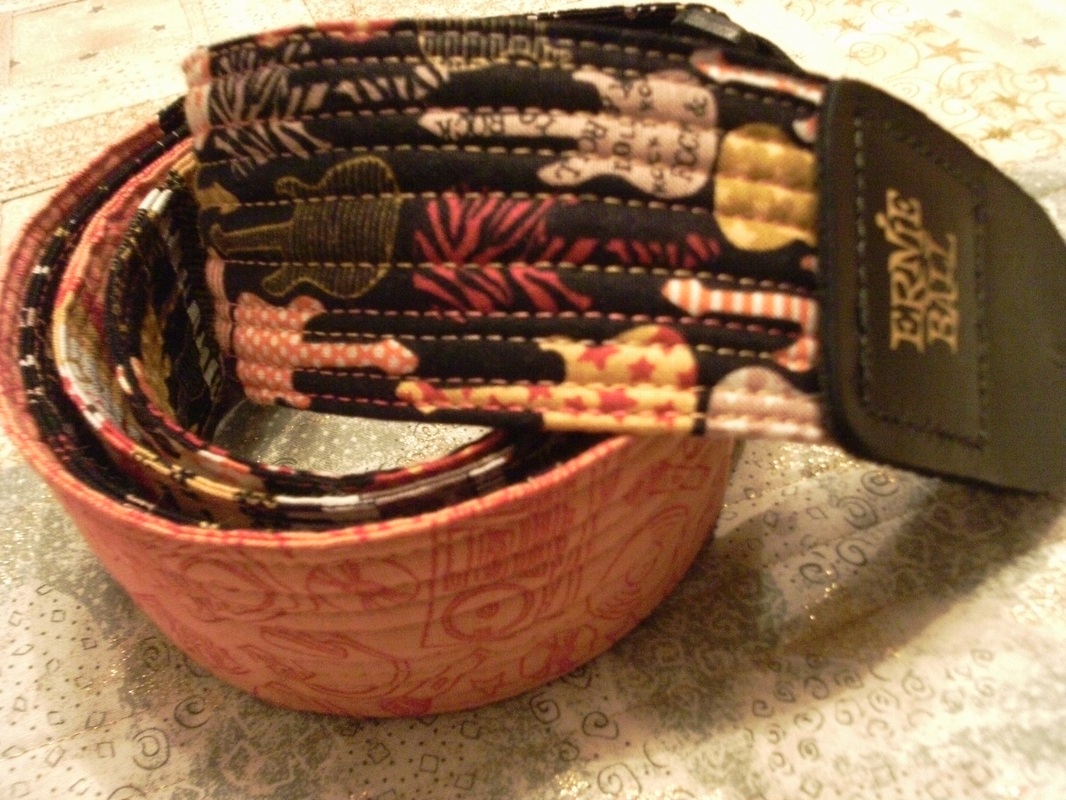
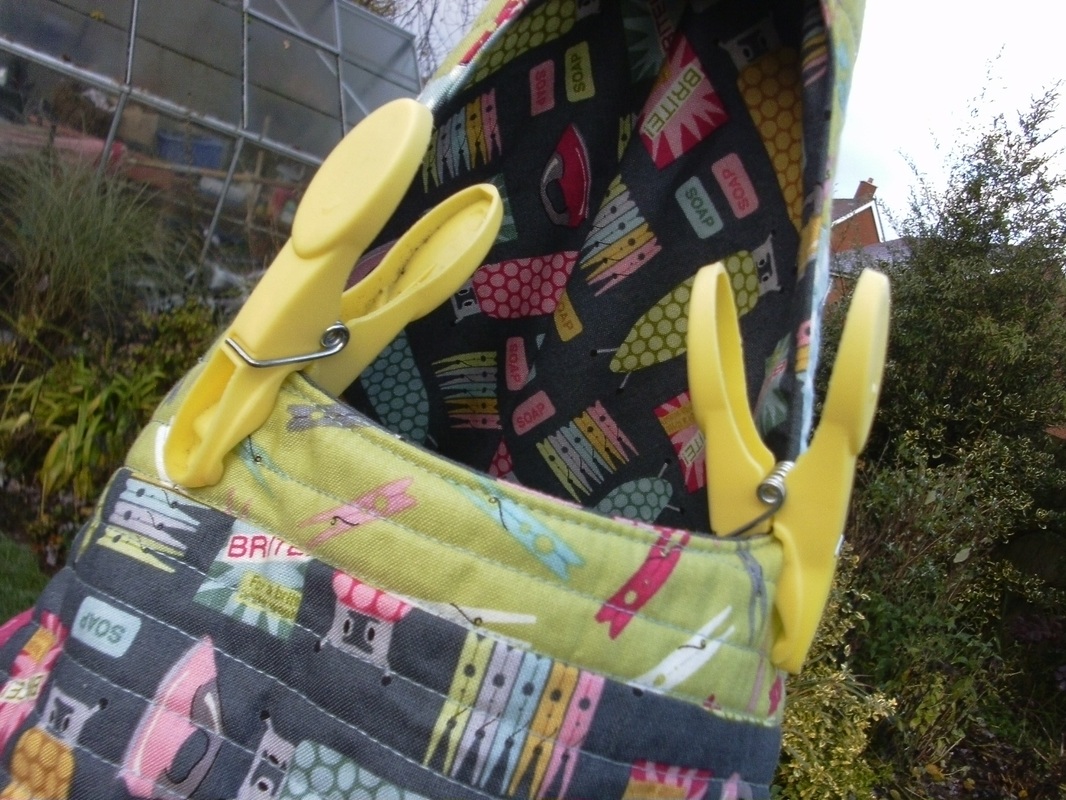
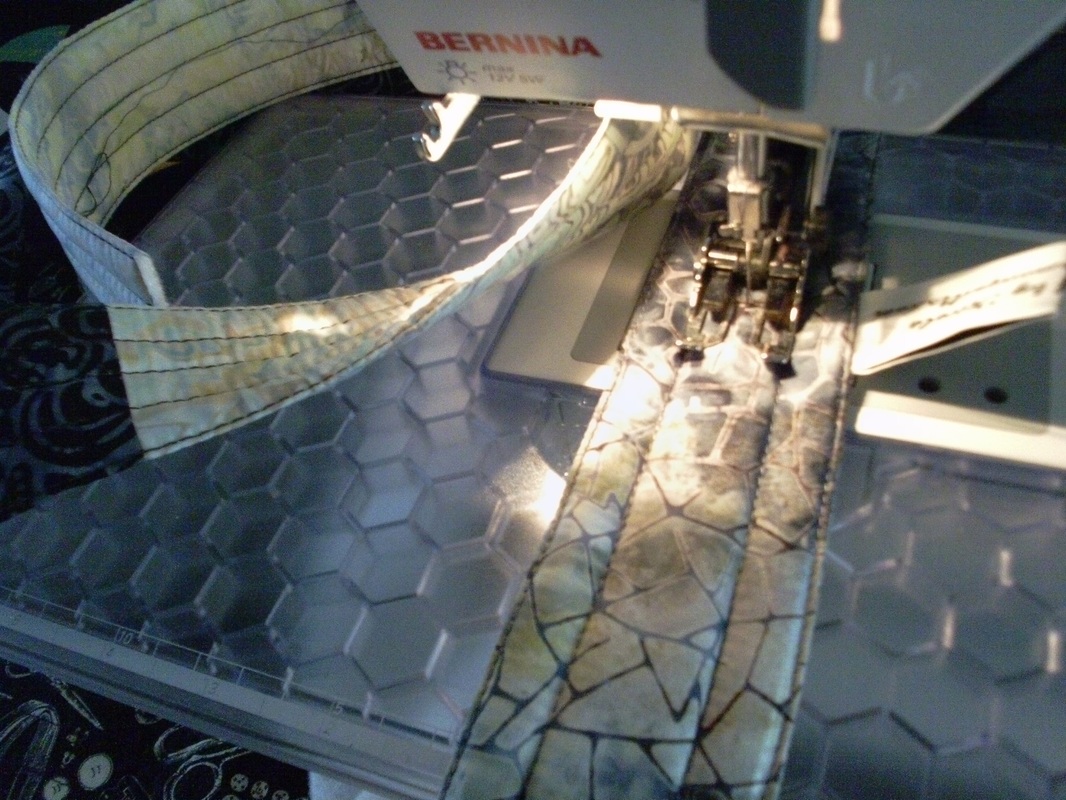
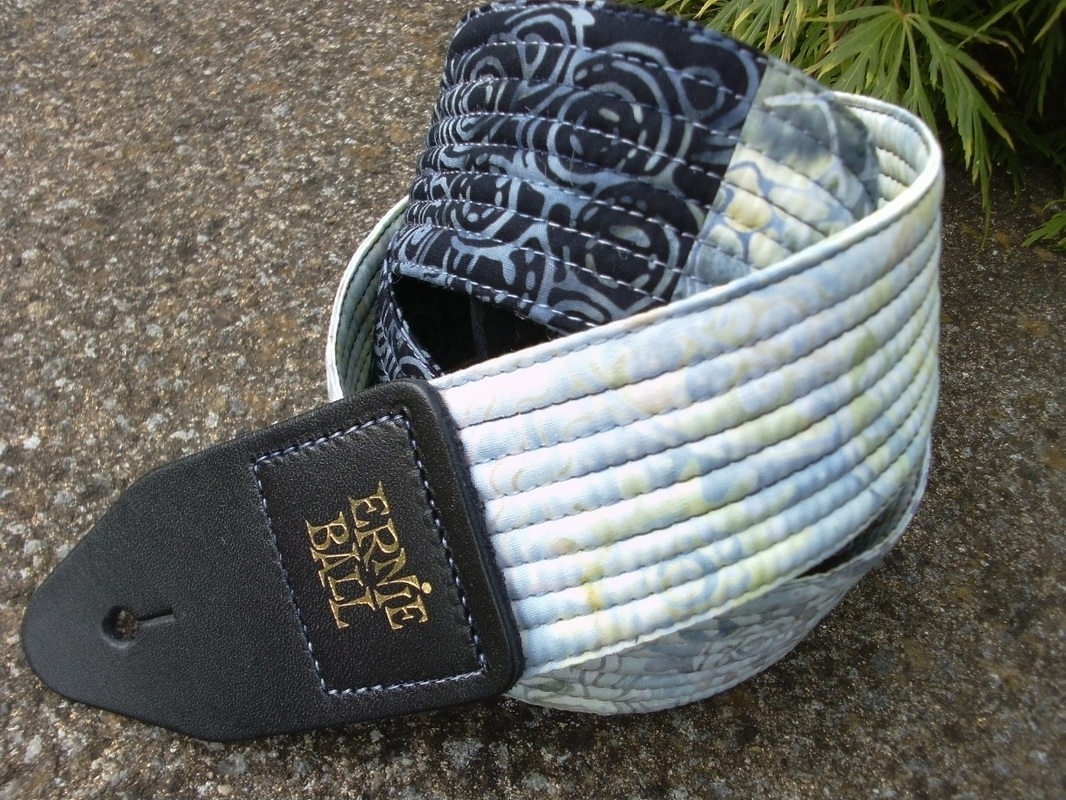
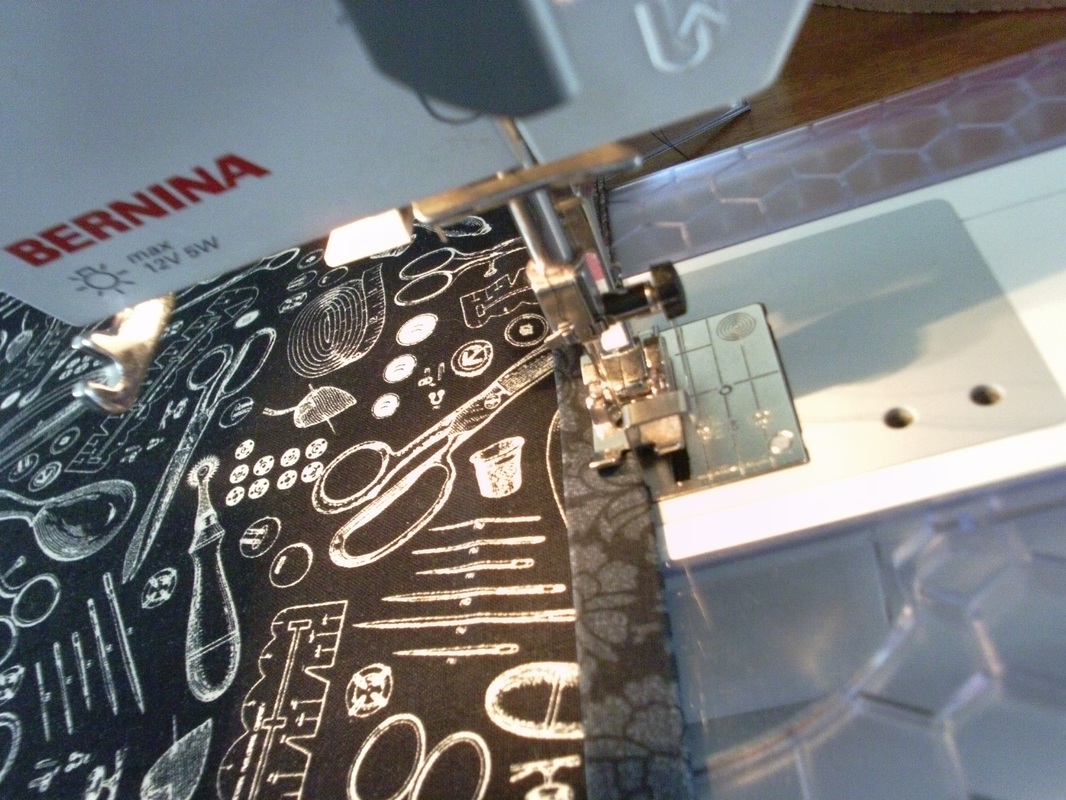
...the tube was stitched together enclosing the raw edges of the ribbon. I re-folded it and pressed it again with the iron (Mr F got rather excited at this point because when he saw the ironing board he thought I was actually going to iron his shirts!) anyway, I then stitched along the edges of the tube, making sure I was also stitching along the edge of the ribbon. I stitched along both sides, giving a nice neat finish. A trigger clip with a split ring was slipped into place, my thread-cutter attached... 
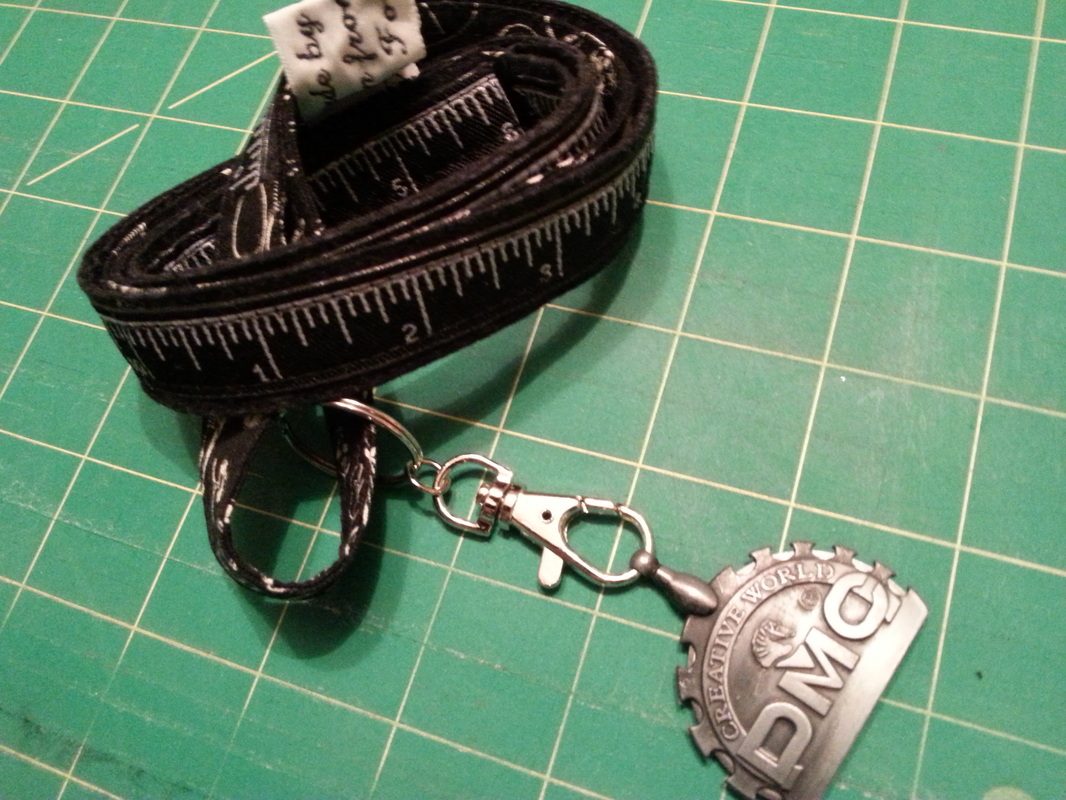
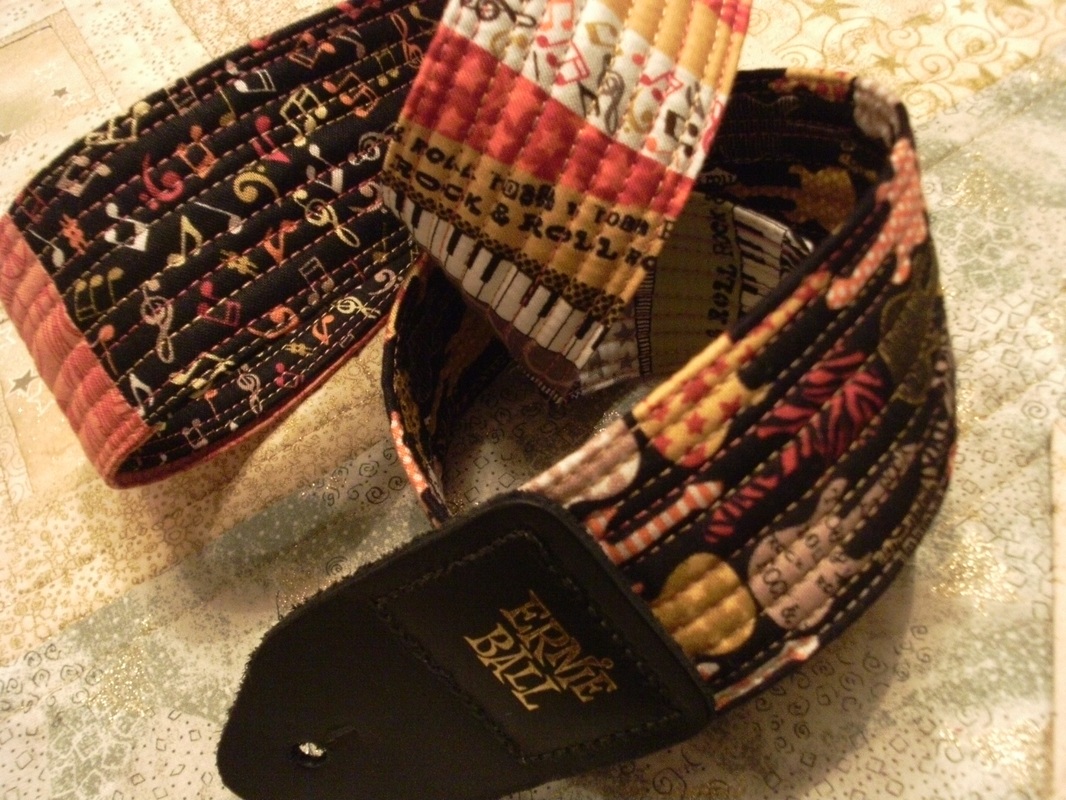
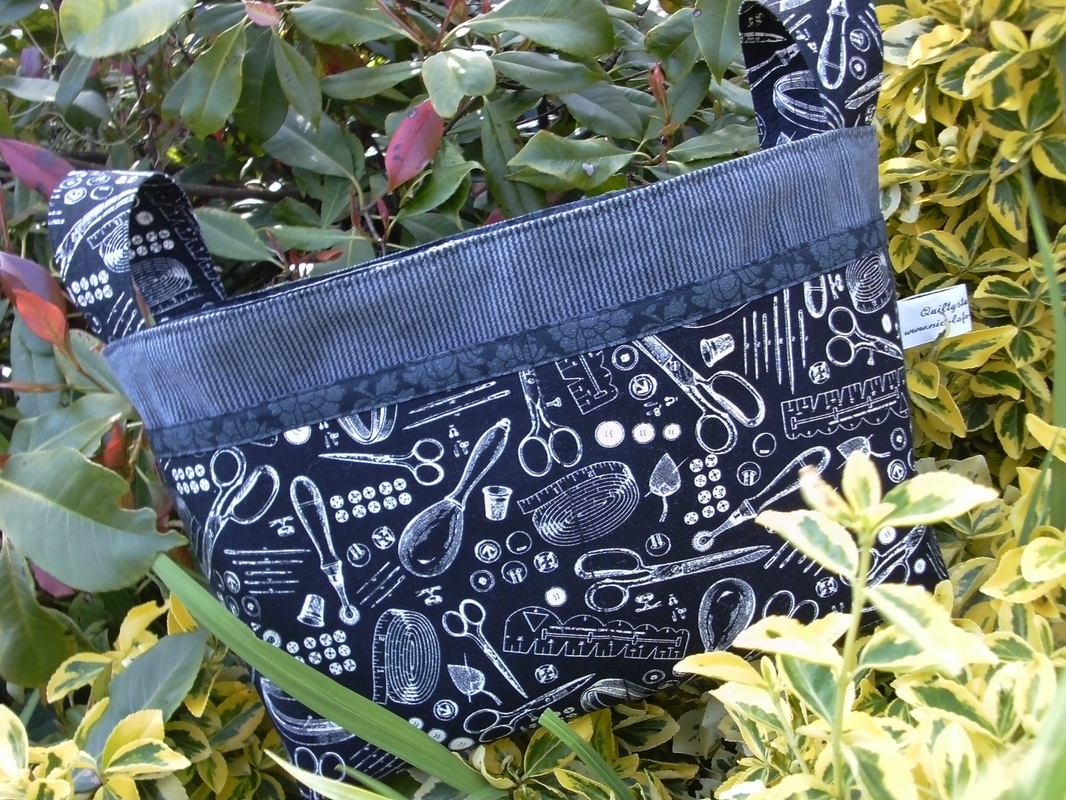
...now when I'm hand-sewing my thread-cutter won't get mis-laid. This is really useful, and I could also clip a small pair of scissors to this lanyard. If you don't have any split rings, a trigger clip can be added directly to the lanyard before you stitch the tube together.
0 Comments
A few weeks ago, when I was at the Festival Of Quilts, I bought this pattern "Garden Pincushions" by Lynette Anderson Designs, along with a small bundle of fabrics also designed by Lynette, "Hollyhock Cottage", for Lecien. The pattern included 2 large raw wood buttons to decorate the completed pincushions, and 2 stitchery designs. I traced the design onto the textured fabric, fused a small piece of stabiliser onto the back, and was ready to start stitching... ...once the stitchery was completed and the borders attached, the front and back were stitched together using a very small machine stitch, leaving an opening for turning through to the right side. I'd made an inner lining with calico too for the filling. This was stuffed with crushed walnut shells that I'd bought online from Creative Grids UK, and the opening was closed using ladder stitch. Finally buttons were added as decoration. I used one from my button tin for the back... ...and the raw wood button that came with the pattern was used to decorate the front. I used some very strong thread to sew these buttons into position. Now I have a pretty new pincushion to use when I'm sewing. And what will I do with the other button that is spare? Well I might just make another one so I've got a spare pin cushion ;)
What a wonderful day I had yesterday! I attended a workshop with Janette, that involved playing on her longarm quilting machine. Janette is a superb tutor, and she was so very patient with us while we played with her "babies" (yes, Janette has TWO longarm quilting machines - "Lucy" and "Lennie"). Anyway, this shows my attempt at quilting using "Lucy", and Norah is using "Lennie" under Janette's expert tuition. We practiced pebbles and swirls, and flowers and feathers, and stipples and it really was great fun... ...the aim of the workshop was to make a sewing machine cover, which we quilted on the longarm machine, so it wasn't just the excitement of using these wonderful machines - we actually got to make something useful too. Norah was using some very pretty paisley fabric for her project, and Edwina was using some gorgeous grey and lime green fat quarters (she let slip that these were bought on a recent expedition to Sew and So's at Bungay, so I might need a shopping expedition there soon!)... ...I managed to get the main part of the cover constructed while I was at the workshop, and just had the binding to finish. As you can see I used this smart black and white stripe, which looks great cut on the diagonal. I cut 2.5" strips and stitched it into place 3/8" from the raw edges, sewing carefully around the curves. I used Clover "Wonder Clips" to hold the binding in place while I hand stitched it into place on the inside of the cover... ...this large cover slips onto the machine and is large enough to cover my Bernina 230PE even when the extension table is in place, so will be really useful to use when I've got my machine set up for a few days when I have a mammoth sewing session. It would be equally useful if I ever bought a larger Bernina too!... ...and here's my finished sewing machine cover - quilted and bound, and standing proudly on the matching sewing mat that I made a few weeks ago. I'm so pleased with how this turned out, I just might have to make another one for a friend, using my Bernina and trying some FMQ'ing.
These black and white fabrics were just what I needed for this "sewing-themed" project, and the main fabric was bought a few months ago from Sew and So's at Bungay. I hadn't used any of it as I didn't want to cut it into small pieces, and todays project was was perfect to show case this fun newspaper-styled print, called "The Sewing Standard" . The pattern I used is called "Beyond Measure Part 2" by Roslyn Mirrington, and as it's a download PDF pattern you don't have to wait for the postman to deliver it! However I did have to wait for the postman to deliver this beautiful "Tape Measure" woven tape (ordered online from The Eternal Maker) to embellish my project with... ...I'd already made one of the sewing-machine mats last year, and thought it would be a good idea to make another one for when I have friends round for a crafty-day or for when me and my daughter have a sewing-fest. I quilted the mat very simply with straight rows of quilting half an inch apart, using a variegated YLI black and white thread and added some non-slip matting to the back to stop it from sliding off my table. I made some piping too (this piping cord is polyester and was dreadful to sew with, but will be fine for this small project. Note to self - only buy COTTON piping cord in future!)... ...and here is the finished pocket. I decided I really didn't like the checker-board strip with the newspaper fabric that I'd made a few days ago, it was far too "busy" for this project, so I started all over again, and this is the finished strip - piped and embellished with some woven "Tape Measure" tape. I used a large black#white polka dot fabric for the backing, and a tiny black/white spot for the binding.. ...this is a great project for using left-over bits of fabric. Once the sewing mat was completed, I made a matching thread-catcher, so that the bits of thread and fabric etc that usually end up on my new carpet can be popped inside and disposed of later! This was also trimmed with piping, and it that fixes into place on the sewing mat with a pair of button magnets. These were sewn into place by hand... ...as these are not very strong magnets they won't interfere with the electronic part of my sewing machine. The thread catcher is easily removable so the contents can be emptied... ...ta-dah!! Here is another smart sewing machine mat. As I've already got one that I've been using for the past year, I can keep this one ready for when my crafty friends come to visit me for a sewing day!
Well as my regular followers will know, this year I really have been even busier than ever, making a few bags and quilts and bags and runners and bags and place mats and bags and wall-hangings and of course a few bags!! If you click on each picture below, it will enlarge so you can see it better. Wishing all of my blog readers a very Happy New Year - and I hope you'll continue to enjoy my blog in 2014. I'm just wondering what my first project for 2014 will be??
A few weeks ago I bought a fabulous collection of fat quarters from the "Music" collection by Henley Studio for Makower UK. I'd already made a couple of toiletry bags with this fabric, and then decided to make a scrappy guitar strap too, using a tutorial by oneshabbychick. I bought the Ernie ball hardwear from Amazon UK, and unpicked it from
it's nylon strap. I used a varigated orange Gutterman Sulky thread for these straight rows of quilting. Now I've just got to get it wrapped up! If you want to buy some of this fabric, it's available from Secret Garden Quilting. I chose this beautiful bright batik for my latest sewing project - it has nearly every colour of the rainbow!! I decided to pick a plain colour thread rather than a variegated one, and used a deep blue Mettler quilting thread, shade 0790. The tutorial is by One Shabby Chick, and really simple to make. I've made scrappy ones before, and you can find them here and here - this was the first time I'd used the same fabric for the whole strap, and I'm really pleased with it. As usual I've used an Ernie Ball nylon guitar strap and removed the leather ends and slider to make a unique strap for a guitar-loving friend's birthday.
No, it's got nothing to do with THAT book - I needed to make a special gift for a friend's birthday, and was drawn to these masculine-looking batiks, as I had the perfect project in mind. I had previously used a great tutorial by "One Shabby Chick" and made a guitar strap as a Christmas gift, and decided to make another one for my friend's birthday..... .....I sewed lots of straight-row quilting, 0.25" apart on this strap. The edge of the walking foot makes an excellent guide! I used a variegated King Tut quilting thread, shade 902, which blends beautifully with these grey batiks. I had already bought a plain nylon Ernie Ball guitar strap, so just removed the hard wear and attached it to the batik quilted strip. Finally it was adorned with one of my "Quiltystuff" labels..... .....then the second part of the gift. Using left-over scraps of fabric is ideal for making this journal cover. A selection of grey batik scraps was put to good use, along with an A5 journal from my local supermarket! This was quilted very simply, with lots of straight-row quilting 0.5" apart. I even managed to stitch one of my "Quiltystuff" labels inside the lining. The birthday boy can use this journal to jot down any musical thoughts and ramblings!! Better hurry now and get these wrapped up, ready for the birthday boy.
A few days ago I finally took the plunge and downloaded this great pattern from Noodlehead - I had seen lots of divided baskets on Flickr made with this tutorial, and especially liked the ones that Amy had made, so gathered some fabrics together and set about making one for me. I used the same fabric that I used for the "Beyond Measure" sewing machine mat and thread catcher - at least my work space will look co-ordinated when I'm in full swing creating lots of other crafty stuff - and I added some dark grey striped corduroy too, that I thought would give the basket a bit more structure. I changed the design slightly, and rather than use a separate binding for the front pocket, I cut the lining a bit bigger and turned the top edge over double, and top-stitched it into place.......... .....I bent more than just a few pins whilst I was pinning all the layers together along the top edge - this caused me a few problems, probably as the corduroy was a bit too thick for this project - I think using pellon wadding and interfacing AND corduroy was just a bit too much! Next time I'll just use 100% cotton, and try using Clover Wonder Clips to hold all of the layers together. Well here it is - one divided basket to keep all my sewing bits and bobs in. And finished with one of my "Quiltystuff" labels too. Overall I'm really pleased with this basket. Now I've got no excuse for my work space being untidy when I'm sewing!
*Oh and you can click on the pictures to enlarge them! During the "Drama and Detail" course that I did with Philippa Naylor, we learnt to make some curved bias strips - and some were made so the sides had varying widths. These strips were made with a turquoise batik, and stitched into place on top of some linen to make a notebook cover, lined with more batik..... .....this one was for my daughter Alice. Now I've mastered this technique for covering notebooks, I'll be making several for friends and family as Christmas gifts! And what about making one as a cover for a Wedding Album using a photograph printed onto fabric like the memory cushions? Ohhhh now my creative juices are flowing I can't wait to get stitching at the weekend!!
|
About me...Hi - welcome to my quilting blog! My passions are my family, my dog, my friends and sewing, not necessarily in that order! Archives
July 2023
Blogs I followUK shopsThese are the UK shops that I use to purchase my quilting supplies - fabrics and threads etc.
Australian linksScandinavian links |