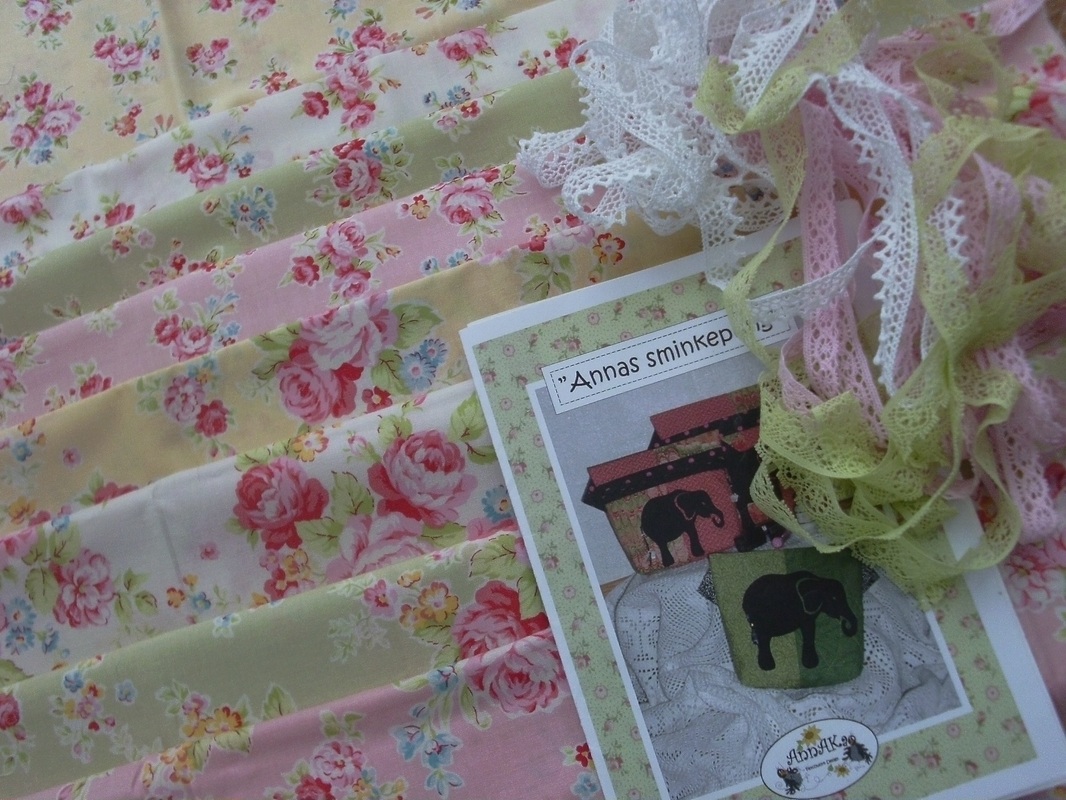
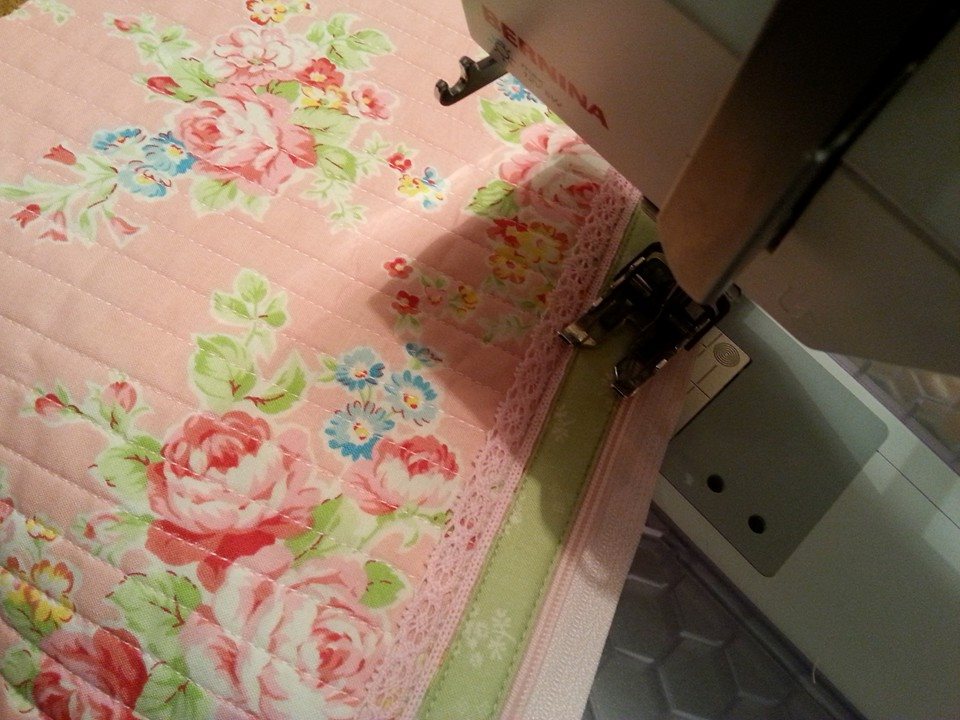
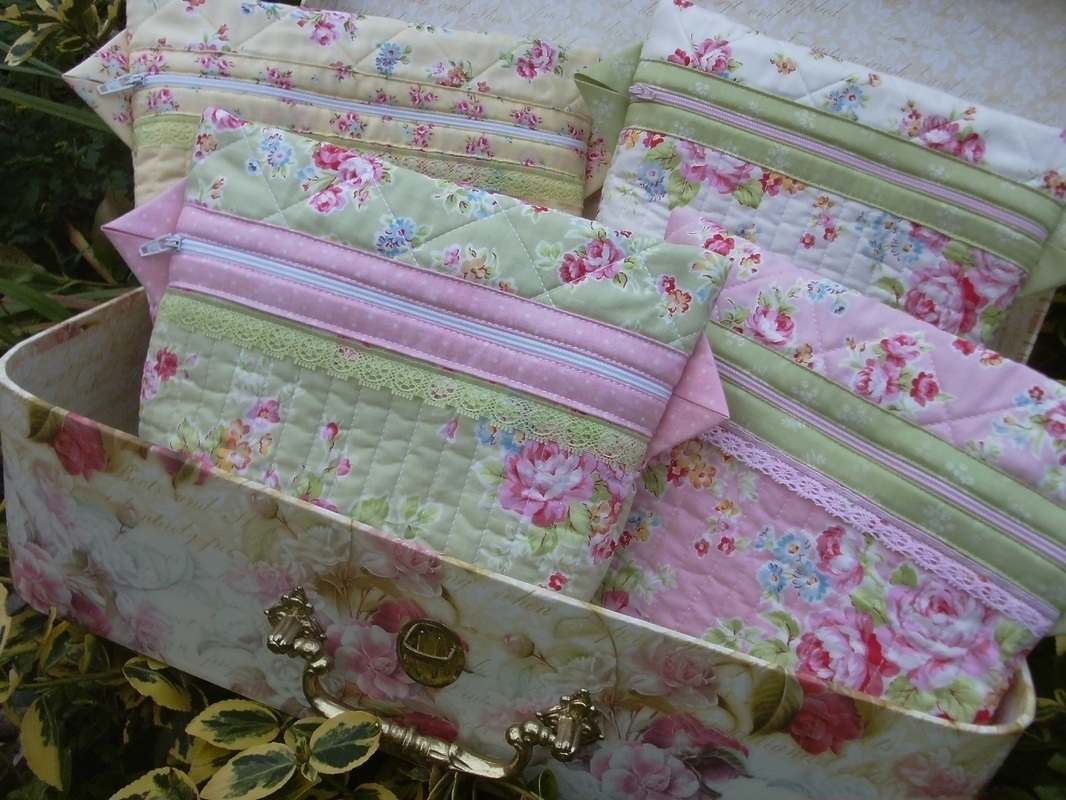
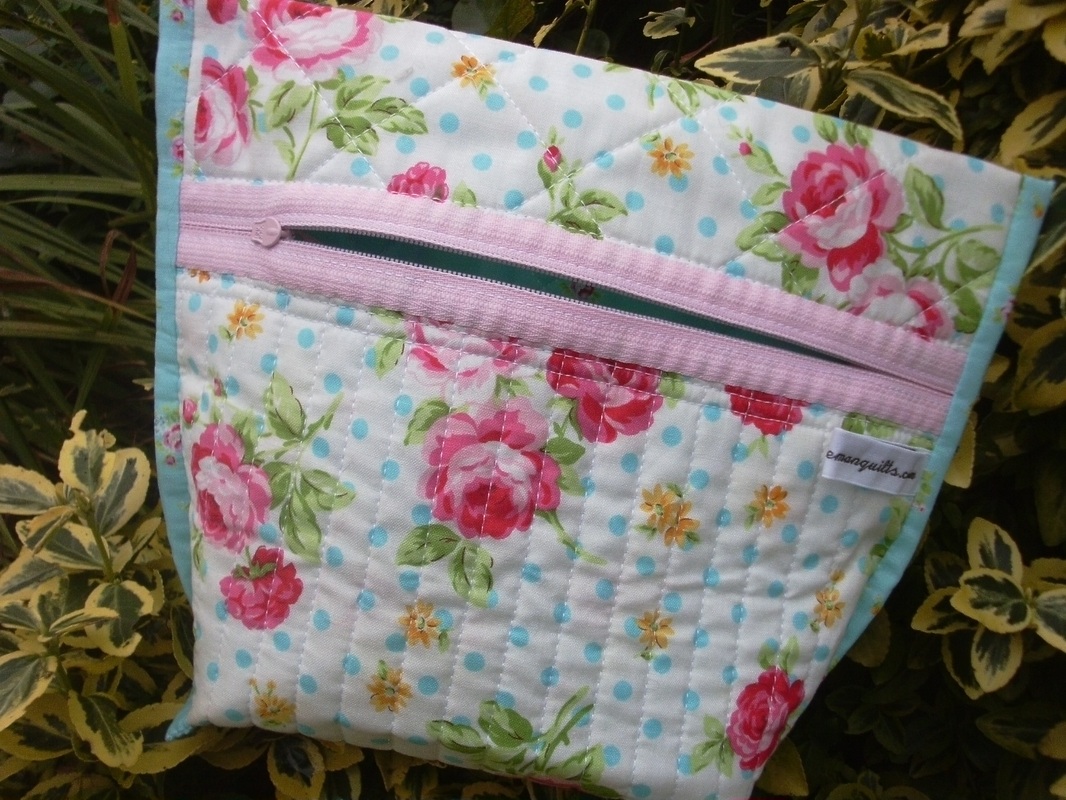
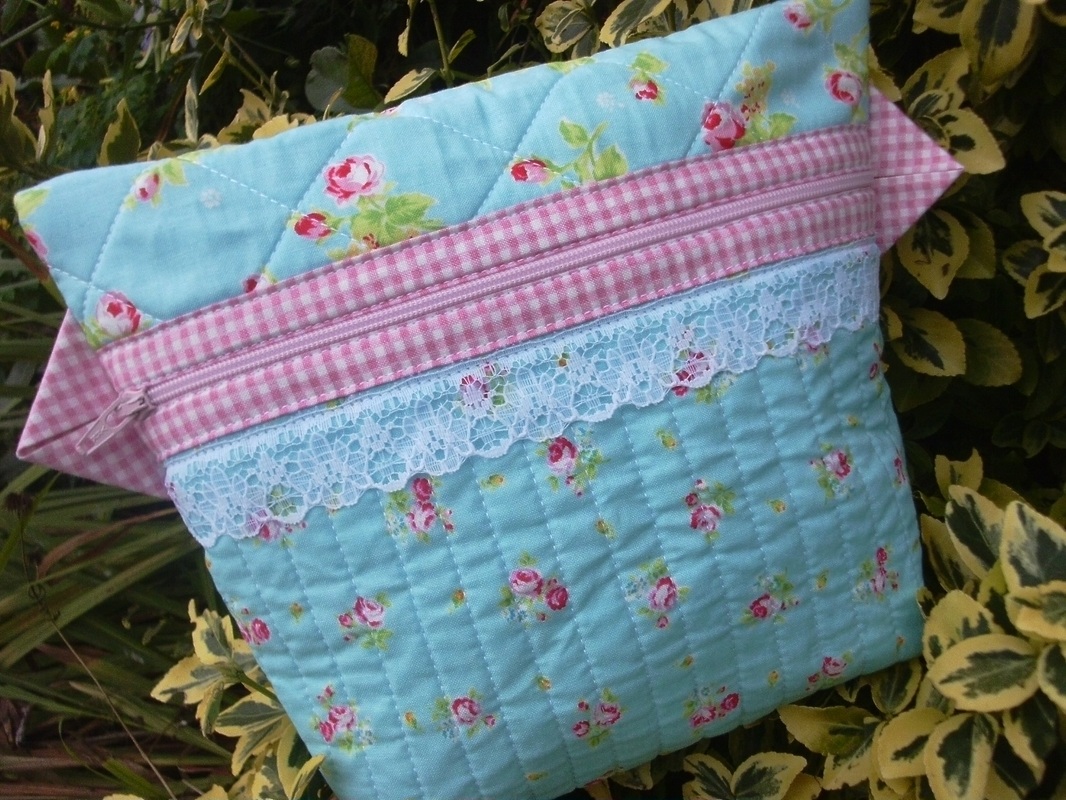
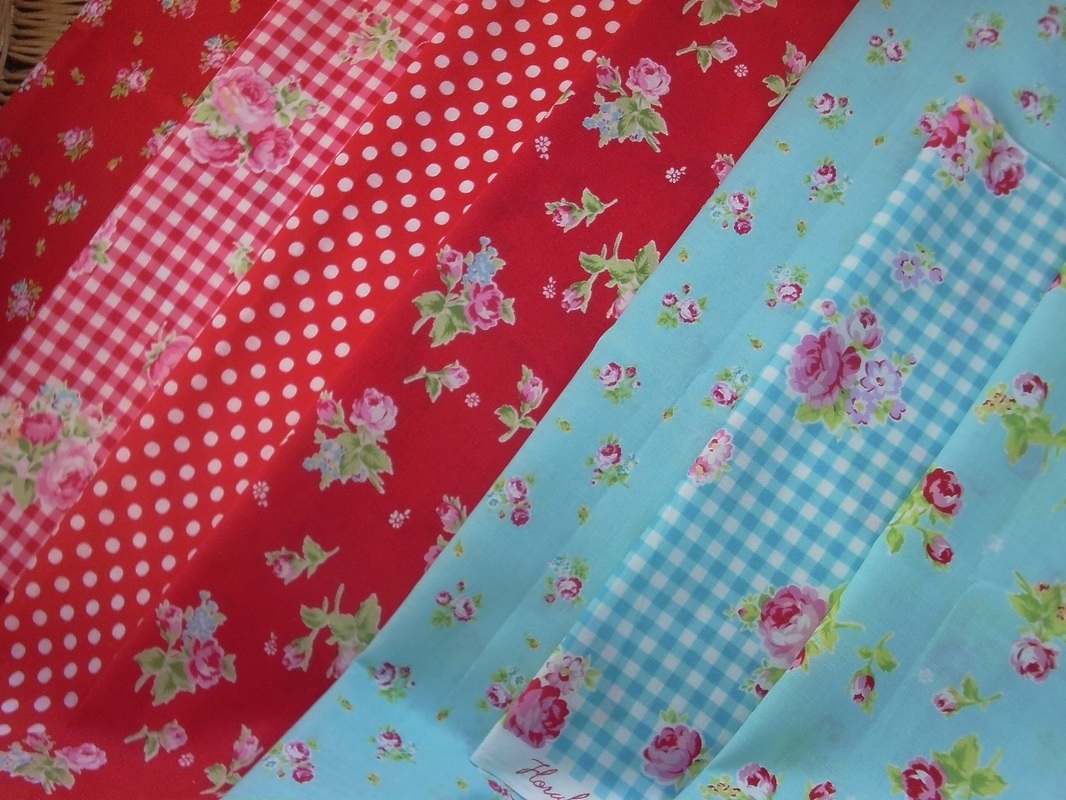
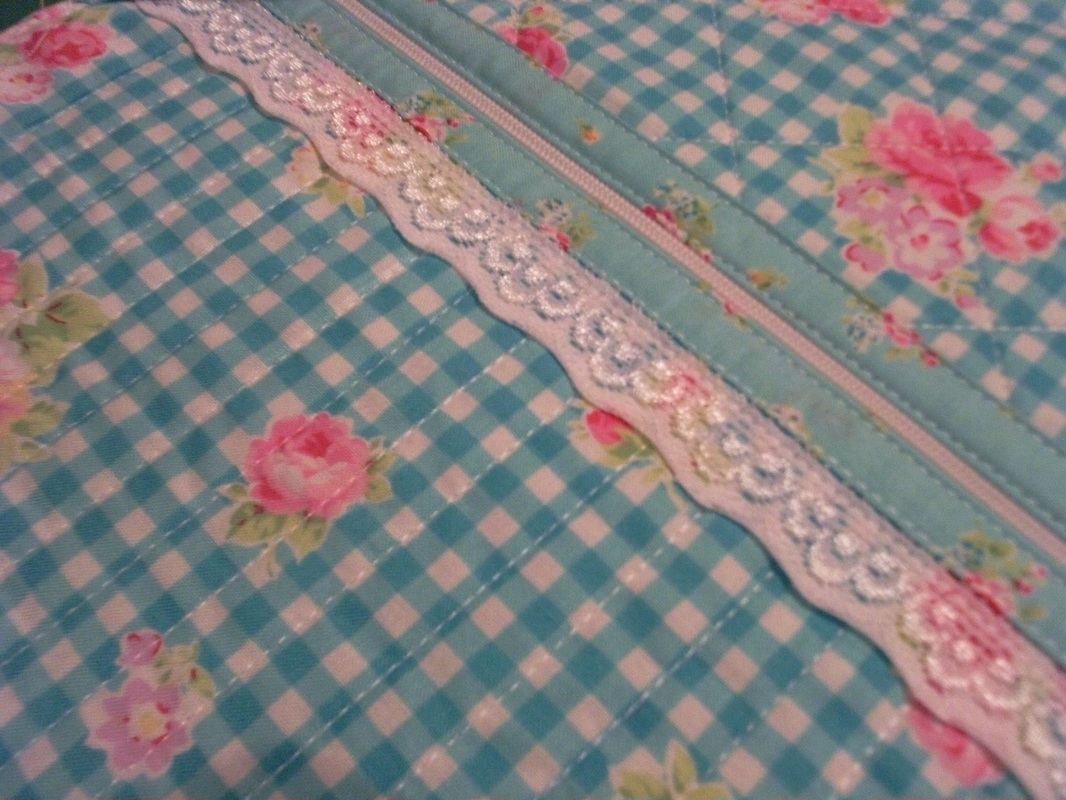
I've been busy sewing in the evenings, making more bags for Christmas gifts. I used the pattern Anna's Sminkepung by the Norwegian designer AnnAKa (no, I don't read the Norwegian instructions, I just follow the very detailed diagrams!) and a selection of pastel florals from my huge stash of Lecien fabrics. These were quilted very simply, using Auril thread 40wt in colours to match the fabrics, then I added some lace trimmings as decoration... 
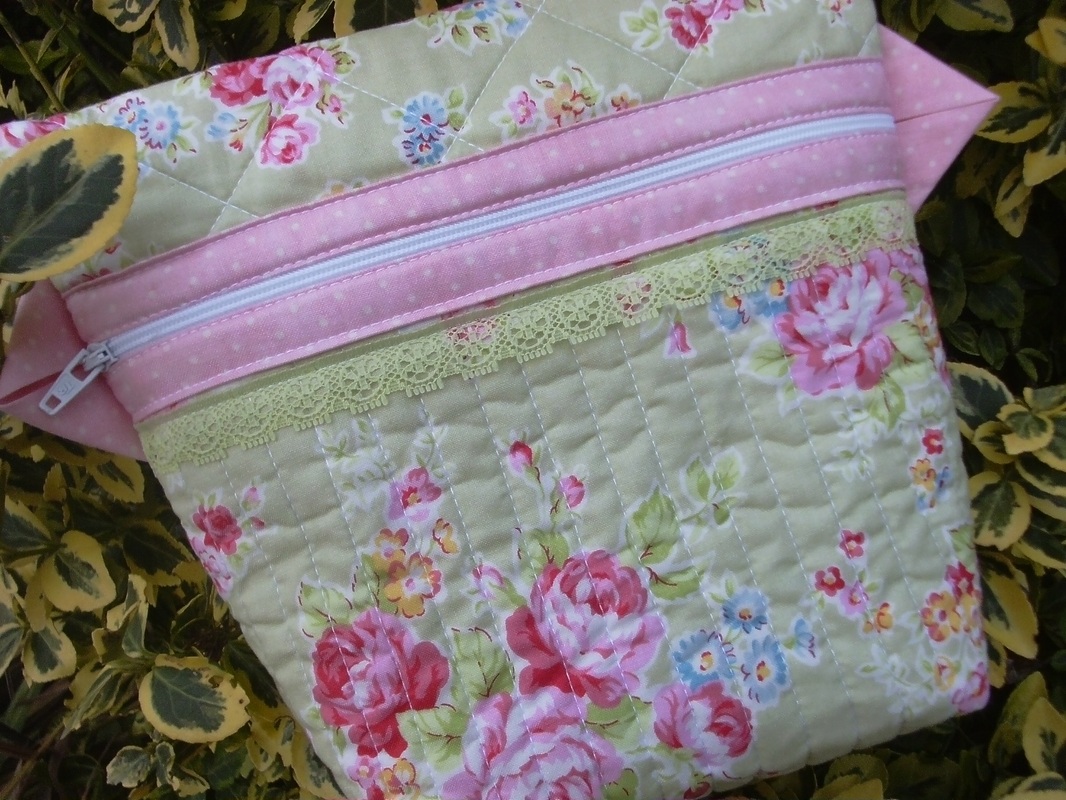
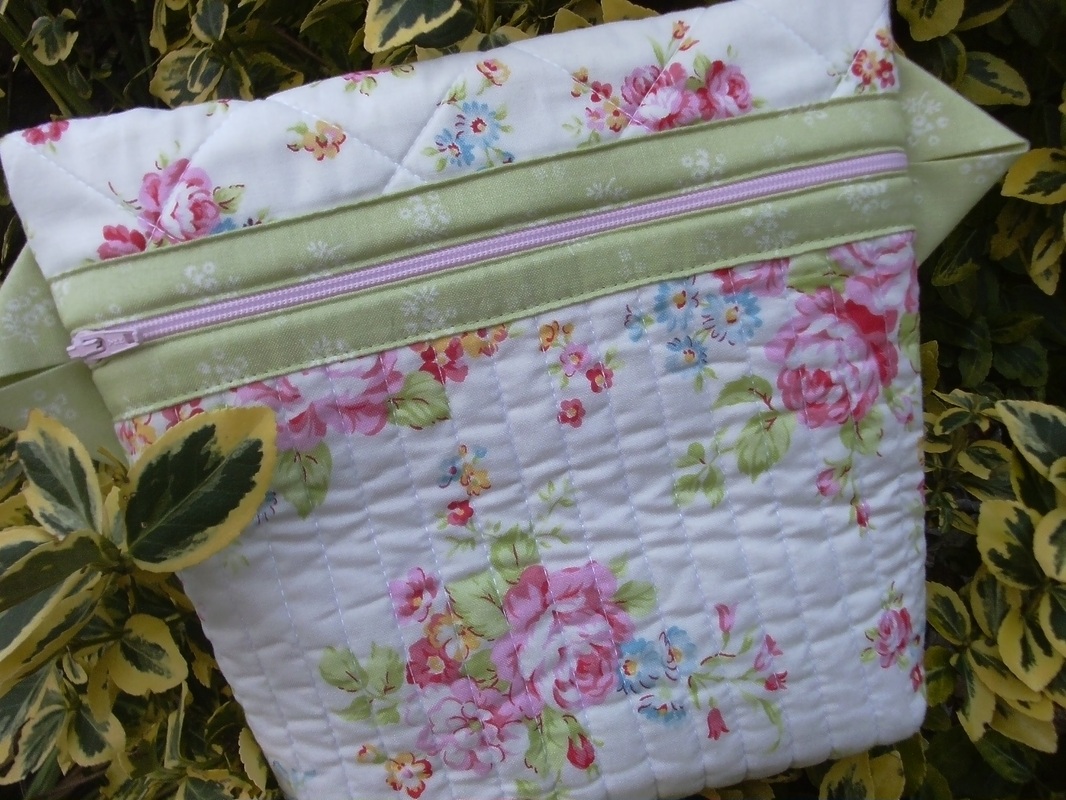
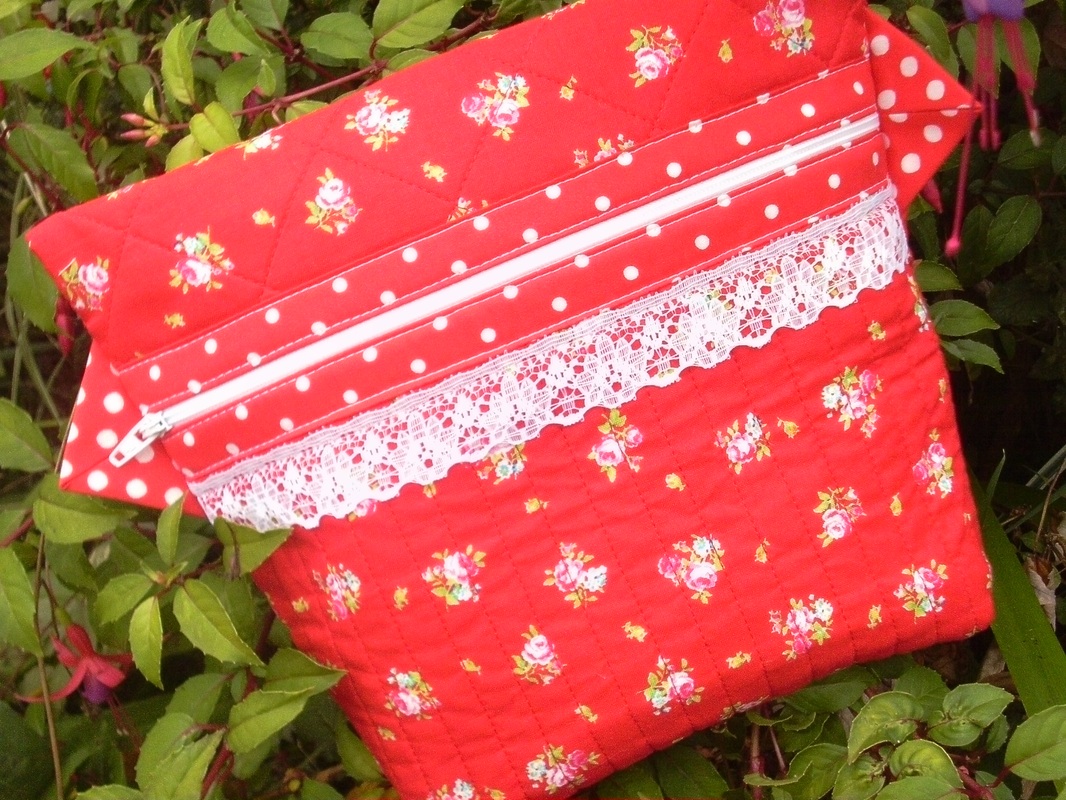
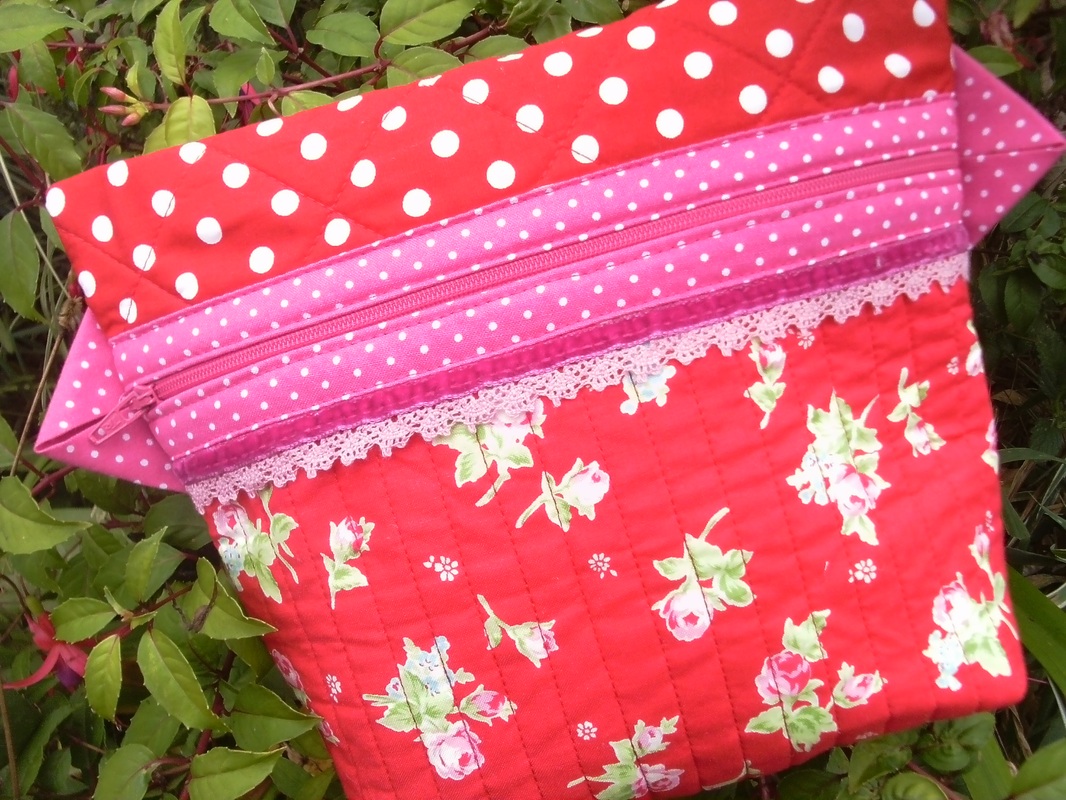
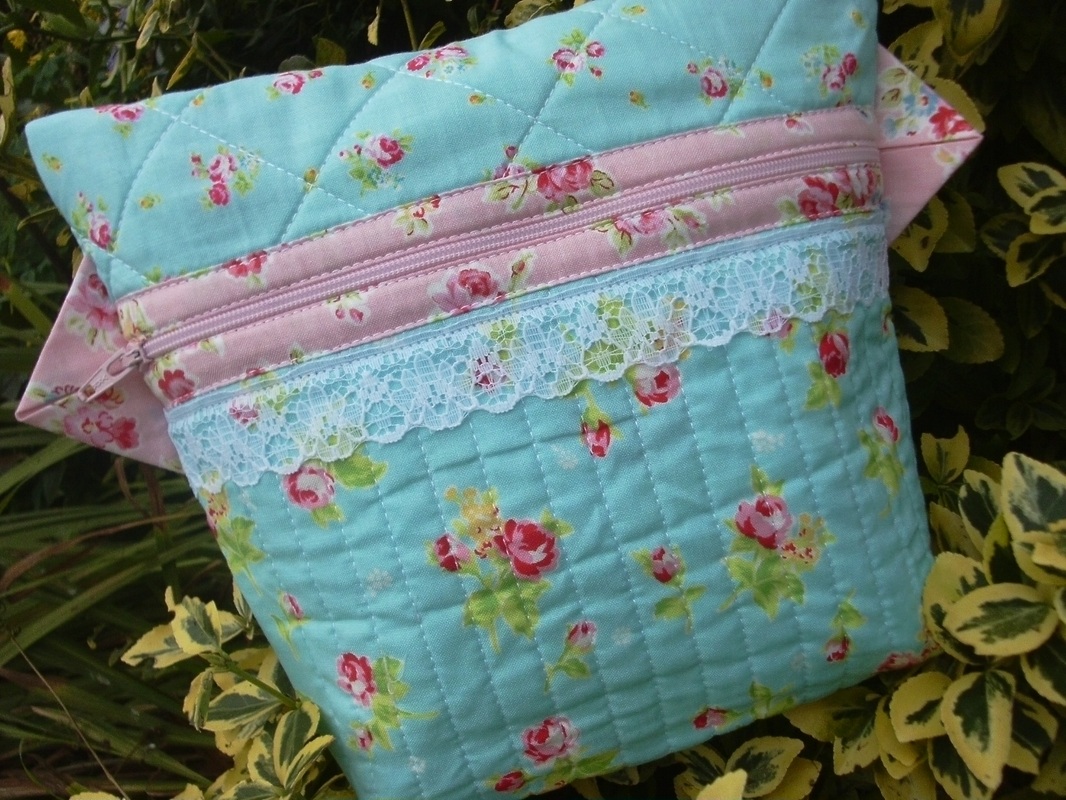
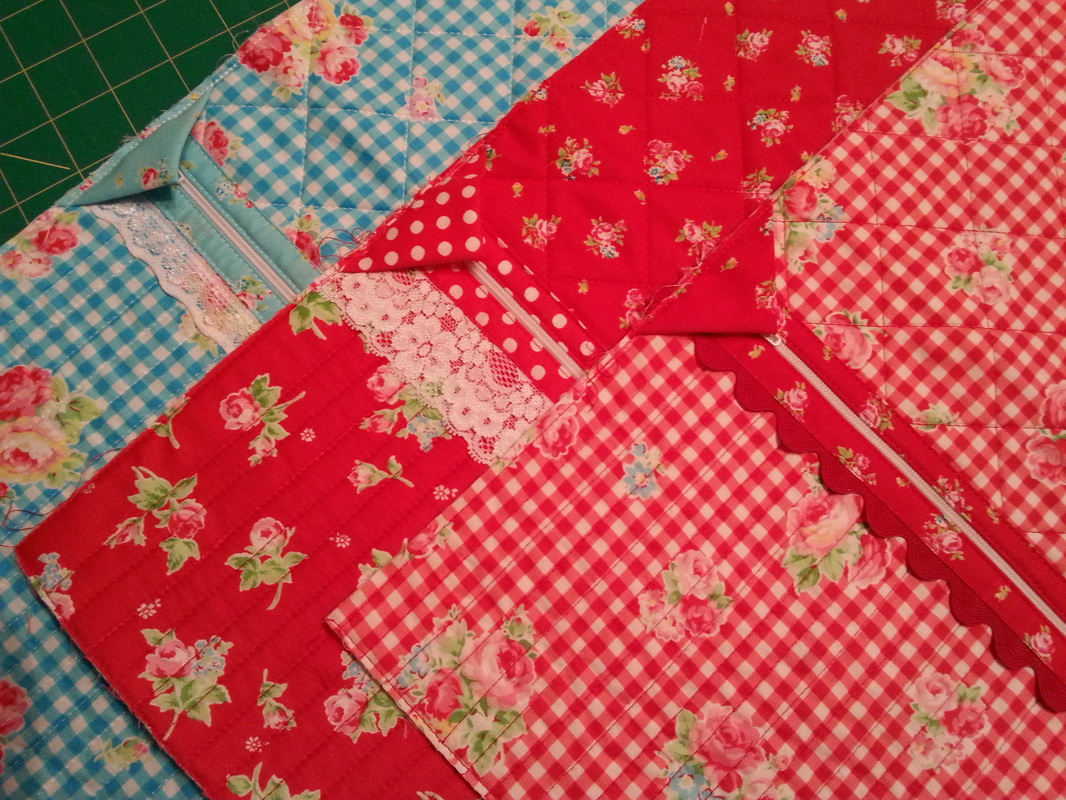
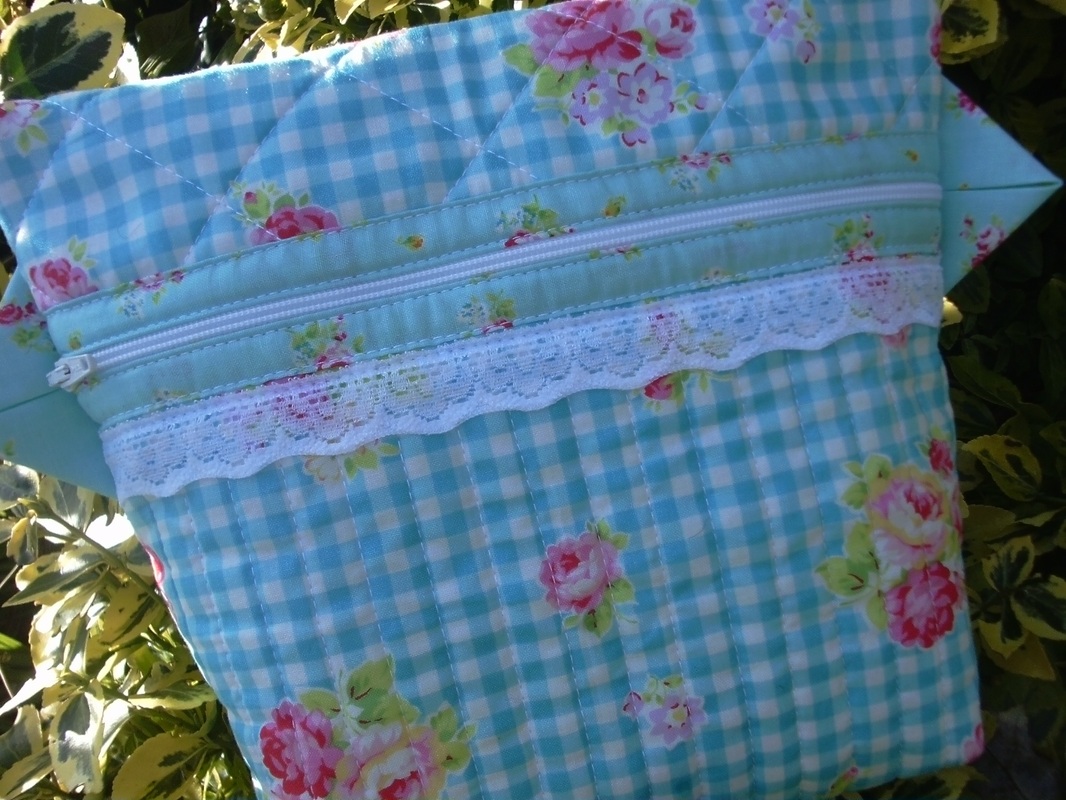
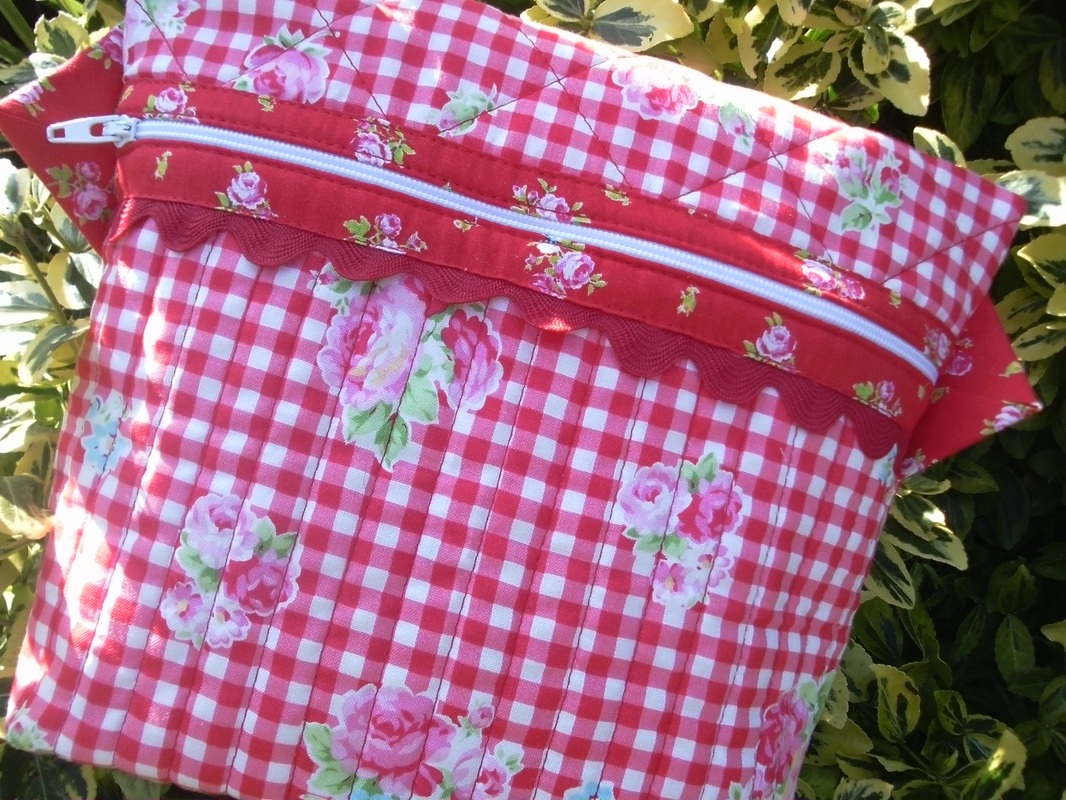
...these are trimmed with Prairie Points at the side of the zipper, in fabrics that match the zipper binding. I really liked this range of Lecien fabric, and may have to replenish my stash of fabrics and zippers and lace soon!... 
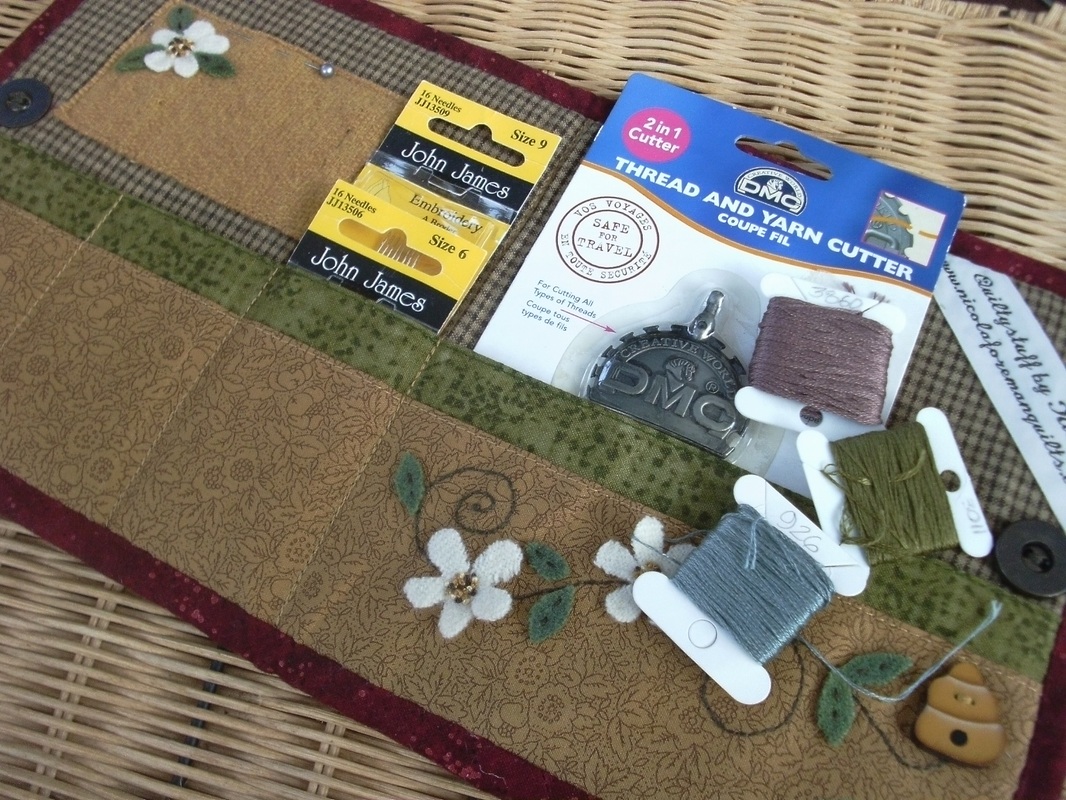
...and here they are altogether. It's been tricky getting decent photographs as it's been too dark in the mornings before I go to work, and definitely too dark when I get home in the evenings, so I had to wait until today to get this photo-shoot completed. I'm planning to spend the rest of the day sewing as I'm getting ready for a Christmas Craft Fair that's tomorrow, so I'll share some pictures later!
0 Comments
I've been busy making more of these cosmetic bags, and have finally used up ALL of my stash of red fabrics from the Flower Sugar III collection (this gorgeous fabric is by Lecien) and as you can see I've added some other contrasting fabrics to make it go just that little bit further! I've added this bright pink spot for the binding and the Prarie Points as it goes perfectly with this bright pink zipper and lace trimming. I've had several enquiries about these bags, and the pattern is available from quilt shops in Scandinavia - "Anna's Sminkepung" by the Norwegian designer AnnAKa. There are links to some of these shops on the sidebar of my blog. I bought my copy of this pattern a few years ago from a Swedish quilt shop, Lapp-Elisa. Although the instructions are in Norwegian, the diagrams are well detailed.
Another couple of bags made with some aqua fabric from the Flower Sugar III collection, and a pattern by the Norwegian designer AnnAKa, called "Anna's Sminkepung". I've used fabric from the same range for the lining too. These little bags are great for using up smaller pieces of fabric and trimmings... ...I really like this aqua and pink together, trimmed with some white lace. I've been busy over the weekend making tote bags too, so I'll share some more pictures later in the week of those. For those of you who have been contacting me about the pattern, I bought my copy a few years ago, from a Swedish online store, Lapp-Elisa - the link will take you to the "English" page on the website, and you can pay with Euros! The instructions for the pattern are in Norwegian, but the diagrams are very good!
I've been busy making some more of these toiletry bags, using some of my favourite fabrics, Flower Sugar III by Lecien, and a favourite pattern, Anna's Sminkepung, by the Norwegian designer AnnAKa. These are trimmed with an assortment of lace and ric-rac... ...when adding the lace trimming, I always use a longer than usual stitch length so the lace and the fabric doesn't pucker. I also use a longer stitch for the top stitching too. The pattern has instructions for 2 sizes of toiletry bag, and these are the larger ones... ...these are quite quick to make, and are really useful to make as gifts for birthdays and Christmas presents... ...I'm going to make some more of these using some sewing themed fabrics too, that would be perfect for keeping a sewing kit in. These ones below are ready for my stall at a Christmas Craft Fair in Orford at then end of November.
My daughter Alice is working for Lynette Anderson at the Festival Of Quilts again this year. The show is held at the NEC in Birmingham, and is on from Thursday 7th Aug through to Sunday 10th Aug. We're travelling to Birmingham on Wednesday, and I needed to prepare some hand sewing to take with me. Last year at the show I'd bought a lovely kit from Lynette Anderson Designs, called The Orange Tree, and as it was still waiting to be opened, it seemed like the perfect project to take with me this year! The kit contained the pattern and all the beautiful fabrics ( "Secret Garden" which was also designed by Lynette, for Lecien) to make the cushion, and a hand painted button too. Firstly the fabrics were cut and pieced together, then using my new light-box I traced the design using a fine Micron Pigma pen, then ironed a piece of fusible interfacing onto the back of the fabric. I just needed to add a few more sewing supplies to my sewing kit, some embroidery threads from my thread box, and it was ready to pack in my travelling bag. It's always useful to have some hand sewing to take on long journeys, and maybe when I'm having a rest from ohhhing and ahhhing at all the quilts, and shopping, and stopping off for tea and cakes with friends at the show, I'll sit and do a bit more stitching. If you see me you must stop and say hello ;
I was airing some quilts at the weekend, and while it was hanging on the washing line, it seemed like the perfect opportunity to take some photographs. Back in 2008 I stitched this wall hanging, "Little Patchwork Village" designed by Rosalie Quinlan. There are 9 blocks altogether, and each one has a different stitchery design in the centre, depicting a different dwelling. This was quilted very simply, using the "stitch-in-the-ditch" style of quilting, and a white Mettler quilting thread. The pictures below shows each block in detail, and also shows the hand embroidered label that was stitched onto the back of the quilt.
I was airing some quilts yesterday, and discovered that I had never actually made a label for the "Butterfly Garden" quilt that I made back in 2010. This quilt was a BOM designed by Leanne Beasley, and she had some great ideas for quilt labels in part 10, and included some stitchery designs for this purpose. I'd got a scrap of fabric left over from the border of the quilt (a pale green floral, by Lecien), traced the quilt label and added a few words - just the name of the quilt, my name, and the year it was completed. I embroidered this using 2 strands of DMC thread... ...once the embroidery was completed, I marked an outline of a square half an inch away form the stitched border with a Clover Hera marker, folded in the sides of the square, and gave it a good press. A square of steam-a-seam- lite was added to the back of the label and fused into place. Peeling off the backing paper, the label was carefully positioned into place, and fused to the back of the quilt. Finally, I stitched all around the edges of the label with a very fine silk neutral coloured thread. I wouldn't use a stitchery label for my "fast and fun" quilts, but it's the final flourish a special quilt like this one. Oh, and if you haven't seen them before, here's a slide show of all 9 blocks of the quilt, and finally the completed quilt too. I've recently finished the quilt top "Down In The Garden" and had quite a few scraps left over, and decided to put them to good use to make another cushion. Using the "Butterfly Bouquet" stitchery pattern designed by Leanne Beasley, and the left-over embroidery threads from DITG I set to work. This pattern had an iron-on transfer as well as a traceable pattern. I've used this pattern a few times already, (I made a cushion for my mother-in-law and also one for my colleague, Emma, instead of a real bouquet of flowers!), but still managed to get another copy out of the iron-on sheet. This was much quicker than tracing it onto the background fabric... ...stitching early in the morning is my favourite stitching time, and it's surprising how much I can get done without any of the usual daily distractions. I was able to take this picture once the stitchery was complete in MY garden amongst the sweet peas (I ccould smell them while I was sitting stitching in the conservatory)... ...appliqued butterflies added the final flourish to this project. Scraps of fabric were then cut and pieced and quilted very simply. I used my favourite white Aurifil thread for this project, a Schmetz Topstitch needle, and a longer than usual stitch length. In no time at all I had a lovely textured piece, ready for the next stage of sewing. Wool wadding was used for this project, and it quilted absolutely beautifully. I used a piece of the feature fabric (Grandmothers Flower Garden by Rosalie Quinlan for Lecien) for the back of the cushion cover, and used a concealed zipper fastening. The cream fabric is left-over curtain lining, and was also used for the stitchery background too... ...I found a red/white spot fabric in my stash that was just right for the binding, and added one of my labels into the side seam - and hey presto - a new cushion! Here it is tucked among the plants in the garden. This is a present that will last a little while longer than a bouquet of real flowers, and is for someone special who really likes handmade gifts.
Well I thought I'd try something different on my blog! Here's a slideshow, showing each completed block for "Down In The Garden" designed by Leanne Beasley. This was a 10 part BOM that I bought 4 years ago from an online quilt shop called Buttonberry, that has since closed down. There is a list of stockists pf Leanne's patterns on her website if you want to make one too. I initially started this quilt last summer, and it's been a real treat stitching these blocks. Once this has been quilted (it's going to J-Quilts soon for some custom work) I'll show some pictures of the finished quilt. As soon as Block 9 of "Down In The Garden" (designed by Leanne Beasley) was finished, I was really keen to get the blocks all stitched together, ready for the borders. The feature fabric used in the border is "Grandmothers Flower Garden" by Rosalie Quinlan, and the red/white spot will be used for the binding. I used a neutral coloured thread for piecing the blocks together, and used the same thread for sewing on the borders too.. ...a narrow cream border frames the blocks, then a wider border in the feature fabric is added, and finally another cream border. This feature fabric is used in the blocks, in the yellow and pink colourways, and here it is in green... ...and here's the completed quilt top, photographed in MY garden! It was quite blustery yesterday evening when I took these photographs, and this was the best picture I was able to take! I've decided to get this one custom-quilted by Janette as her work really is simply stunning. There are quite a few scraps left over from this project, and I have the perfect project in mind for using some of them up. I'll share pictures of that at the weekend.
|
About me...Hi - welcome to my quilting blog! My passions are my family, my dog, my friends and sewing, not necessarily in that order! Archives
July 2023
Blogs I followUK shopsThese are the UK shops that I use to purchase my quilting supplies - fabrics and threads etc.
Australian linksScandinavian links |